
This project began with moving the old pool house around to the other side of the pool near the garden to become a tool shed. After relocating the pool pumps building a temporary home for the breaker panel and pool controls, it was time to get the slab form ready for concrete.
Part 1
This project began with moving the old pool house around to the other side of the pool near the garden to become a tool shed. Moving a 2,500 pound 8 by 12 foot building was a real challenge but I got it done.
Next I had to relocate the pool pumps and filter back about 10 feet so that they would sit next to the new pool house. I also had to build a temporary enclosure for the breaker box, pump controls and salt generator.
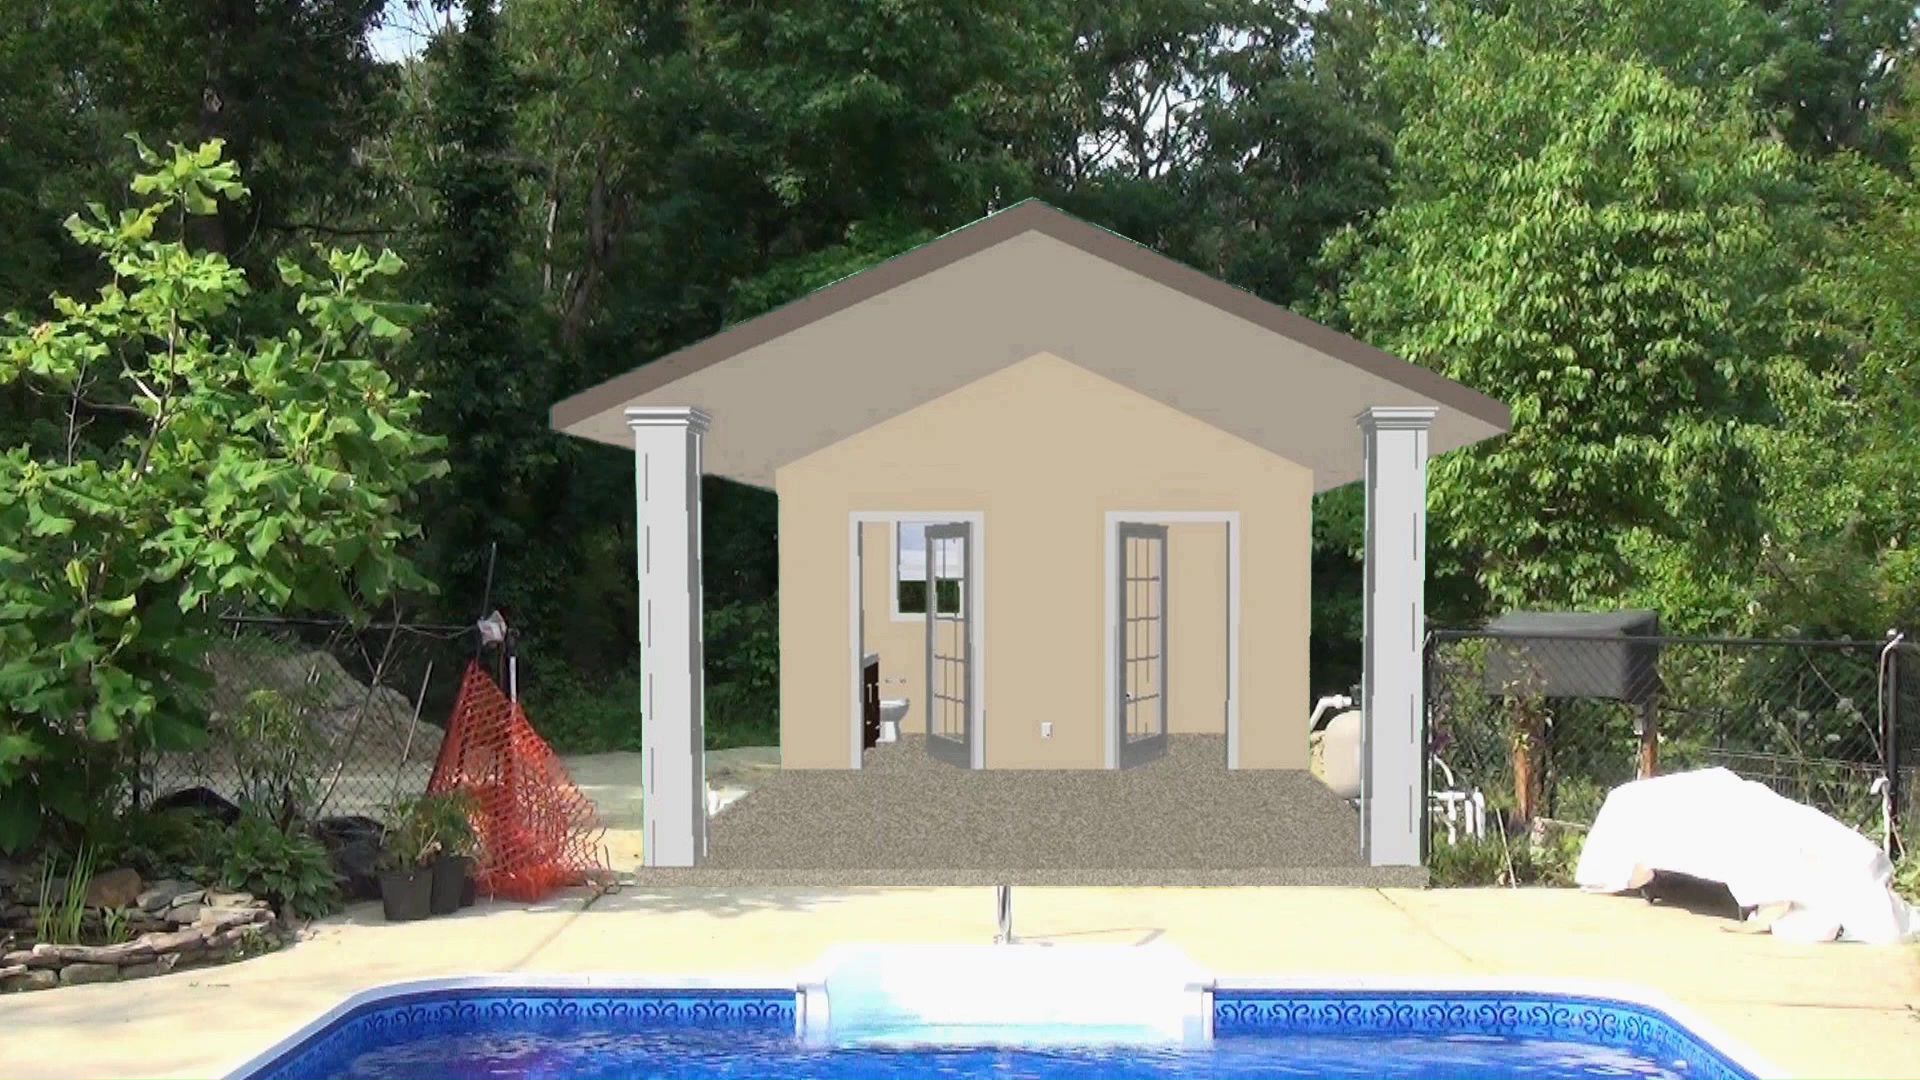
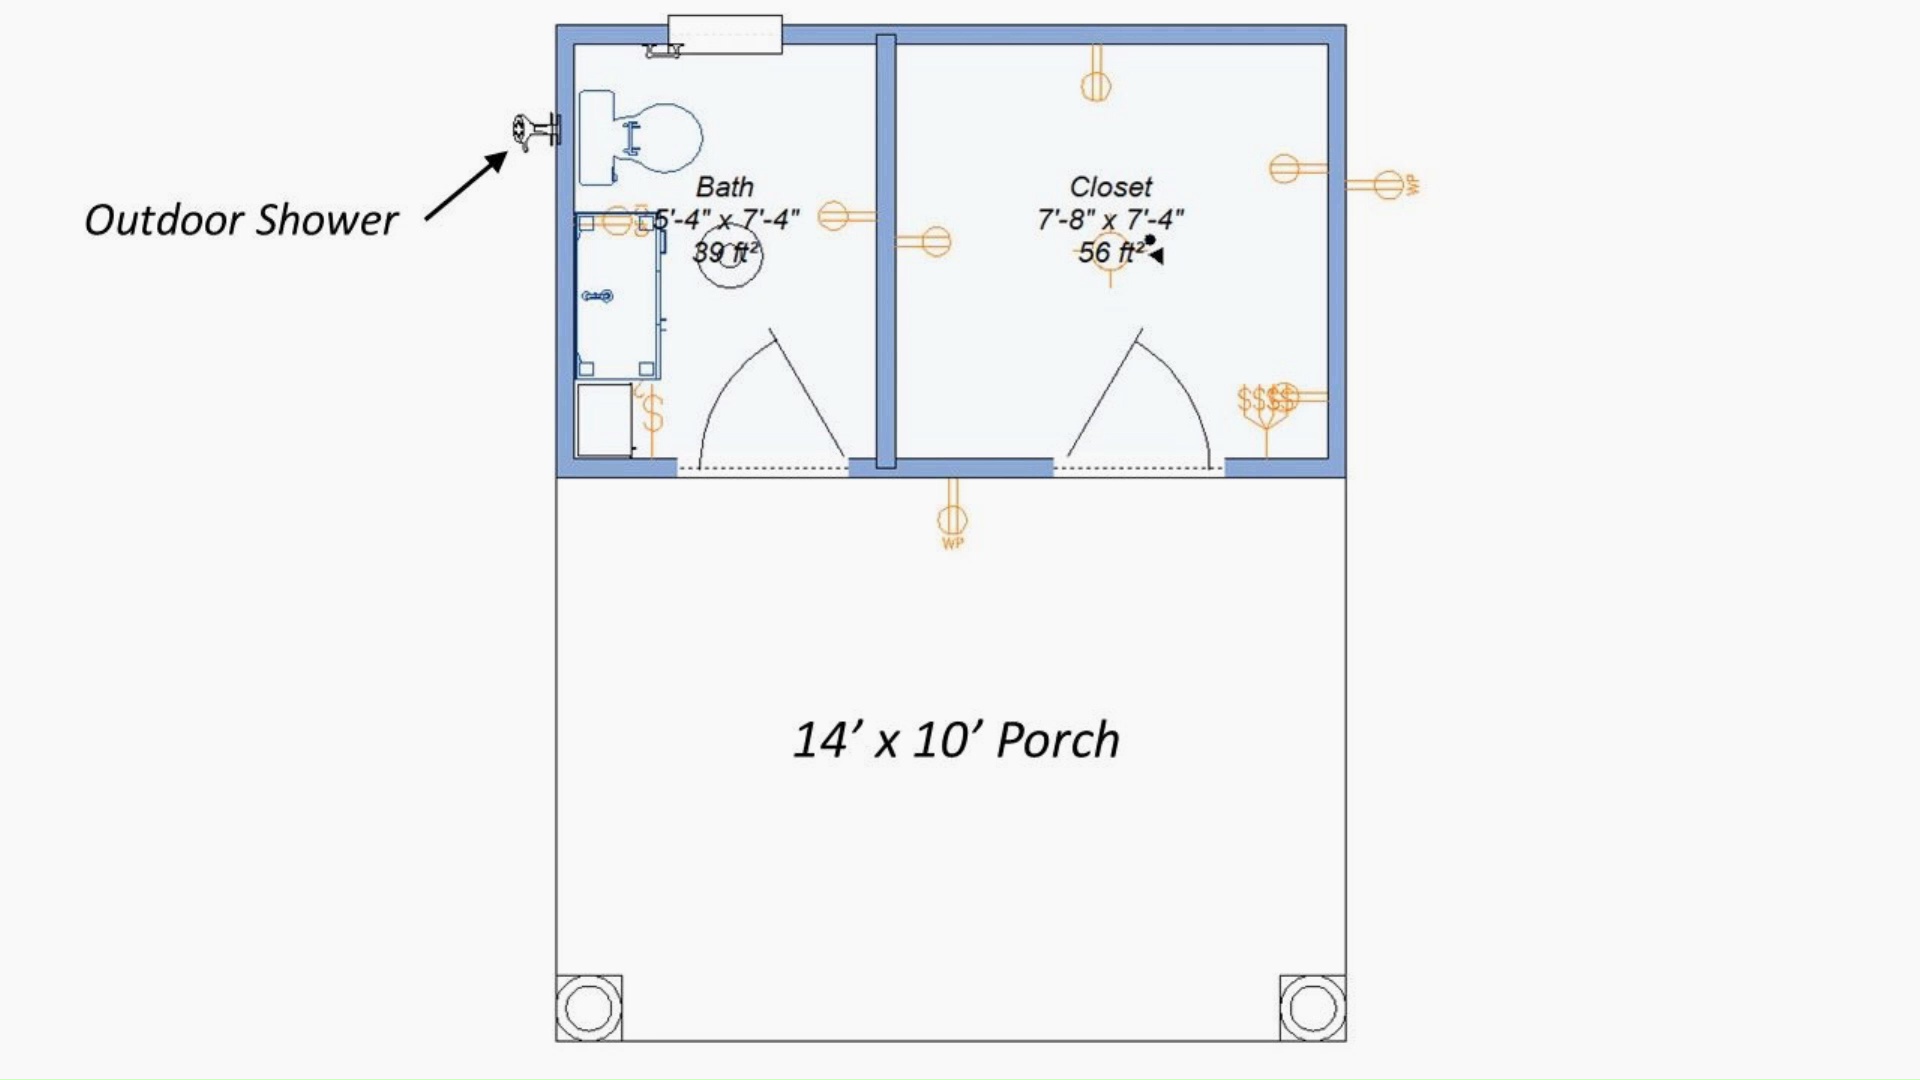
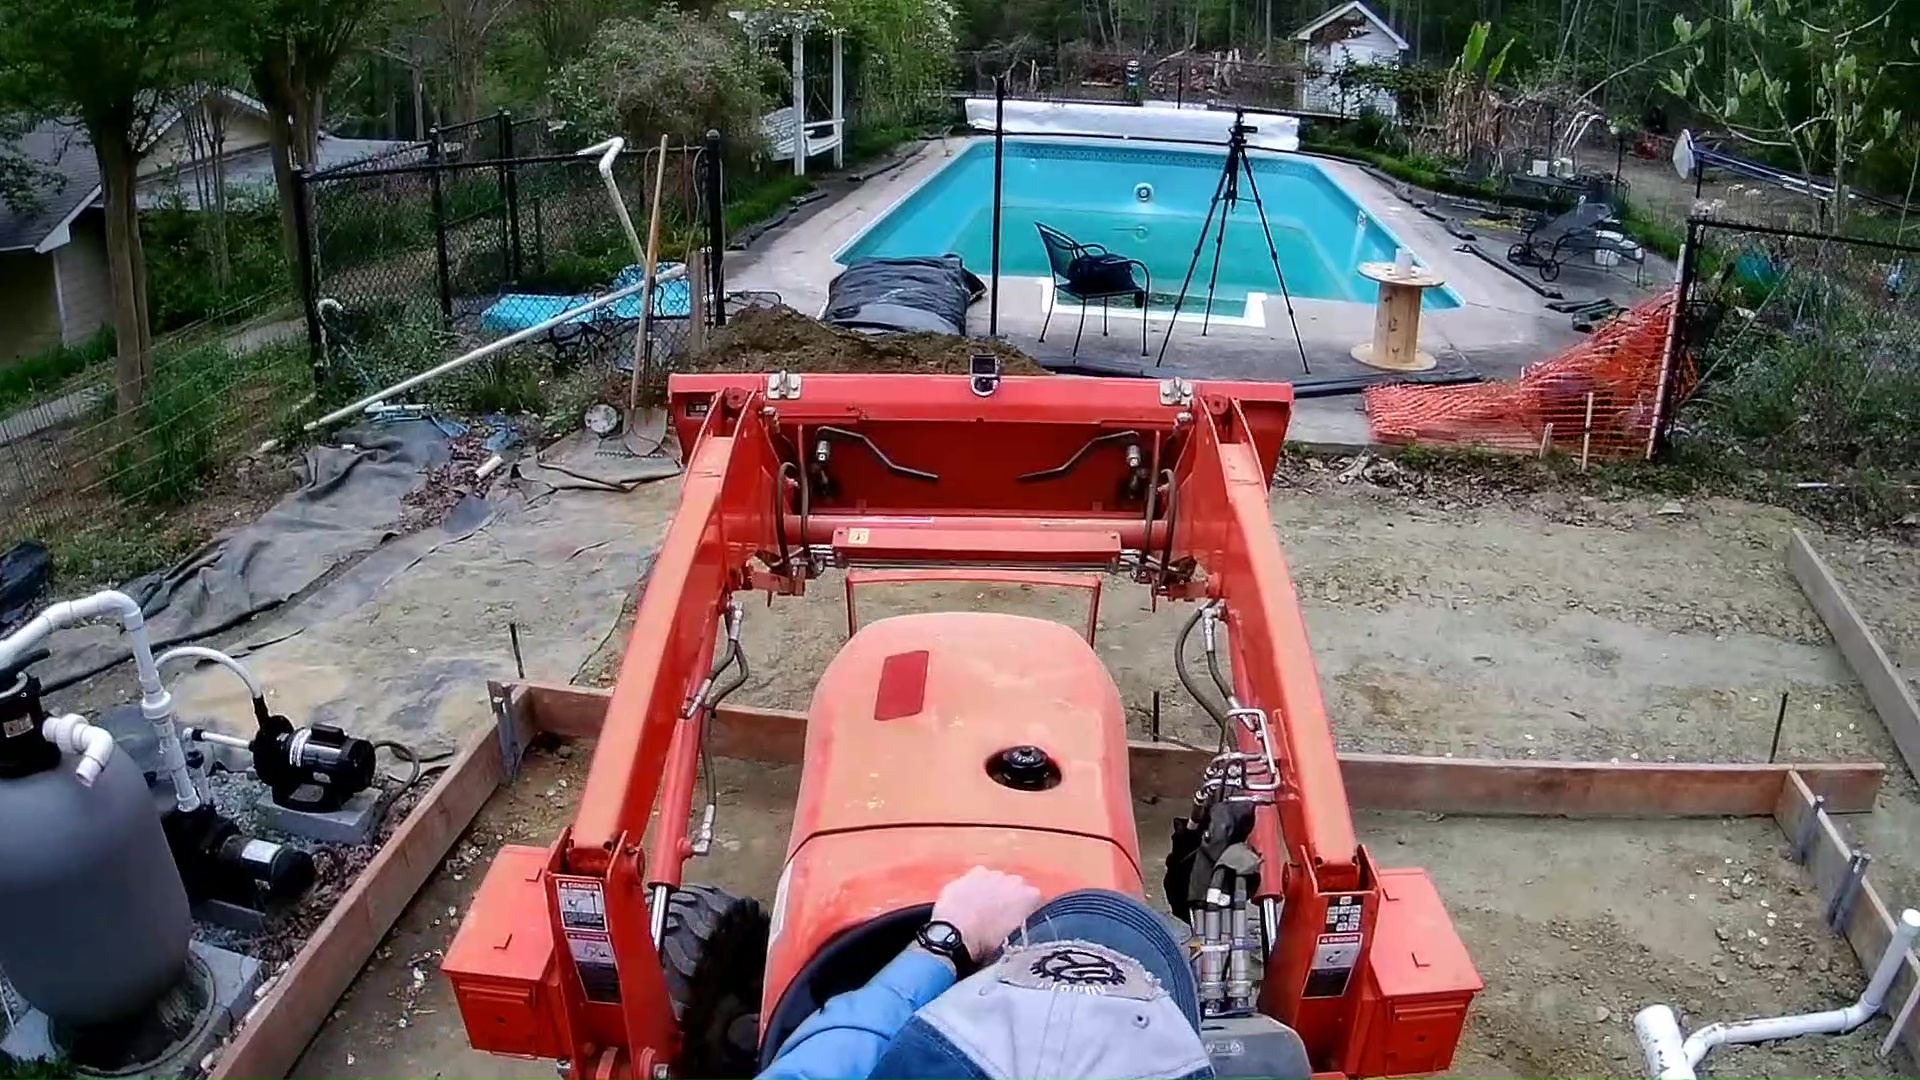
More recently, I ran a new water line to the pool house, which also branches off to provide water to my future shop building. The new pool house will look something like the pictures in the slideshow below. The software rendering is crude, but it shows the general layout but not the color or styling. It will have a powder room on the left and a storage room on the right. The styling will look much like the porch I built for our mudroom. Here’s a look at the floor plan. The building is 8’ deep by 14’ wide with a 10’ by 14’ porch.

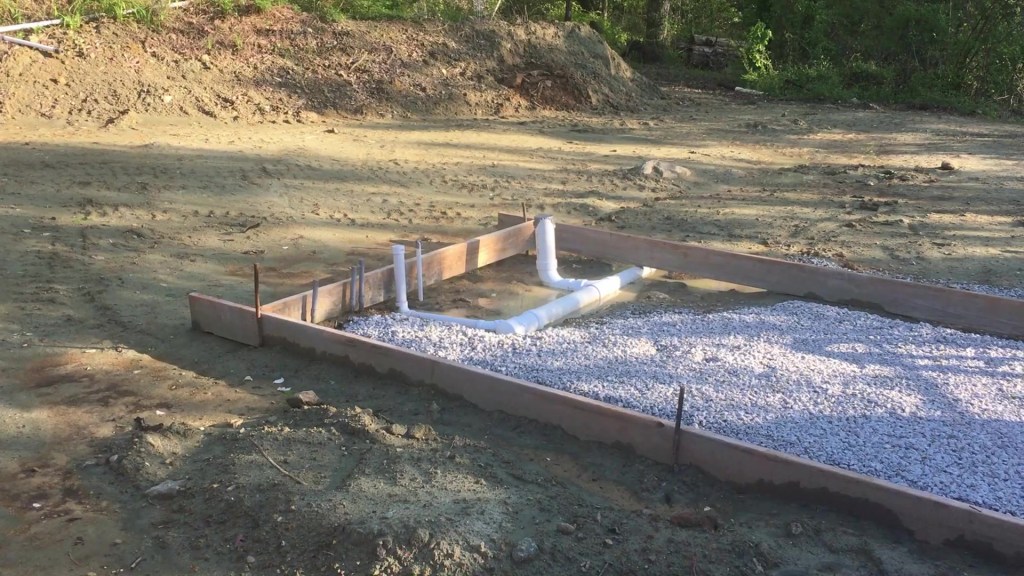
I have already buried a section of water line under the slab form. It tees up through the slab for water into the pool house and continues past the slab and is capped for future water runs. This section of pipe will be joined to the new water line in a valve manifold box that will be just behind the pool house.

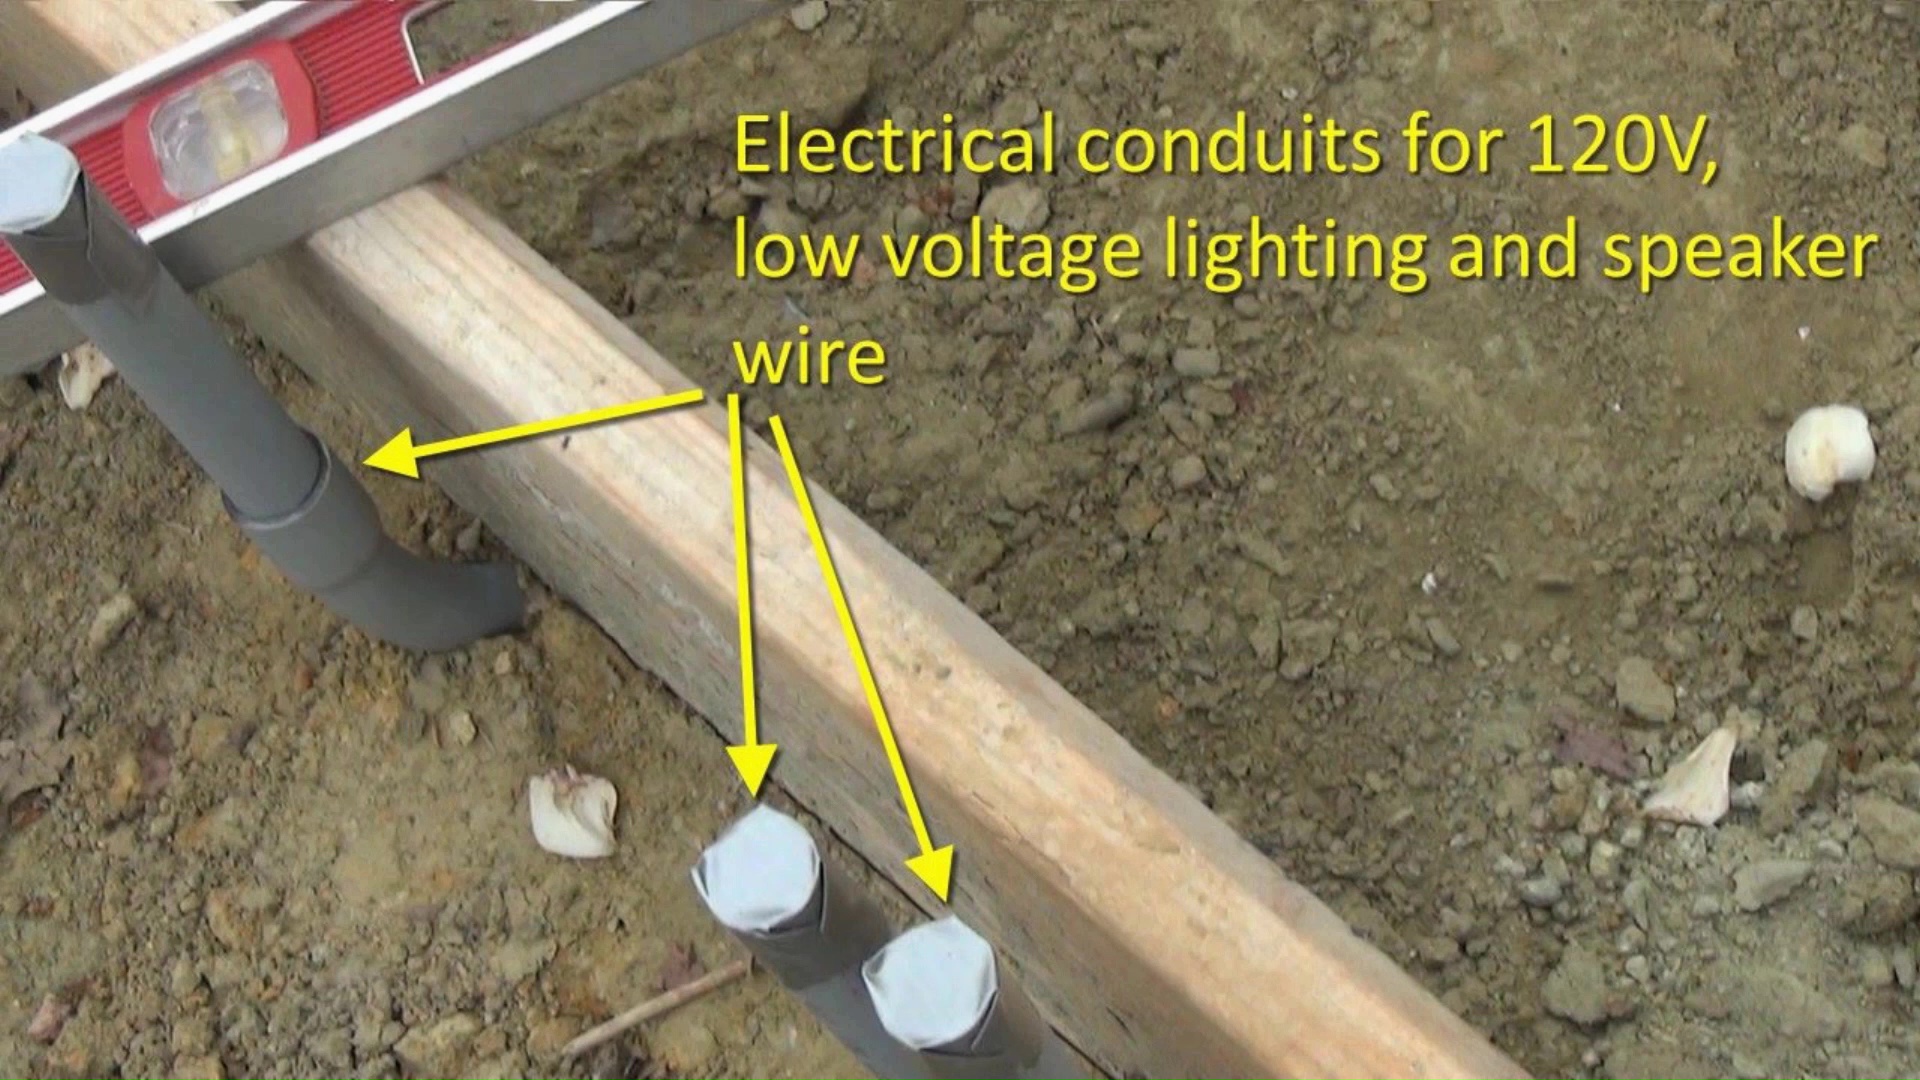
I made marks on the form board indicating where studs will be so that I can position the pipes in between, which include a Toilet, the water line and a combination sink drain and vent, also known as a wet vent. I also included some stub outs for power, low voltage lighting and spearker wire. BTW, I’ll install a small septic system behind the pool house. It won’t take much of one since this is a seasonal bathroom that won’t get much use.
I attached the rear form board and make sure the form is square.
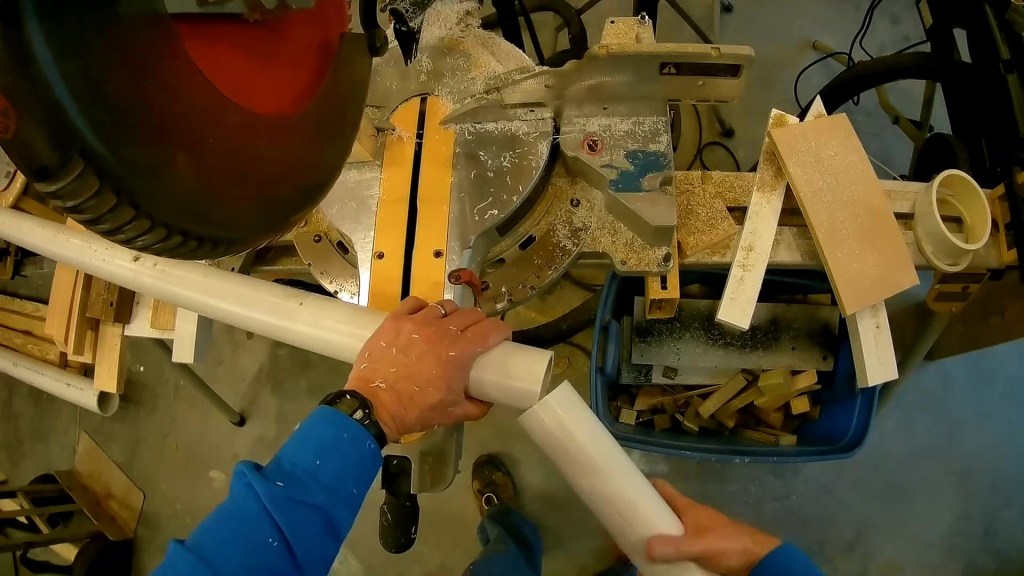
Next I took measurements to find the lengths of the 2” and 4” pipes. Then took them to my basement shop to cut to length. When I don’t have a deburring tool handy I use the PVC pipe pieces themselves do the job.
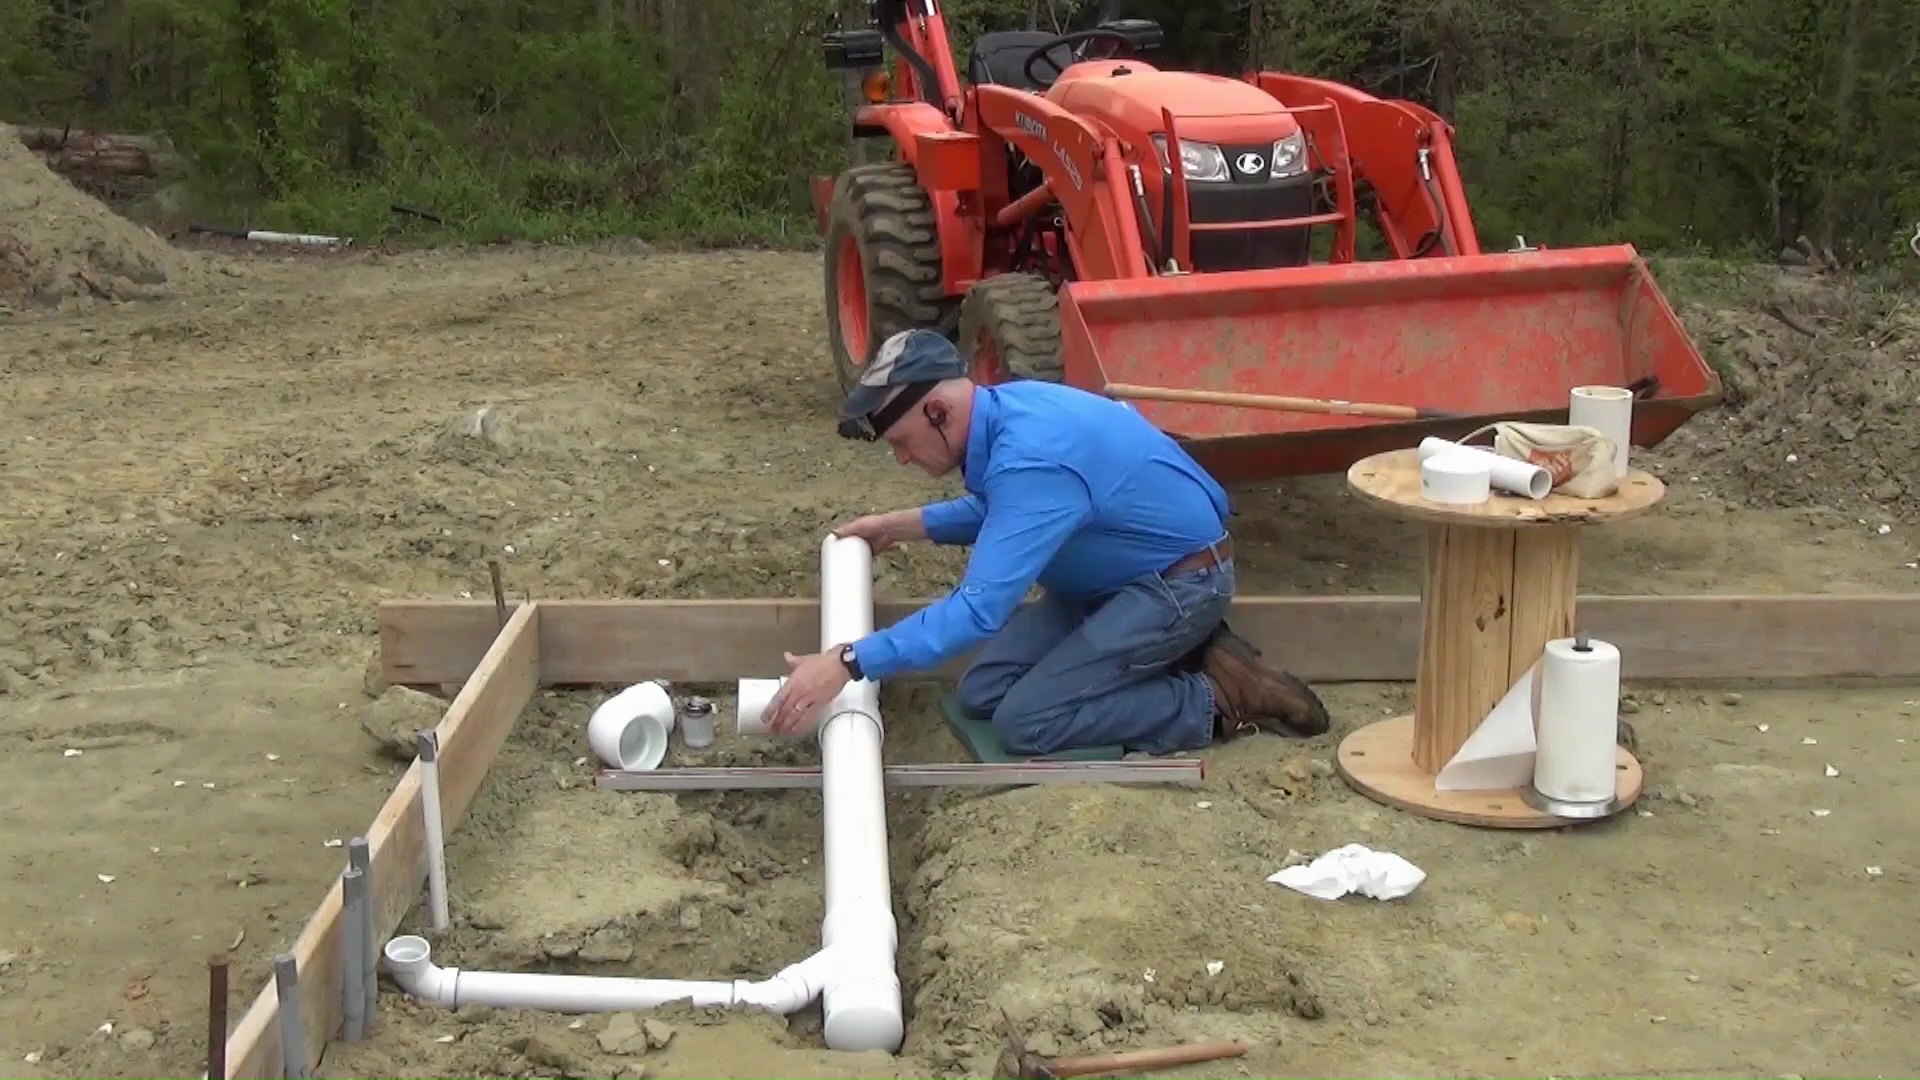
Back at the job site, I did a dry fit before gluing the pipe together, starting with the wet vent, then the toilet line, and then the section that exits the slab. A cleanout will be added just outside the slab.
Along the way, I kept checking to make sure I had proper fall on the pipe. It is recommended that the fall be between ¼” and ½” of fall per foot of pipe.
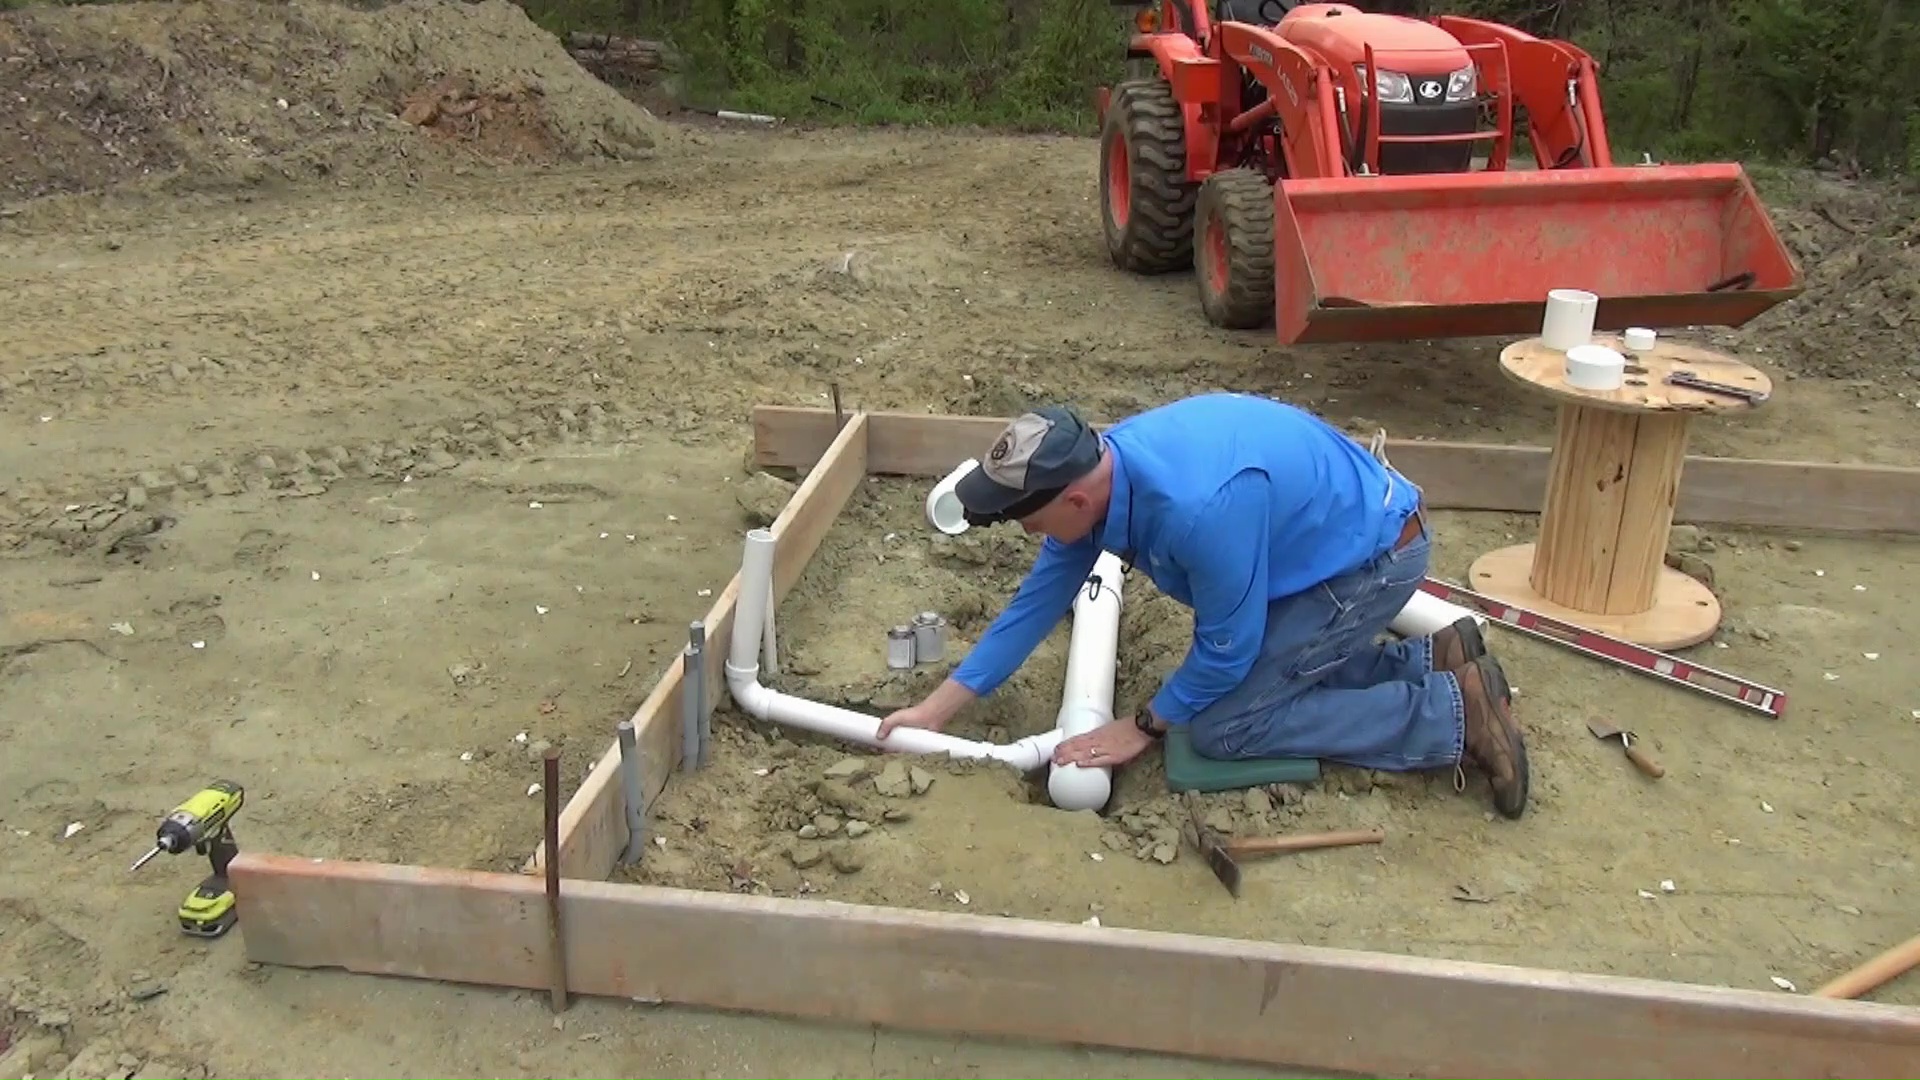

The toilet flange is supposed to be 12” from the wall, which means 16” from the edge of the slab, accounting for the 2×4 bottom plate and ½” of drywall. If you have plumbing experience, you may notice that I have a sanitary Tee for the toilet to feed into the septic line, which is not correct. Left as is, it would likely cause problems with clogging the line. Not to worry, though. I realize the mistake and fix it later in Part 2.
Part 2
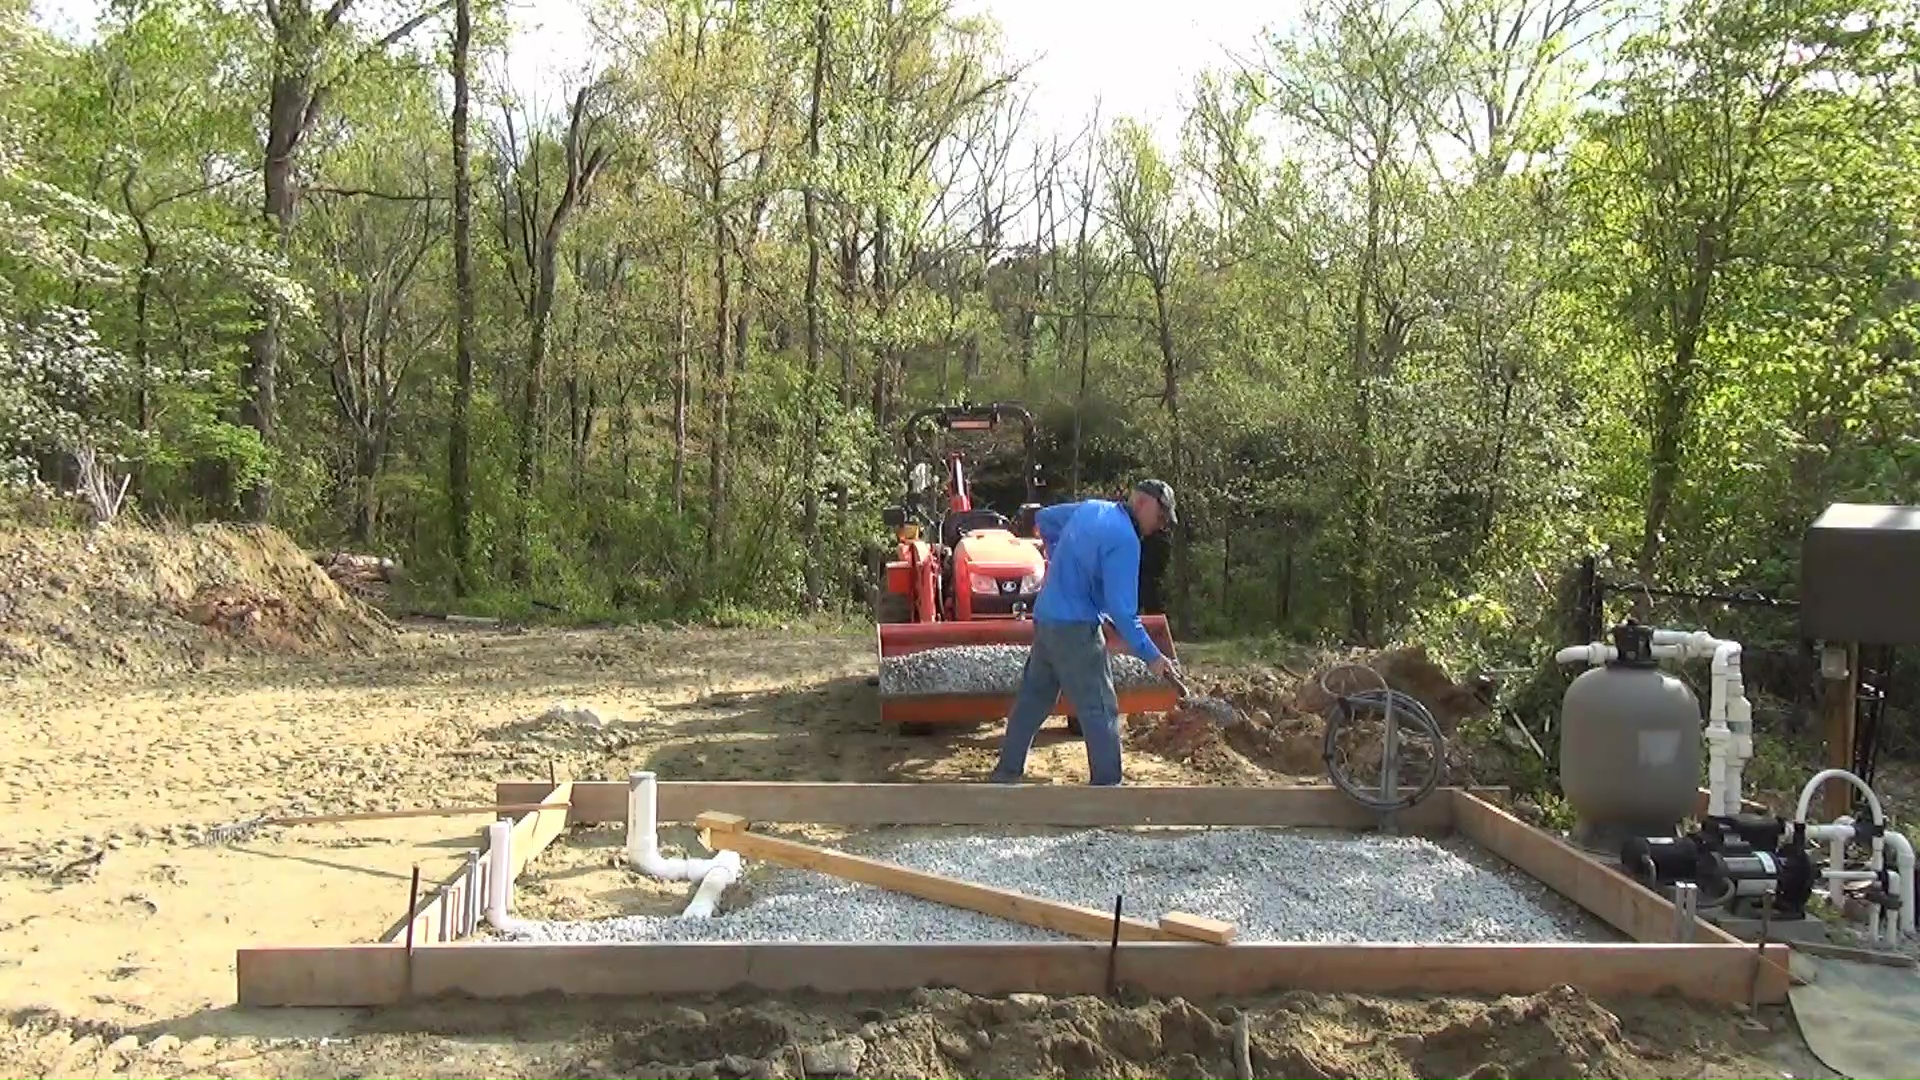
Time for some tractoring! I removed the back form board so I could dump gravel further into the form space. First, I put a couple scoops of dirt where the patio area will be to help hold the concrete on that side during the pour and to build up where the patio slab will be poured later.
Next, a few scoops of gravel for the middle of the form.
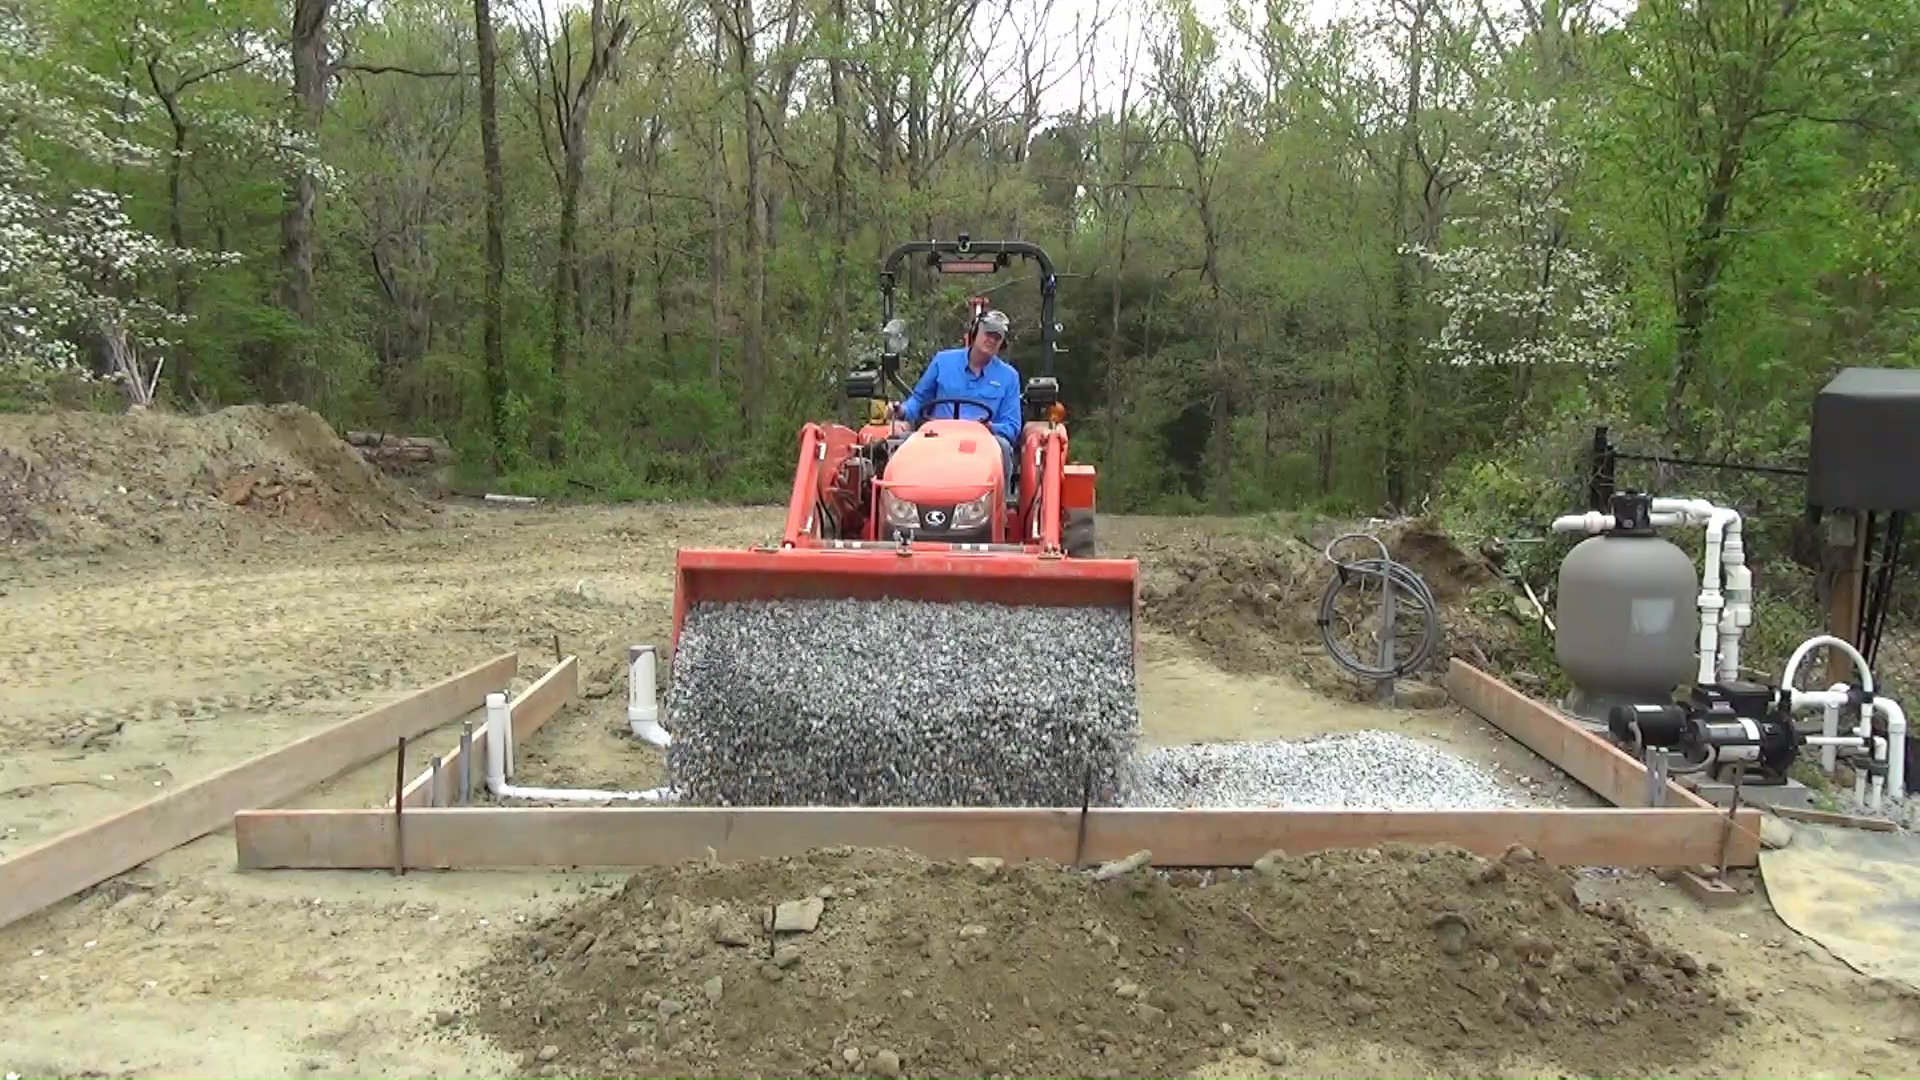
Then I spread it out with a rake and shovel keeping it about foot away from the form boards to have a nice thick footing.
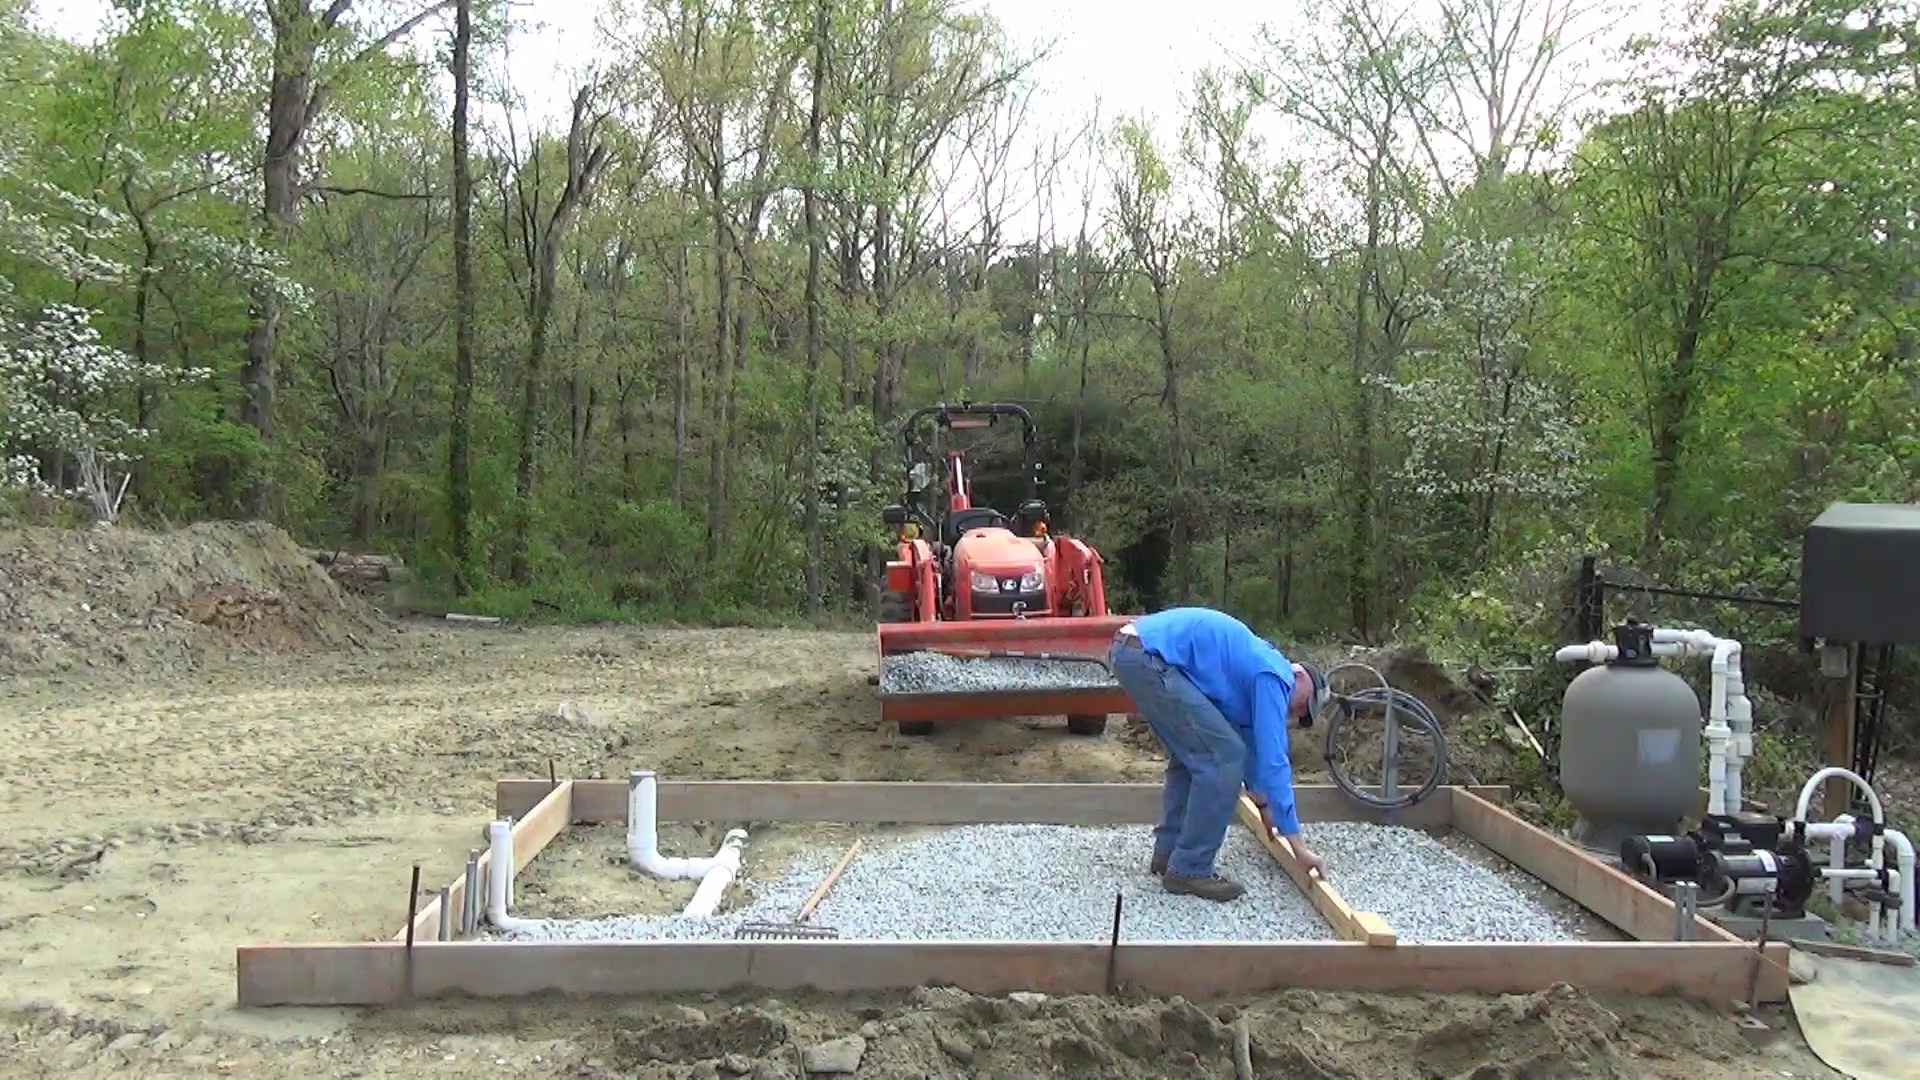
After re-attaching the rear form board, I got one more bucket of gravel to hand fill some areas and then used a screed board I made to make sure the gravel is four inches from the top of the form boards.

Overnight rain floated my whole plumbing system out of the ground, so since I needed to replace the sanitary tee with a proper Wye, I took the whole thing to my basement workshop to do the work.
After fixing my plumbing system, I brought it back to the slab form to go back in the ground. I made sure I have the proper distance for the toilet pipe from the side of the slab. Then I made sure I have a slight fall on the pipe between a quarter of an inch to a half and inch per foot of pipe. I glued the final piece of pipe in place and made sure it was level. One more load of gravel strategically hand filled, using the screed board as a level gauge.
I slipped a piece of foam pipe insulation over the water line for two reasons: first to give it additional freeze protection and second, to give it bump protection during the build. The insulation allows the pipe to wiggle rather than snap off at the slab, which would be the end of the world as we know it. Even if it did get broken, I could remove the insulation and have room to fix it.
Finally, I added plastic sheeting for a vapor barrier and the form wasready for concrete!
