
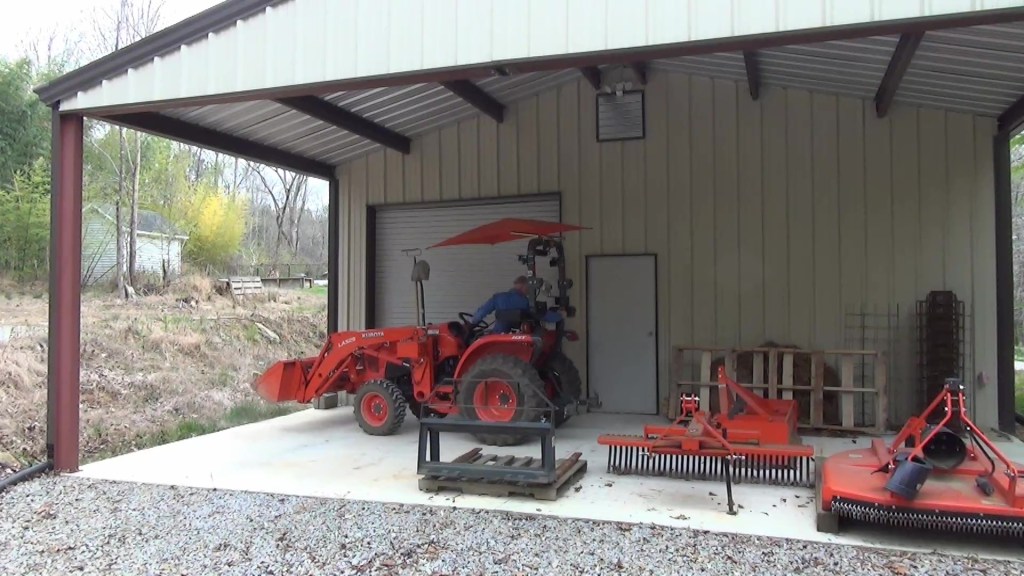
For me and my situation, storing most of my implements on dollies makes switching between them fast and convenient. This may not be practical for a lot of people, but maybe it is for you. In this post, I cover building a dolly for my box blade and discuss why implement dollies work great for me.
If you have followed my posts here and/or my YouTube channel for a while, you probably know I store my ballast box, wood chipper, backhoe and carry all on dollies to make switching between implements as easy and convenient as possible. So besides the box blade dolly build, I’ll also cover benefits of storing implements on dollies.
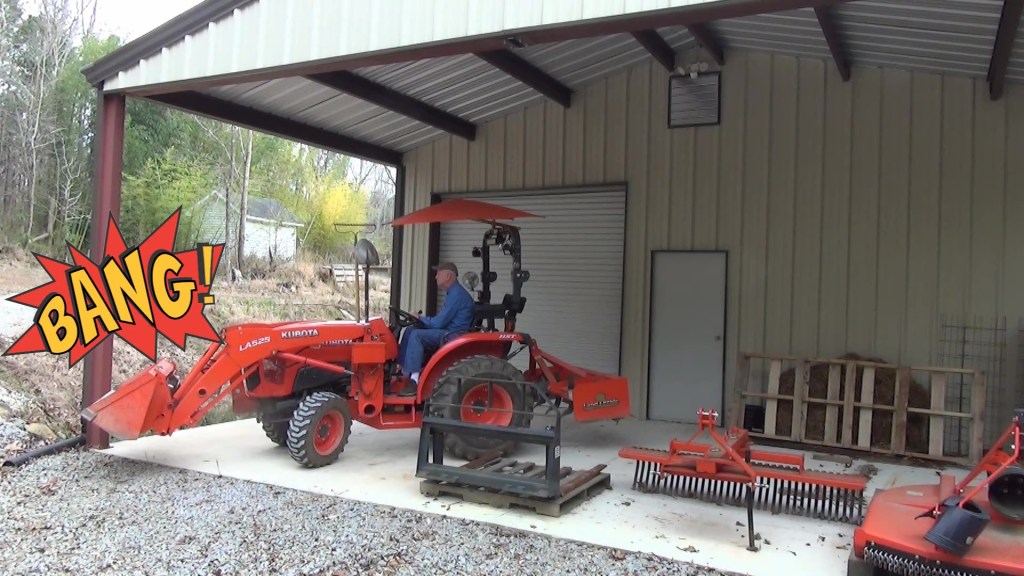
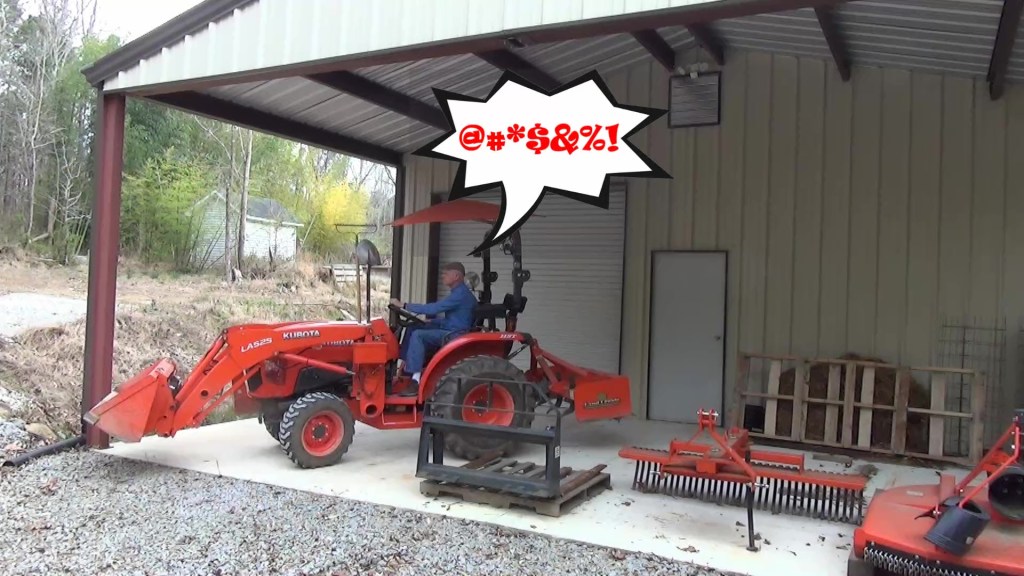
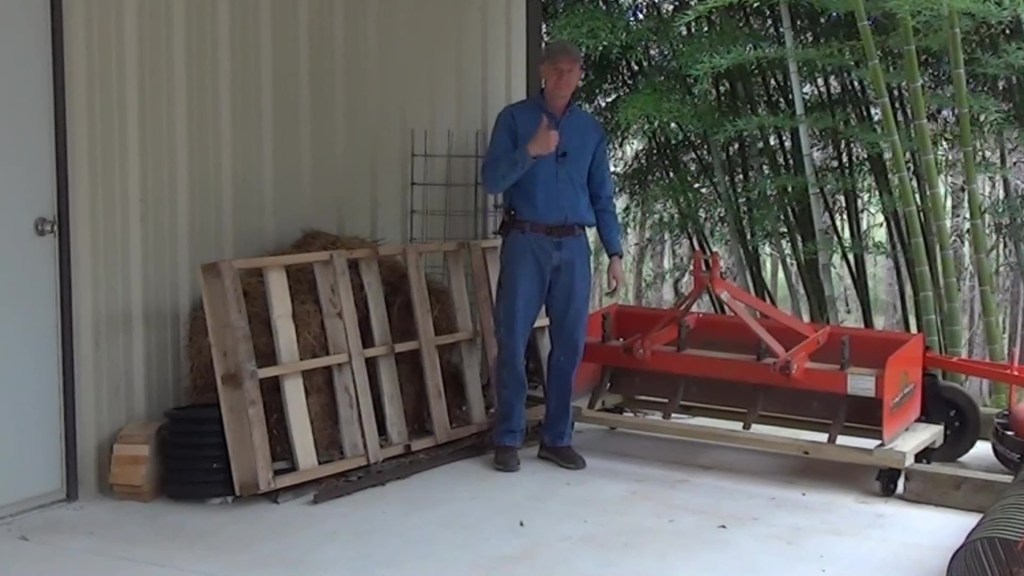
I store the box blade along with other implements under the shed on the back of my shop. The problem is it can be a little awkward backing in to get the box blade. My Pat’s Easy Change system makes hook up quick and easy, but sometimes… I may misjudge the turn and whack the shed post while exiting.
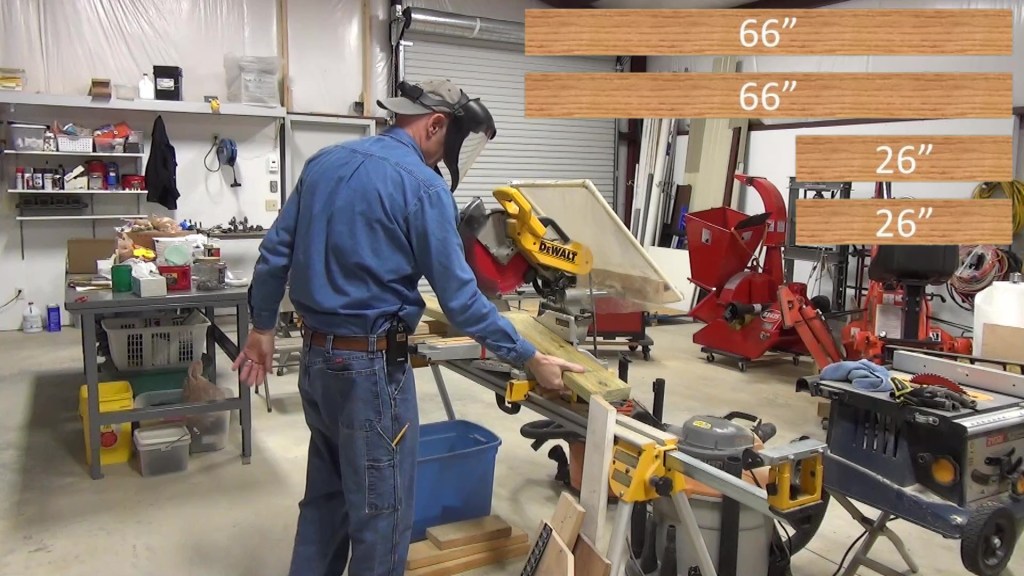
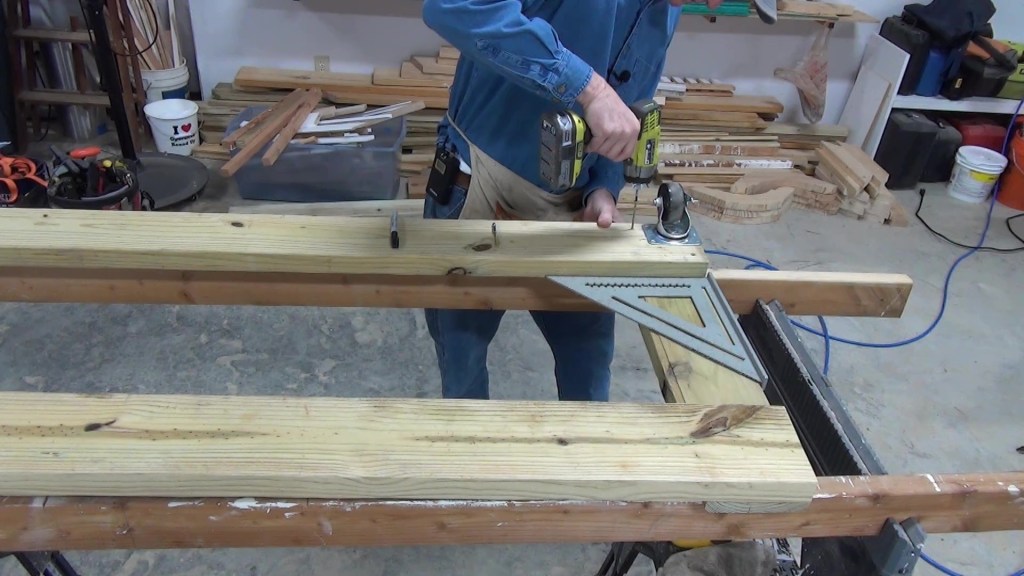
First, I measure the dimensions of the box blade, which is 60.25″ by 24″. Since I’m going to use 2×6 pressure treated lumber for the frame, I decide to make the dolly dimensions 66″ by 26″. I cut the end of a 12’ pressure treated 2×6 for a clean edge. Then measure 66” and cut the first board. Same song, second verse to cut another 66″ board.
Next I take a 10’ pressure treated 2×6, cut a clean edge, then cut the first 26” board. And then the second one.
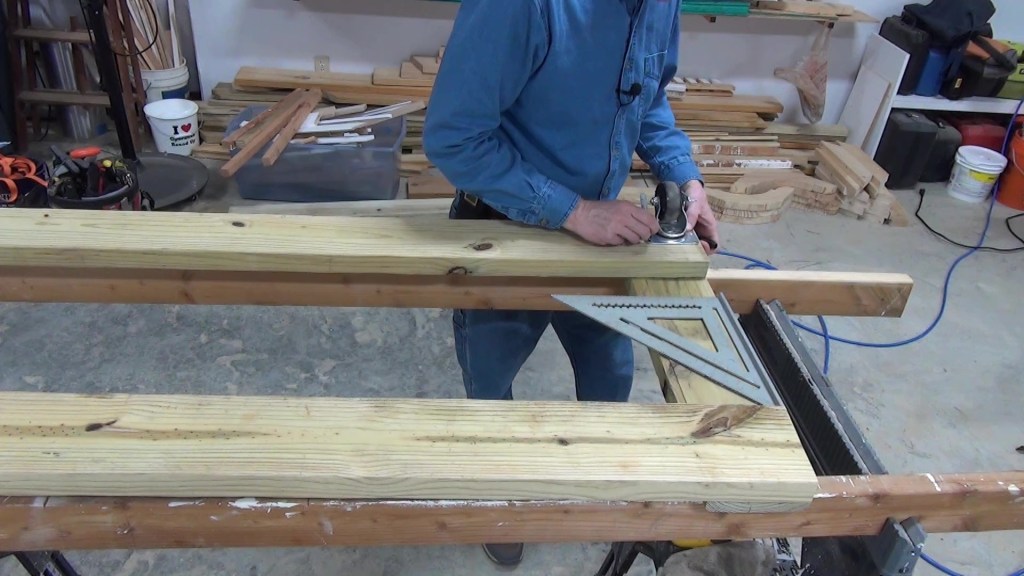
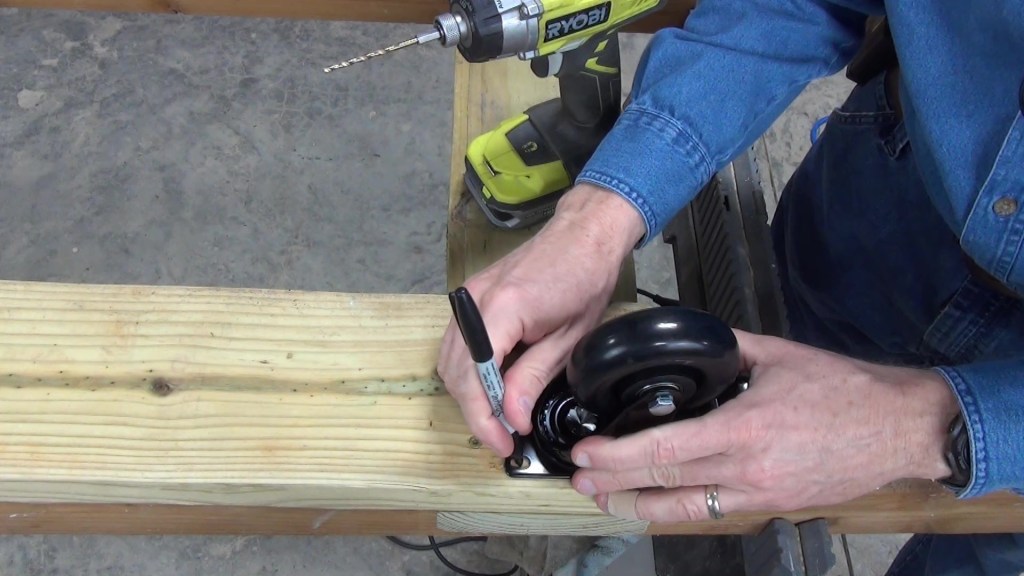
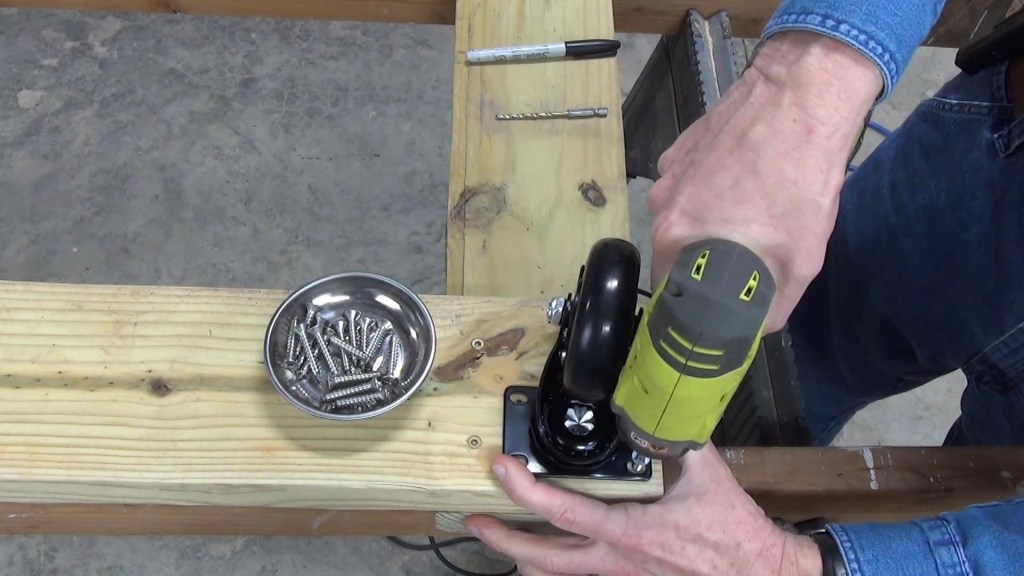
I bring a 3” caster over to mark the position of the holes, placing it as close to the corner as possible since two of them will be lock casters and I need to be able to reach the lock levers. These casters came off the ballast box dolly. I replaced them with larger, better ones because they were too hard to roll under the weight of the 640 lbs ballast box. I am hoping that they will be okay on a dolly for a 350 lbs box blade.
I mark where the caster holes will be. Then predrill the hole near the edge of the board to minimize splitting. Then use 3”coated deck screws to attach the boards together.

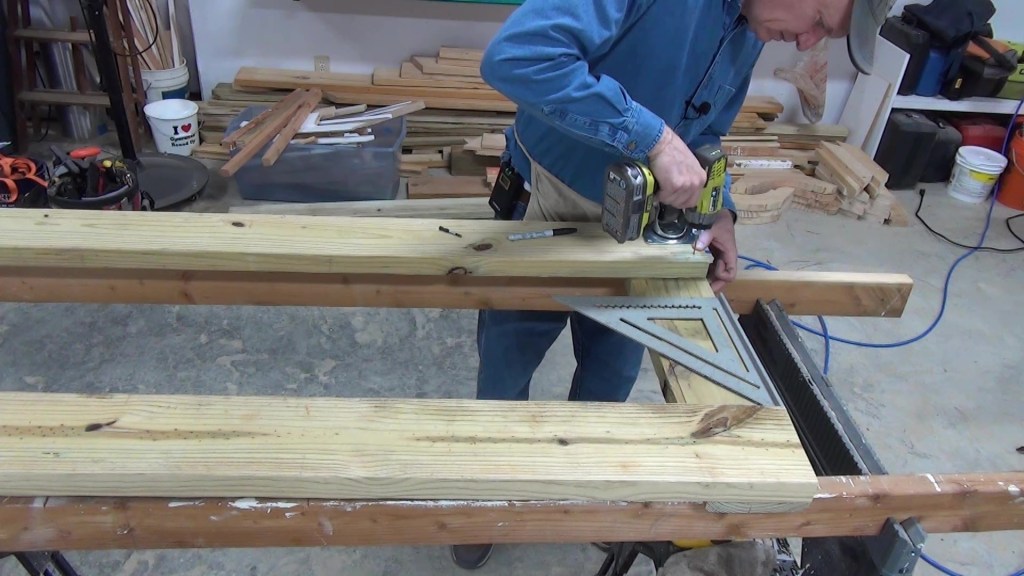
On to the next corner. And the next, with a locking caster. And the last one with a locking caster.
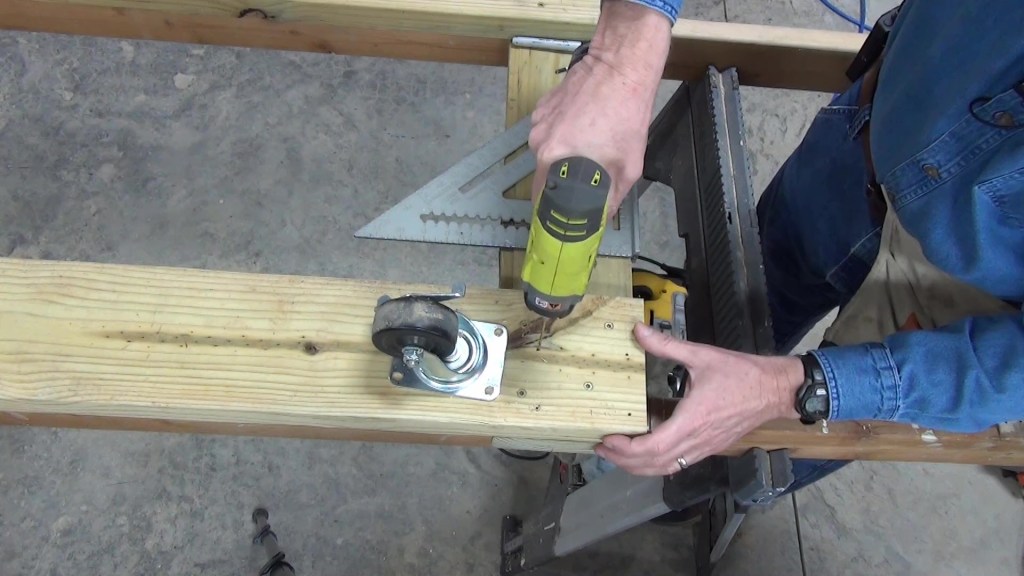
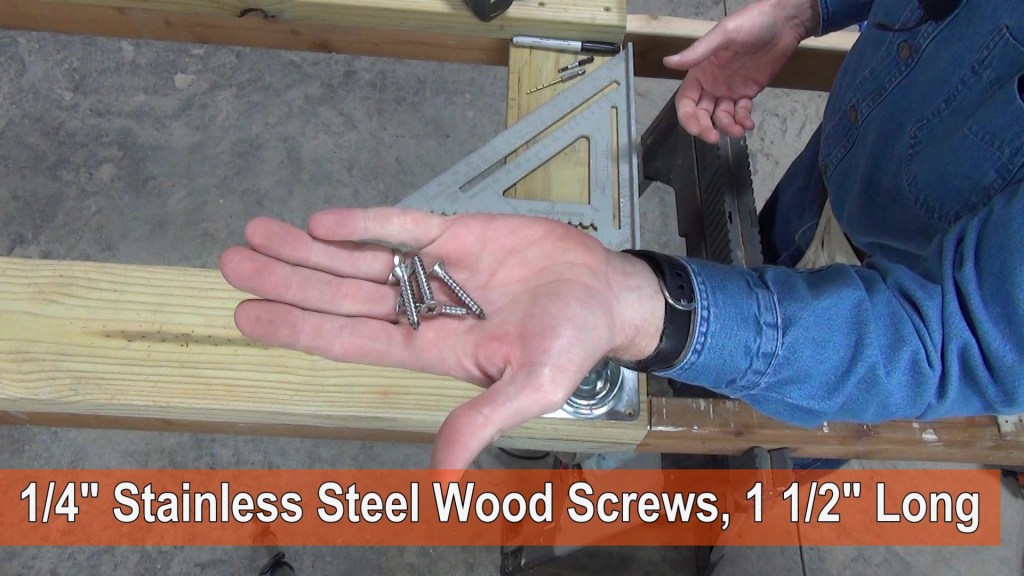
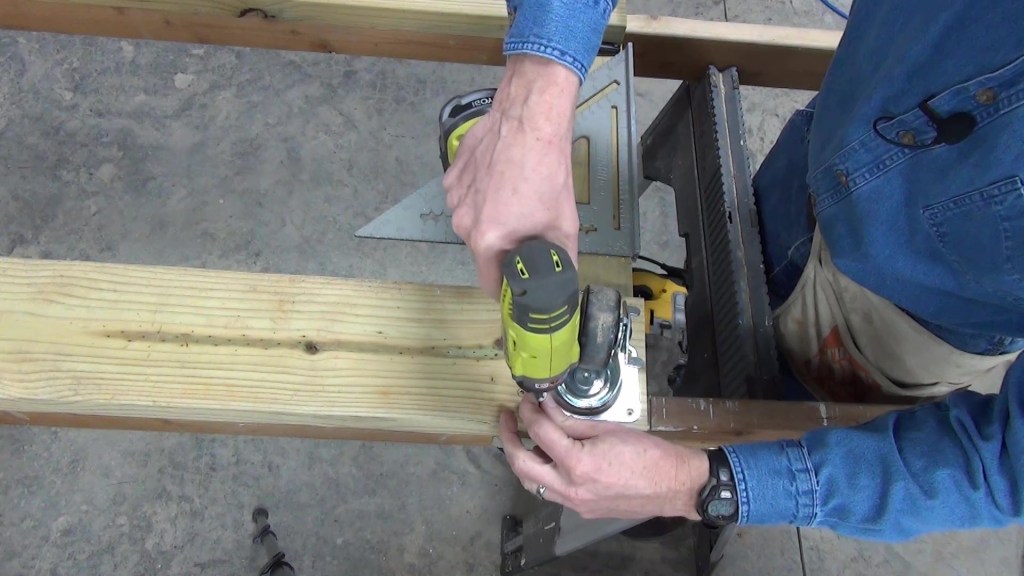
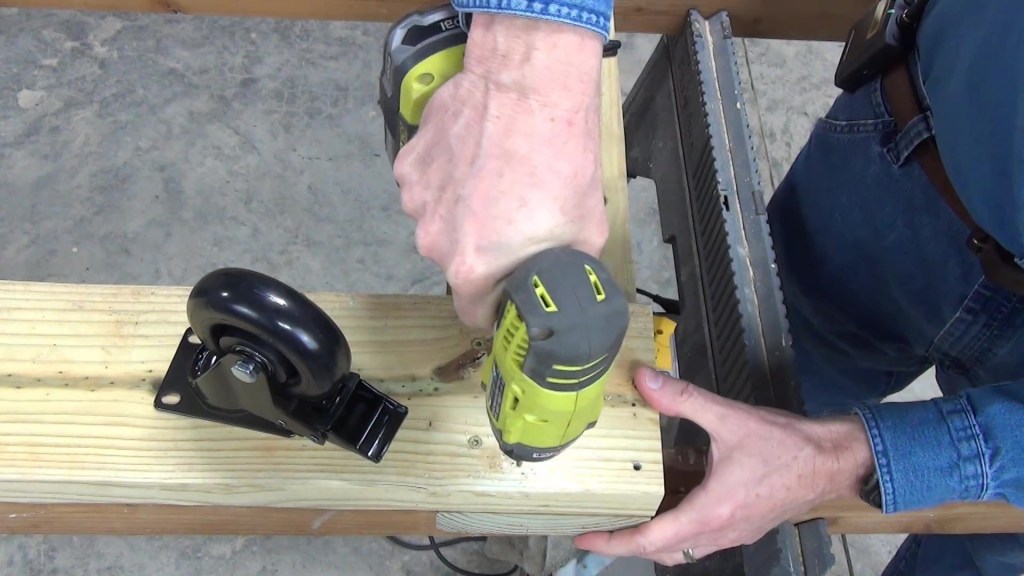
Next, I drill pilot holes for the first caster. Too attach the casters, I’m using ¼” stainless steel wood screws, 1 ½” long. I would prefer them to be a little longer, but these are what I had on hand and they will be plenty strong for the box blade. These require a #1 Phillips drive bit. I drive it in almost all the way. Same with the other screws until they are all in then I tighten them all up. I repeat for the next one except I add a deck screw in the side because I saw the wood split just a bit with that corner screw. The deck screw should help keep the split from widening. I add a deck screw to the side of the next one as well, just in case. Same with the last one.

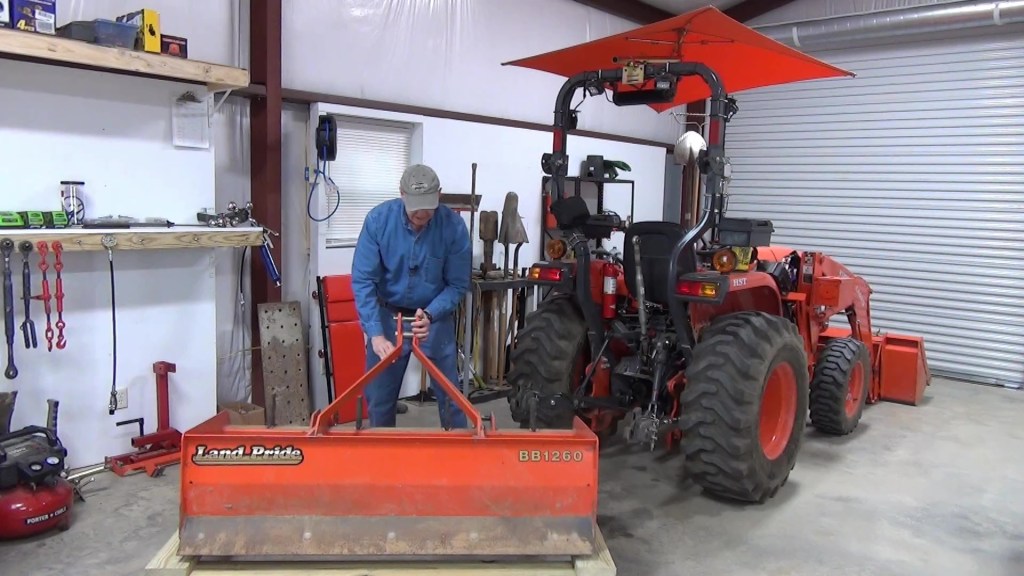
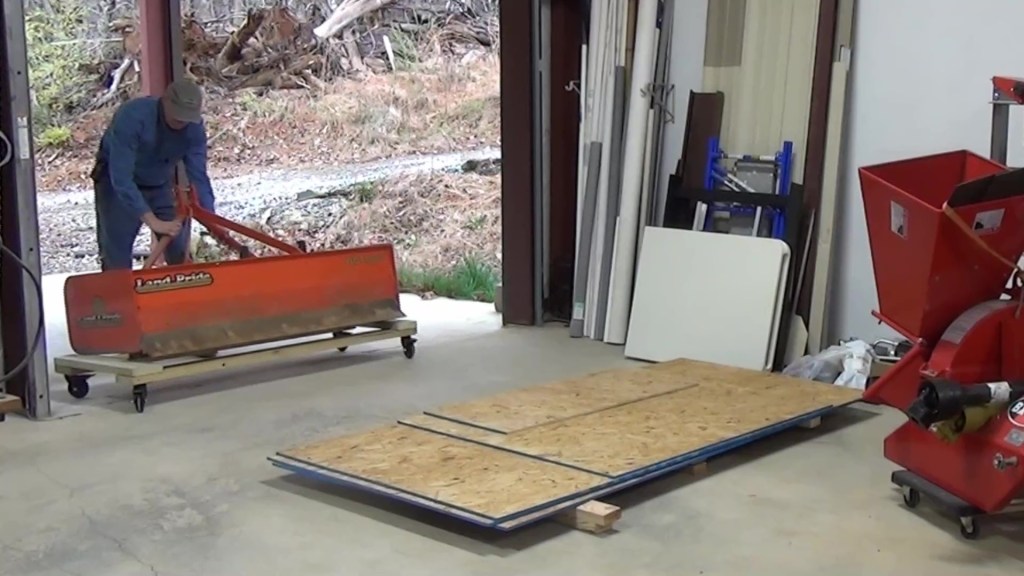
Time for a test run. I position the dolly under the box blade, then lower the 3-point until the box blade is resting on the dolly, then I disconnect it and try rolling it around. After maneuvering it for a while I decide I’m spending too much energy fighting the casters than I’d like so I order another set of the 4″ casters I used on my carry all and ballast box.
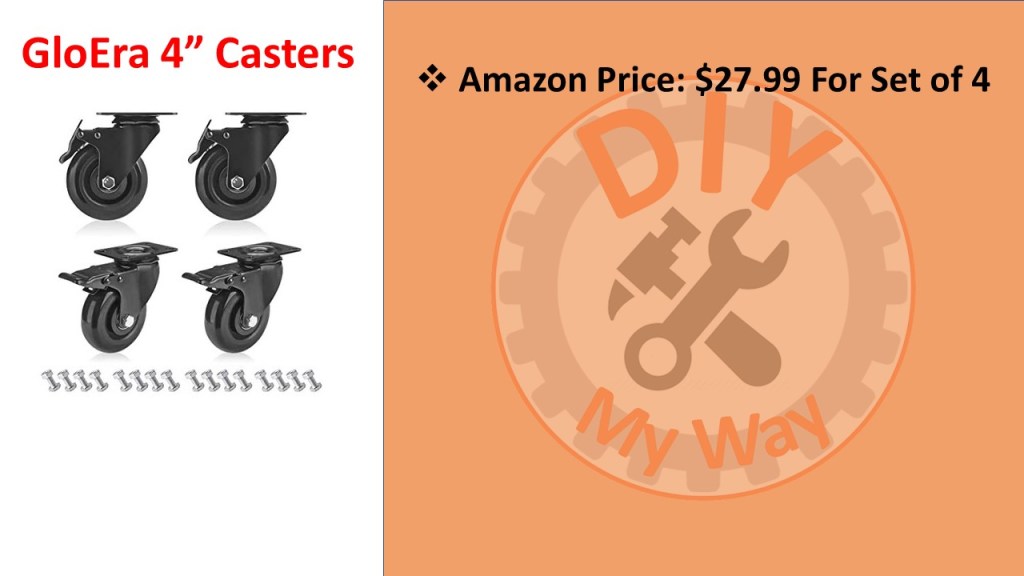
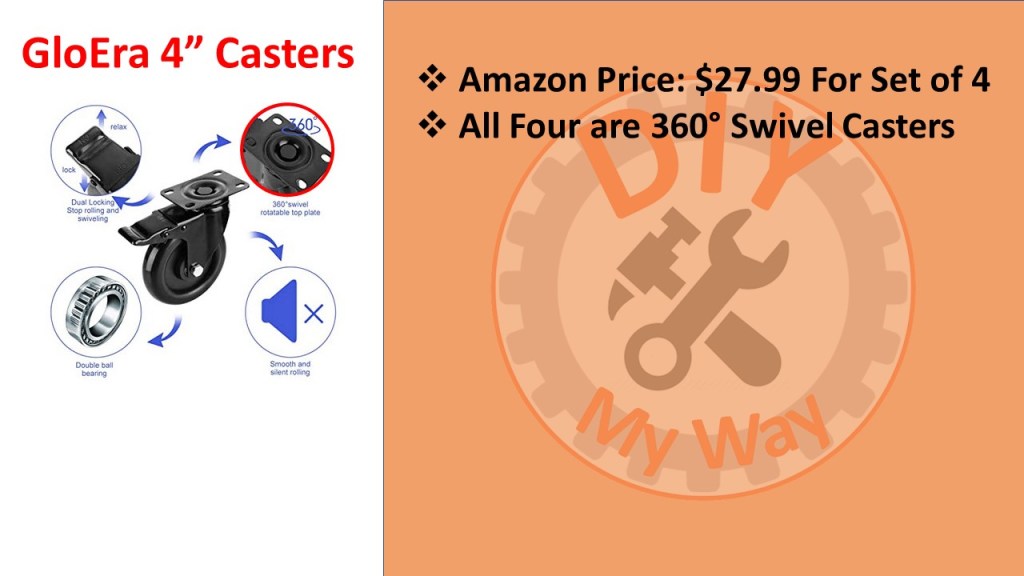
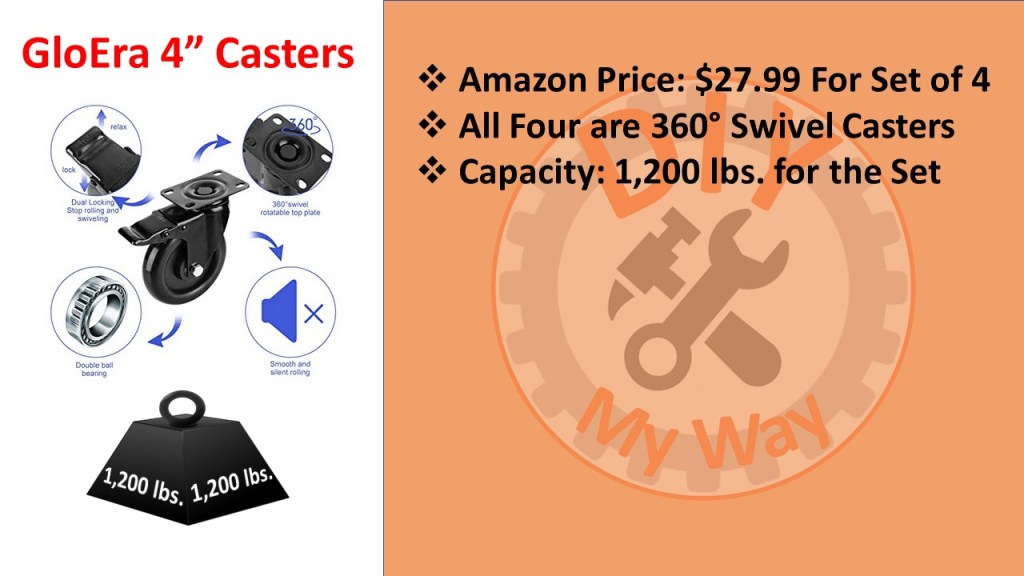
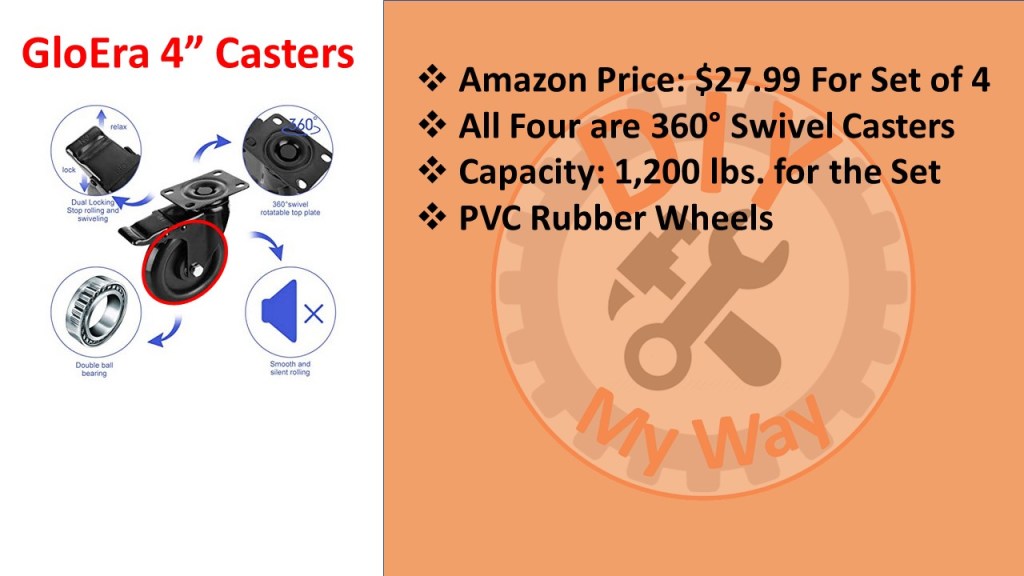
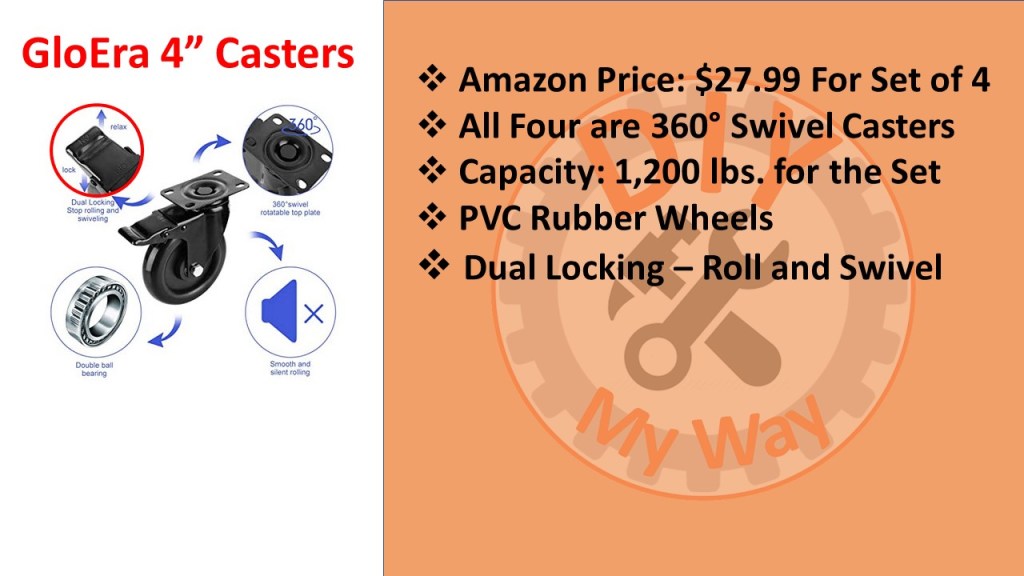
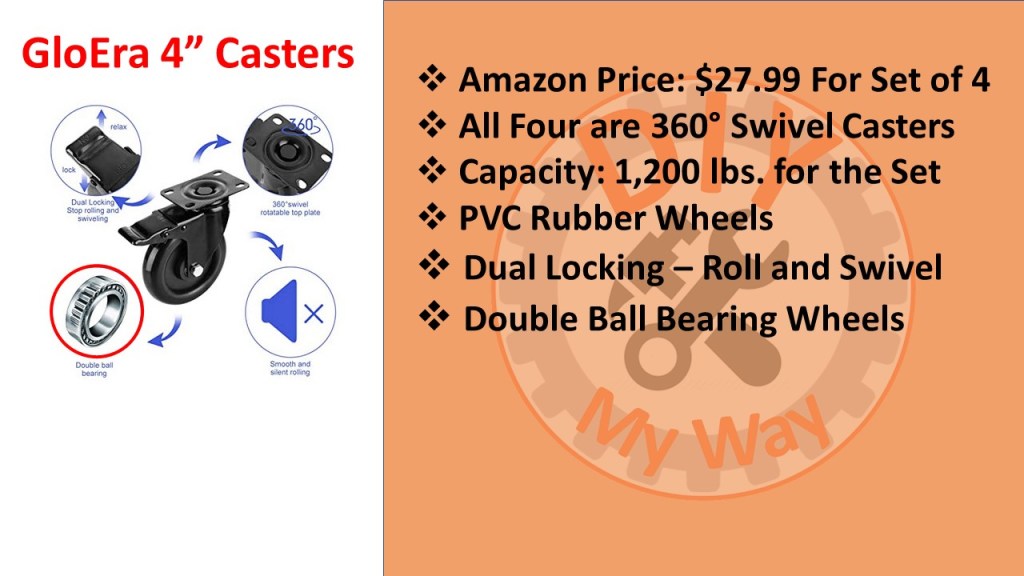
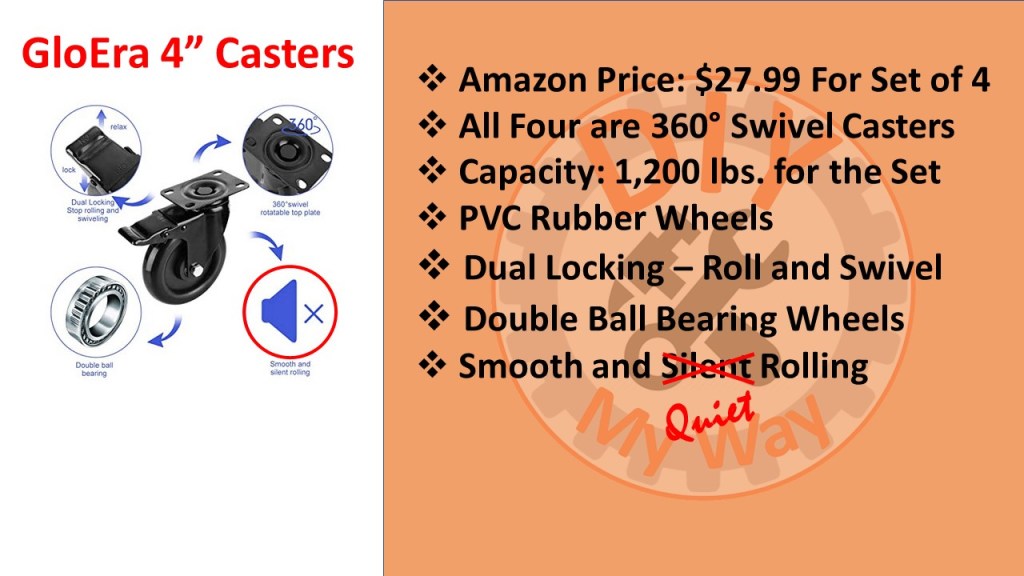
I found the GloEra 4” caster set that I’m using on Amazon for $27.99 for a set of four. All 4 are 360 degree swivel casters, with a total capacity for the set of 1,200 lbs. The wheels are made of PVC rubber and the casters are dual locking for both rolling and swivel. The wheels have double ball bearings for smooth and silent rolling. Well, they certainly are smooth but I wouldn’t say they are silent but as you just heard, they are quiet.
So off with the old crappy casters and I fill three of the holes except the corner one with wood putty since I know from experience the hole pattern of the new casters are close, but not the same.
I line the new casters up with the corner hole then mark where the other 3 will be. Drill the new pilot holes. And drive the screws in tight.
Next, I try out the dolly with the new casters. What a night and day difference! The box blade is now very easy to roll around and position.
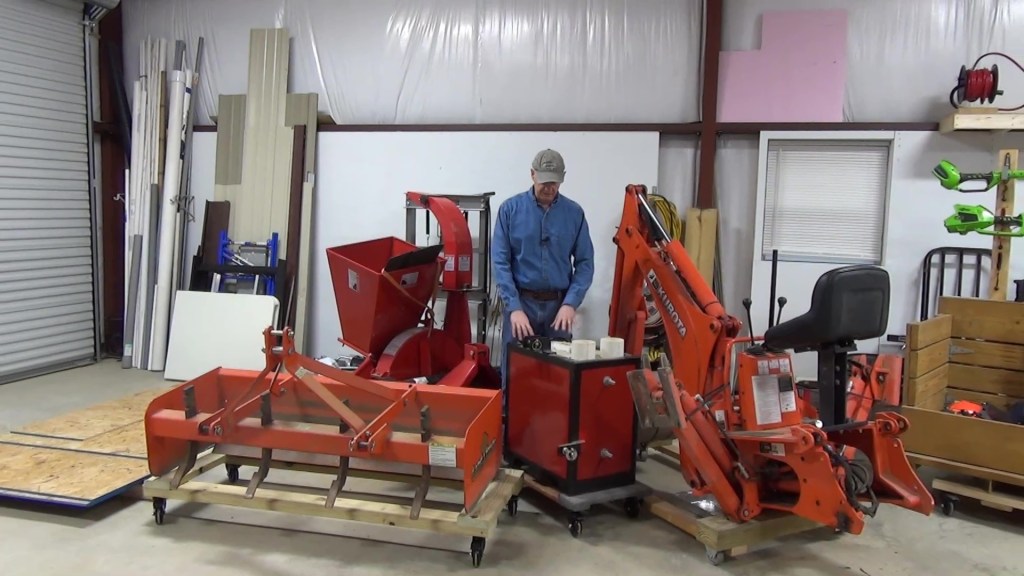
The dolly system has a lot of benefits for me. Besides mobility, I can store them close together with some sitting behind others so I can simply move one out of the way to get to another. That’s going to be more important soon since I have another implement on order and will be building another dolly in a few weeks.
Note: Links to Amazon products are Amazon Associate links that won’t cost you any extra, but will help support my efforts with a small commission on qualified products. Thanks for your support!

One thought on “3 Point Box Blade Dolly Build & Why I Store Implements on Dollies”
Comments are closed.