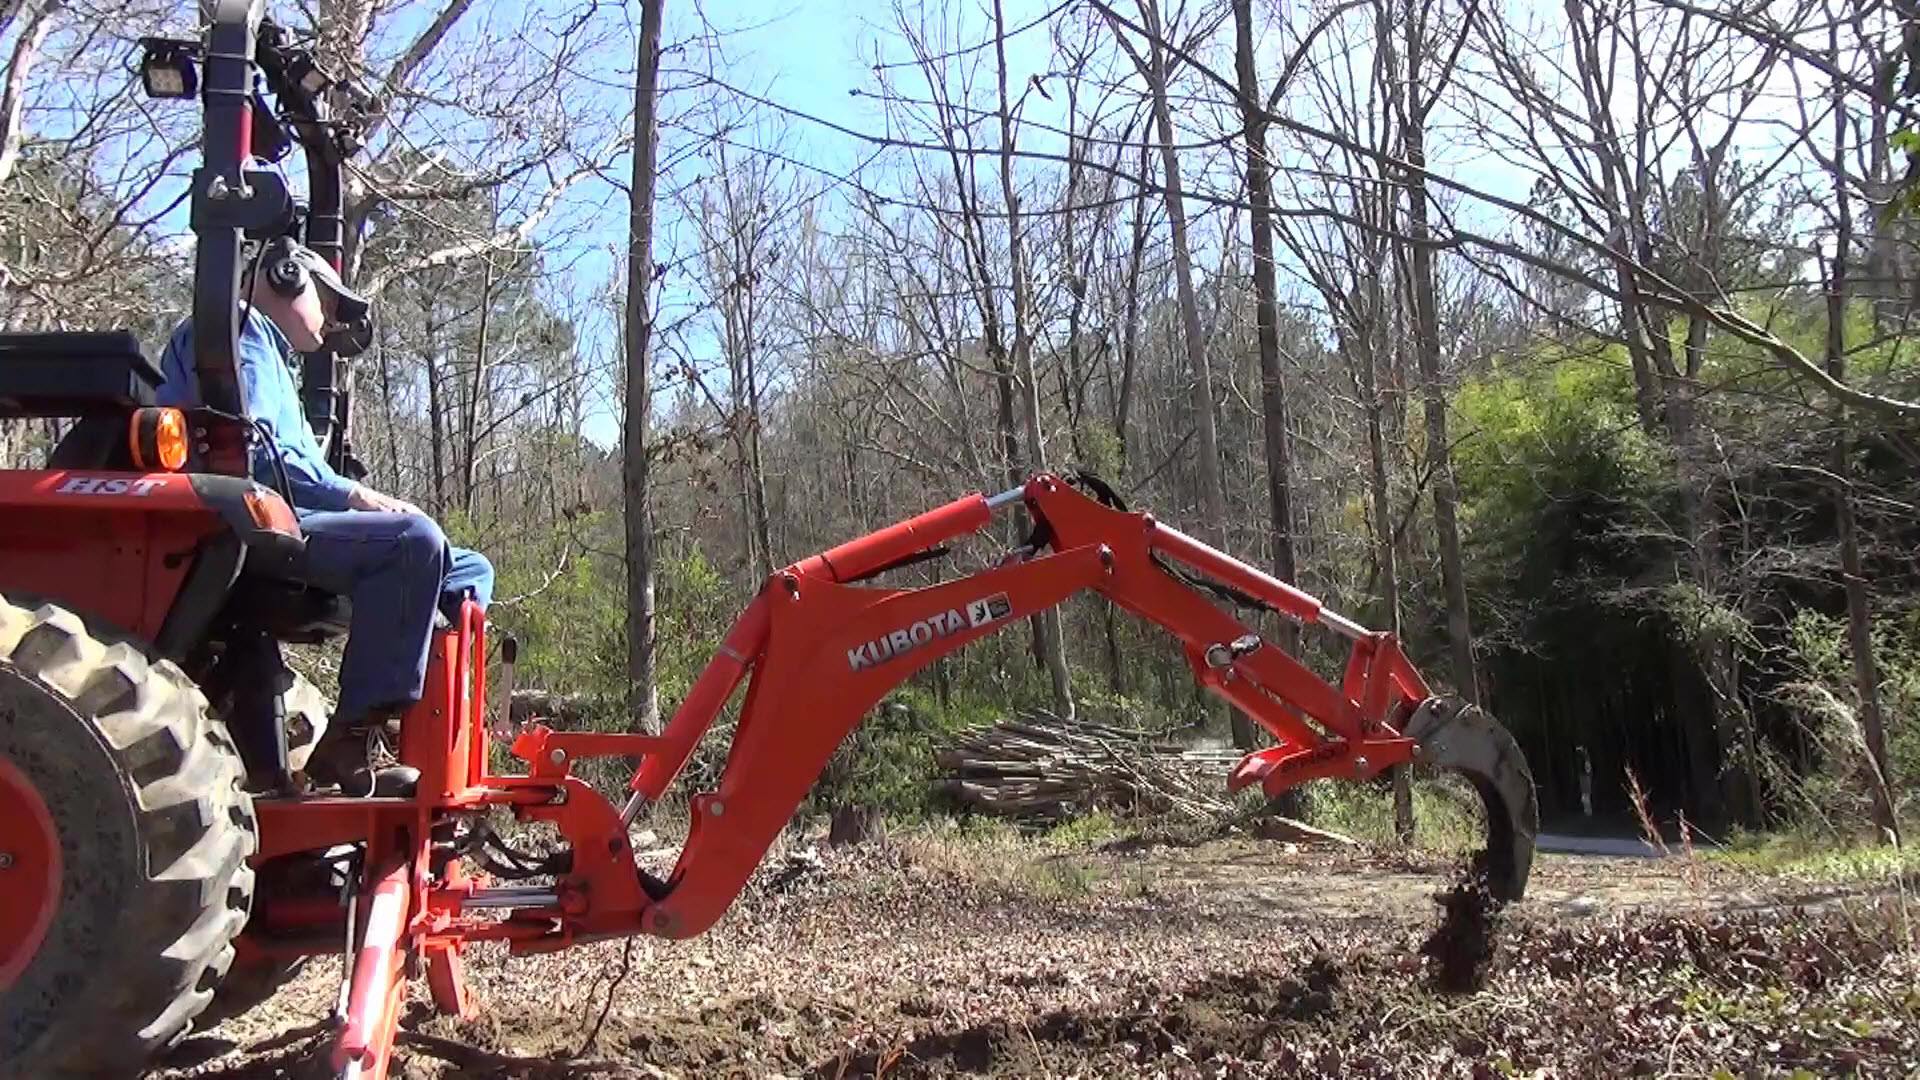
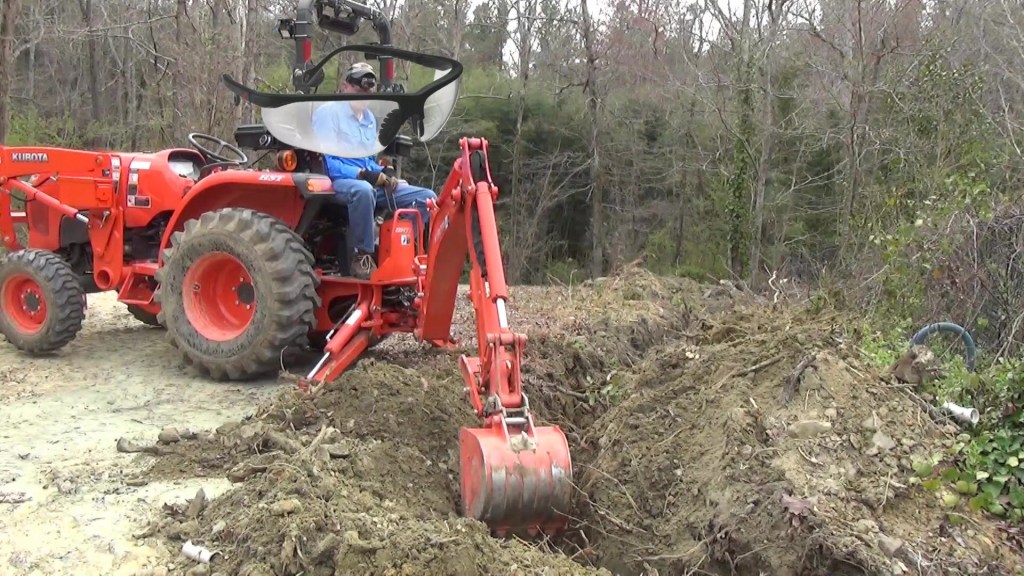
I am getting ready to build the new pool house but I don’t trust the original water line because it is thin-walled PVC and not buried deep enough in some places. So I run a new line at the proper depth using my Kubota backhoe and my BXpanded trenching bucket and backhoe ripper. But there is a big rock to deal with…
Part 1
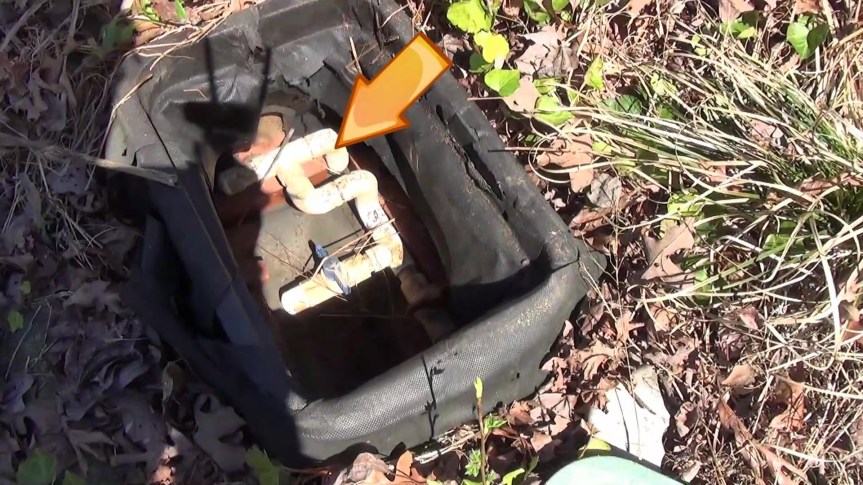
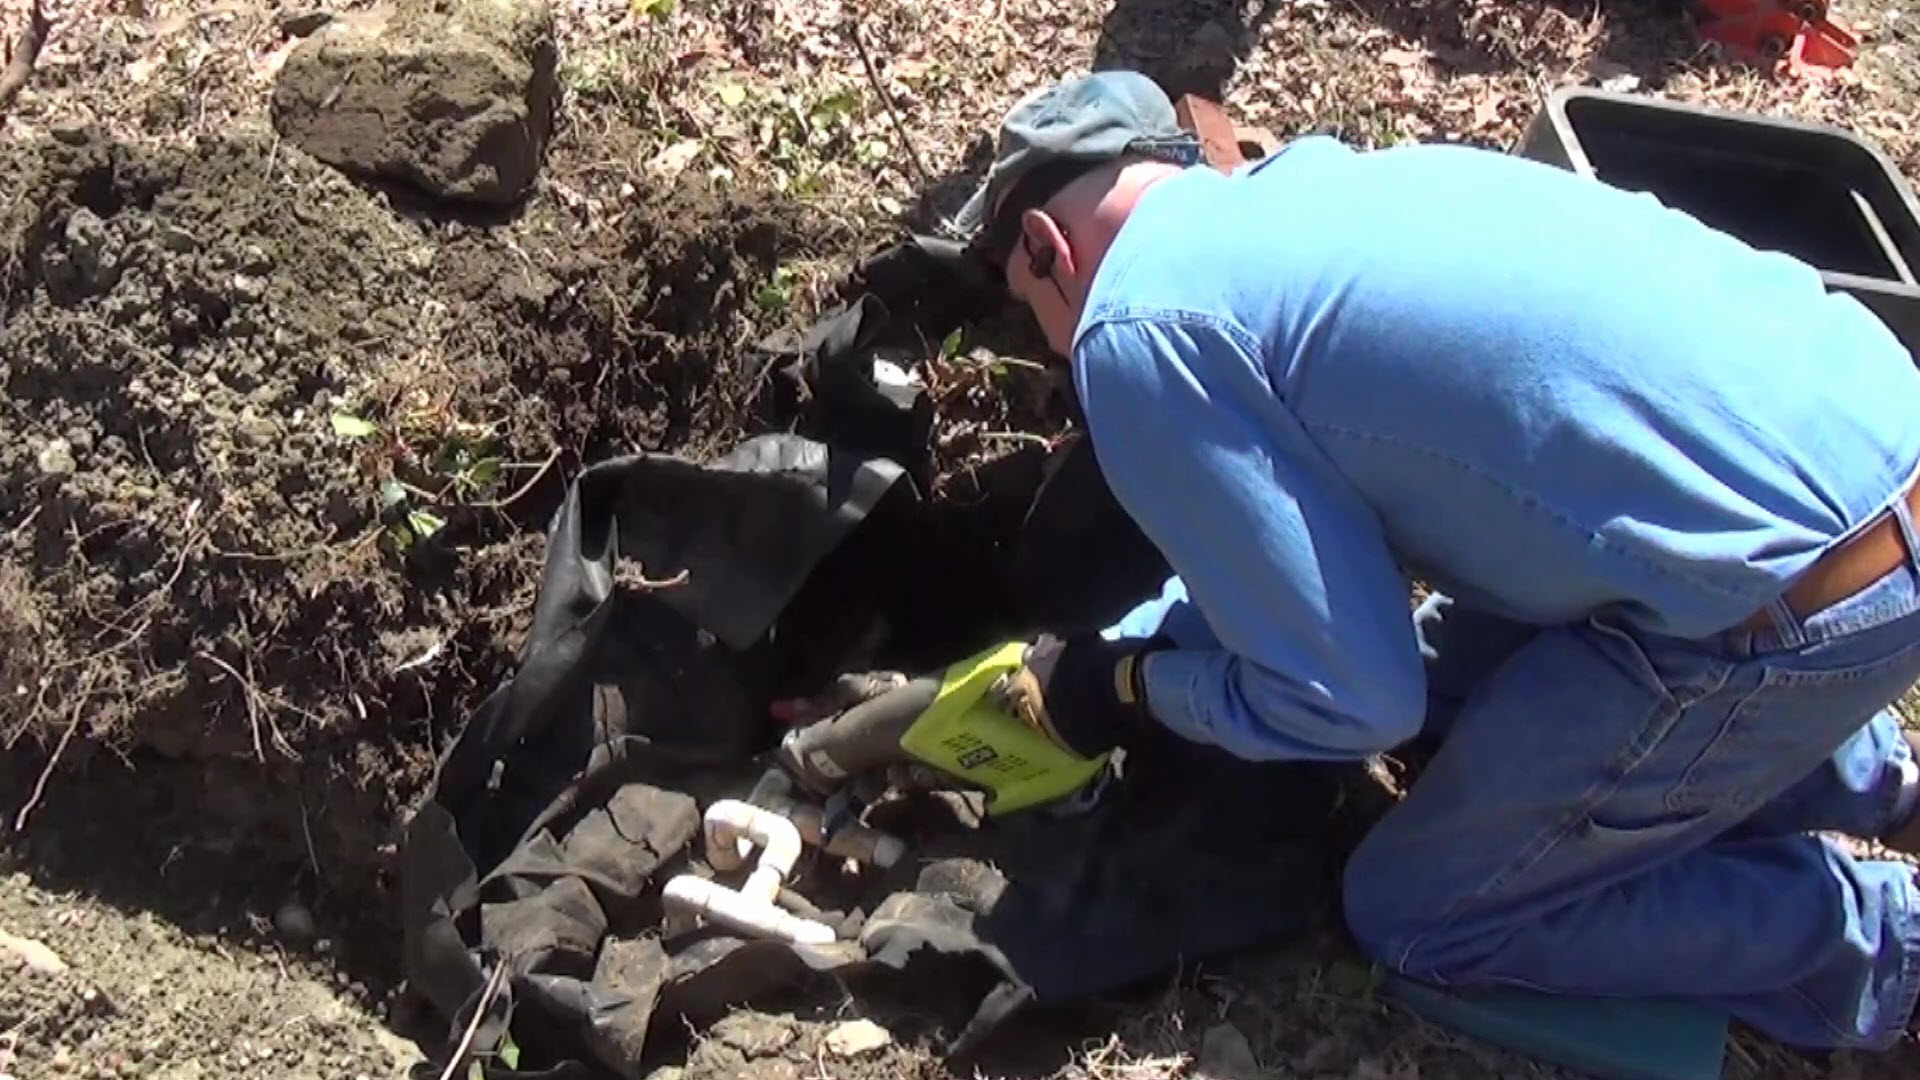
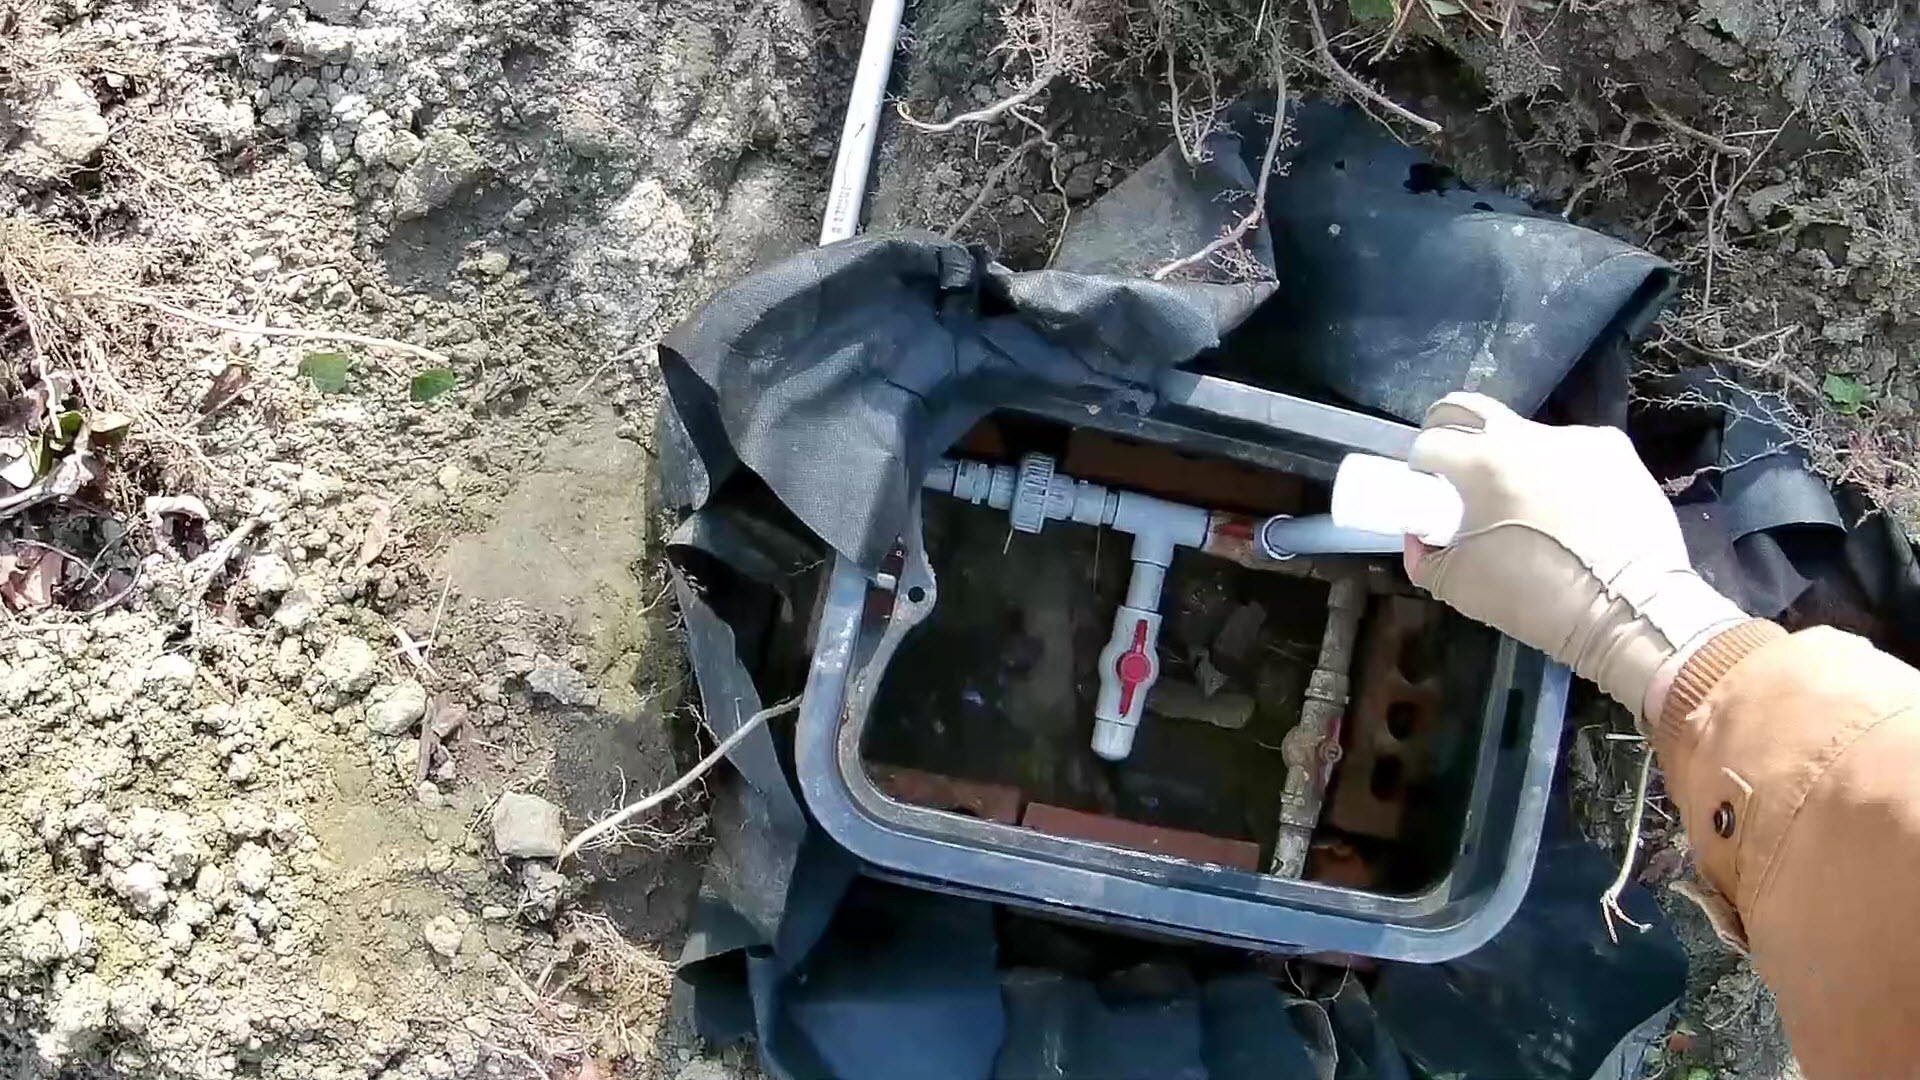
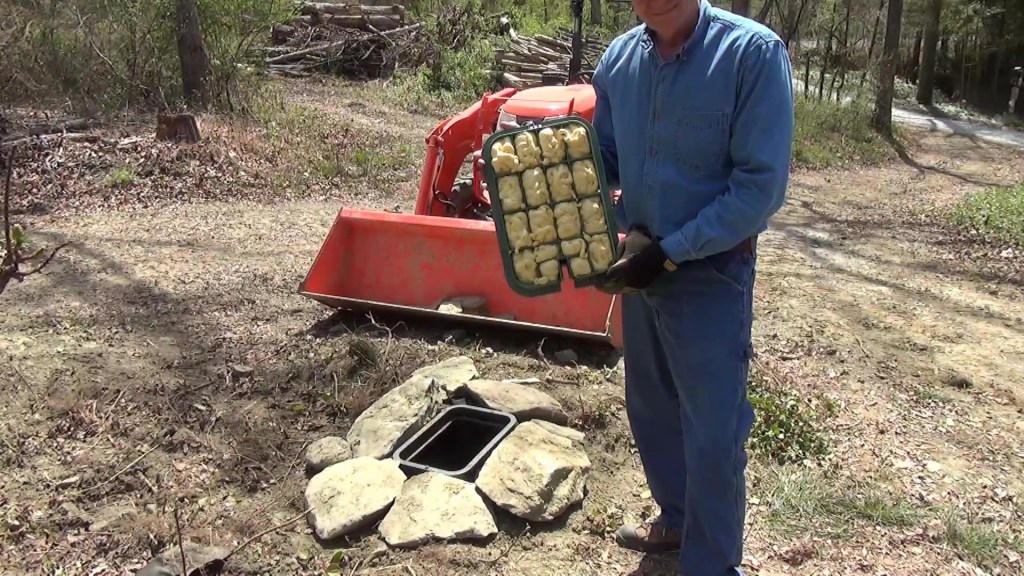
The old water line to the pool house left the valve box as shown in the picture below.
The first thing to do is switch from my 16″ backhoe bucket to the BXpanded trenching bucket. Fortunately, the BXpanded Quick-On Backhoe Connector makes this easy.


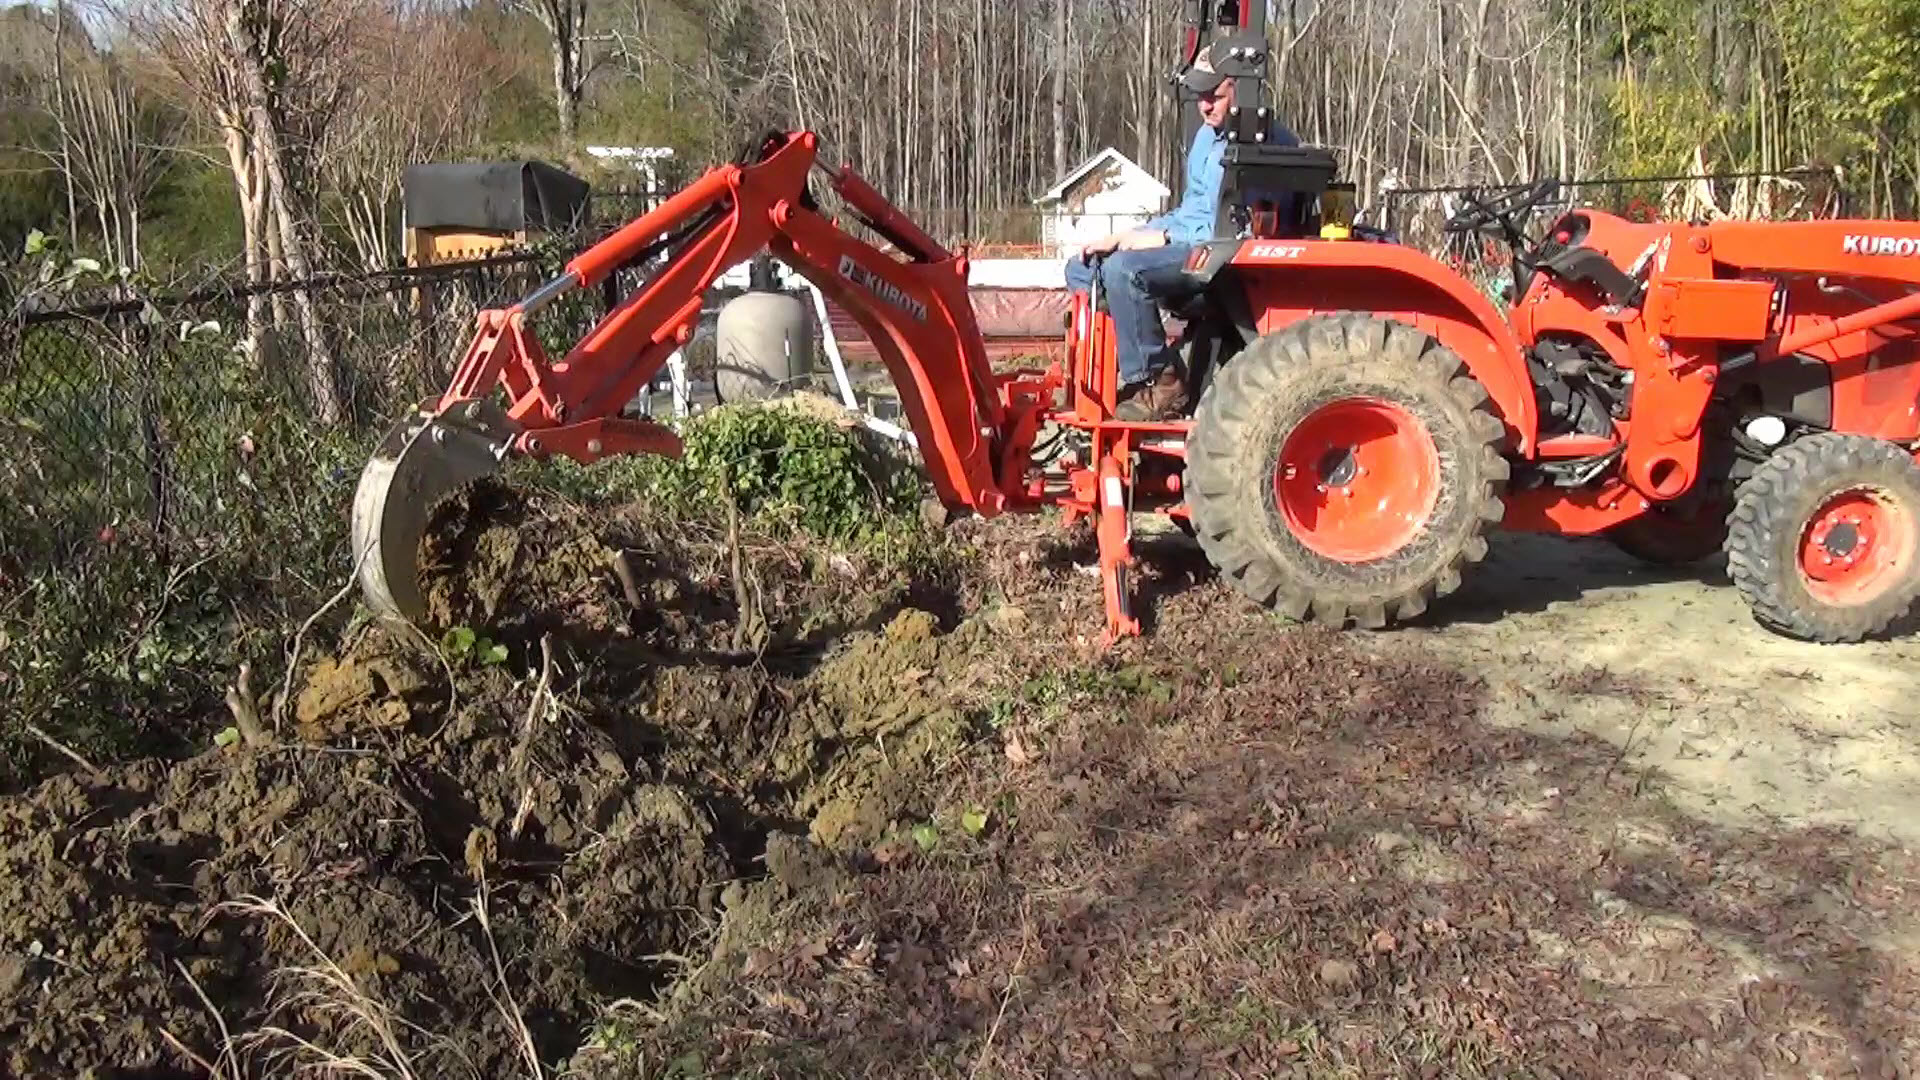
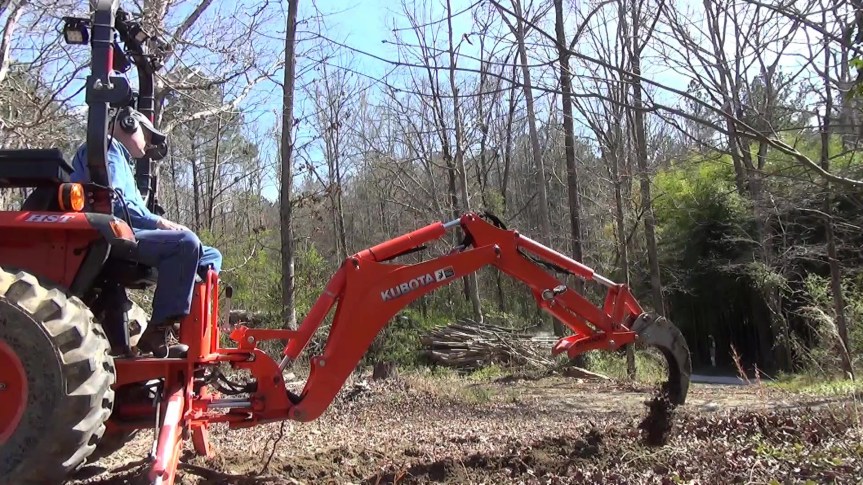
A large bolder is in the middle the path between the valve box and the site of the new pool house so I decided I would try to dig between the rock and the fence, which is my preferred route for the pipe, working my way toward the location for the new pool house. I wanted to make sure I could get by it before trenching the rest. Luckily, I am able to get by it.
The design of the BXpanded Trenching bucket really helps. It has cutaway curved sides to help with dumping excavated material. Without this, it would be much more likely to get packed with dirt or clay that would get stuck in the bucket.

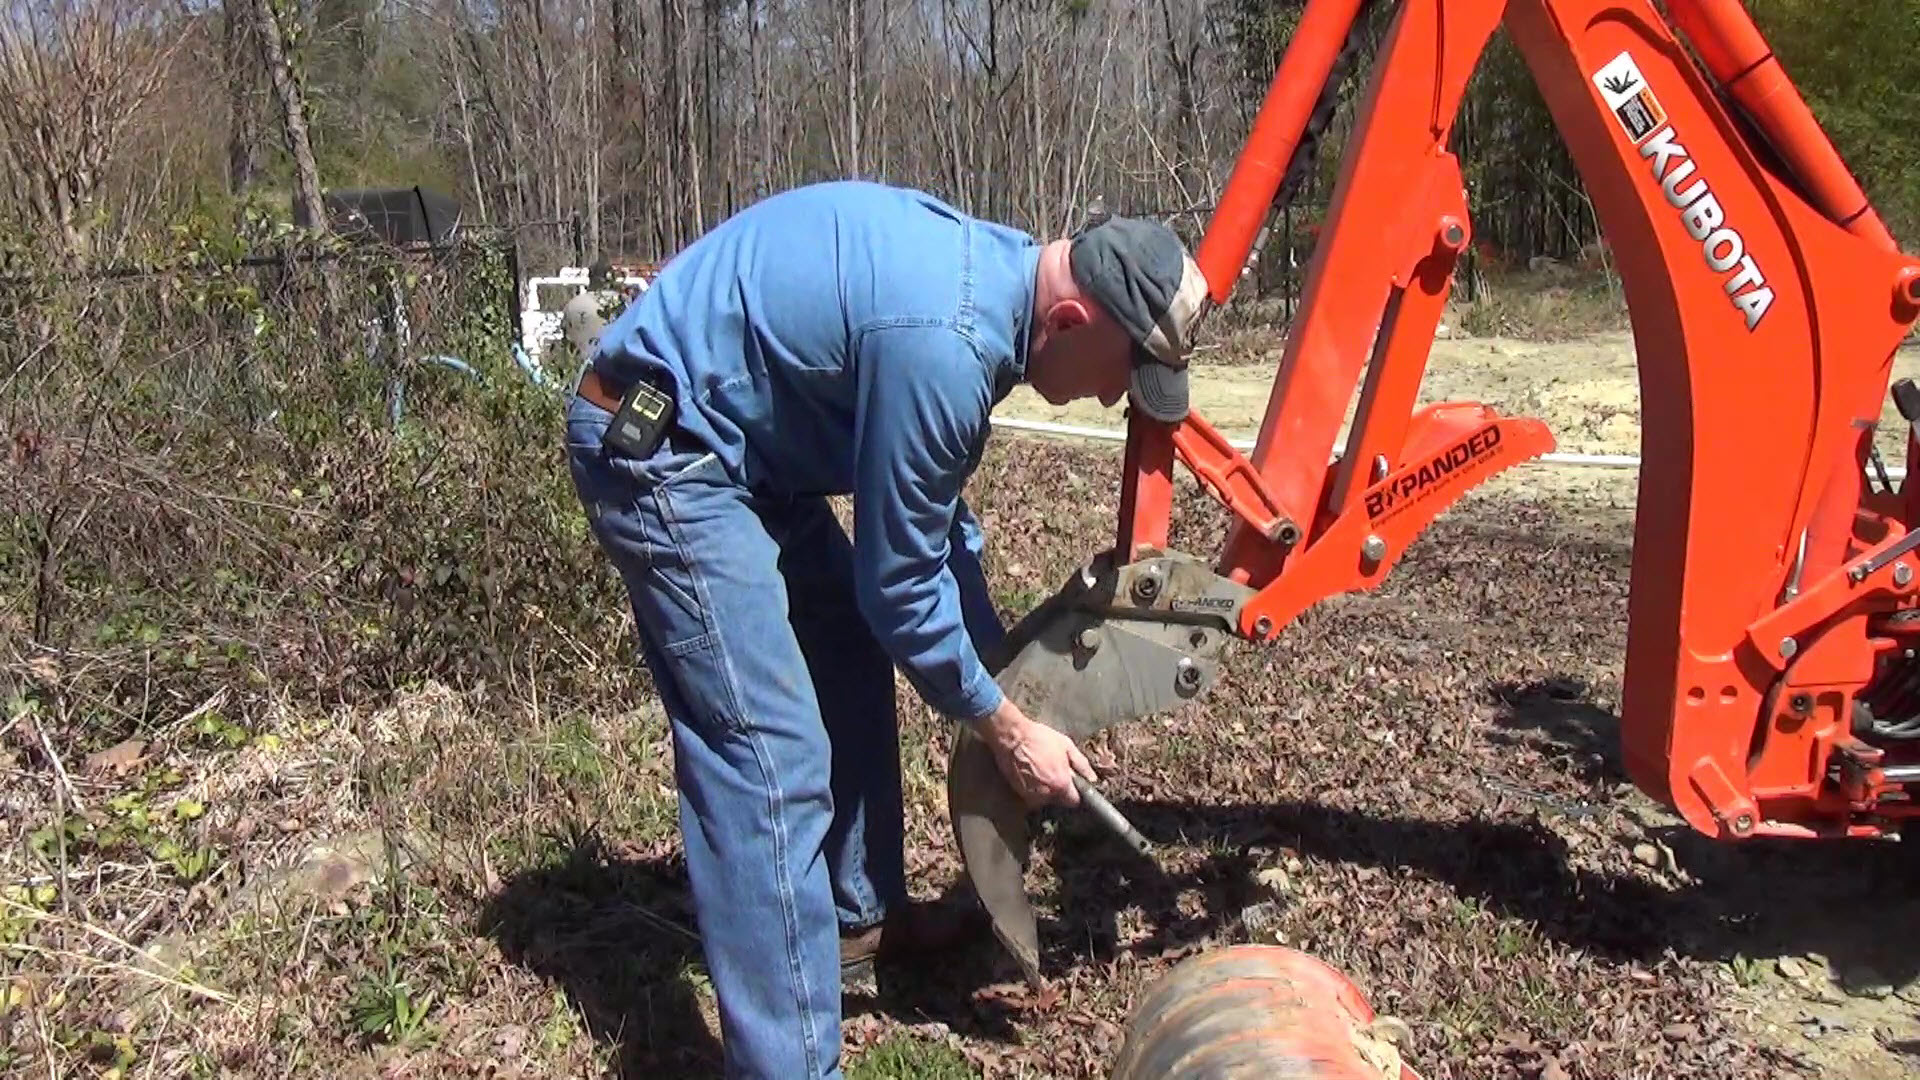
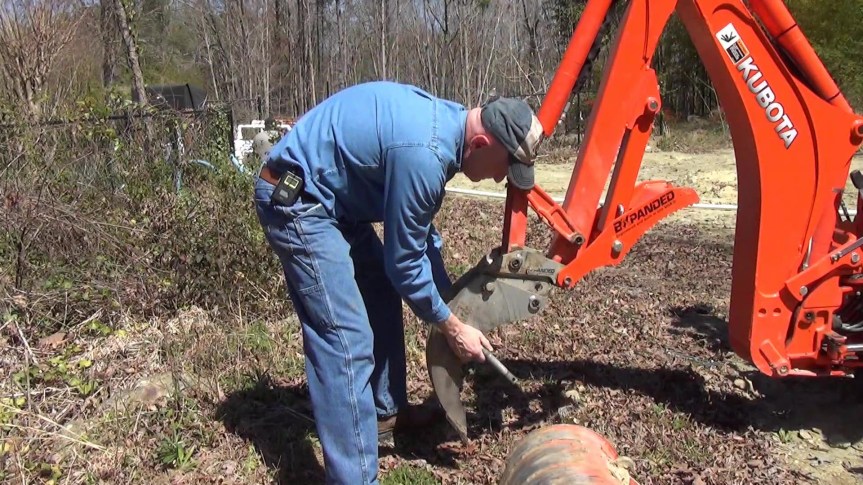
Next, I swap out the trencher bucket for the BXpanded backhoe ripper, hoping to minimize trauma to the roots of a maple tree I want to keep. I also try to stay as far from the tree trunk as practical.
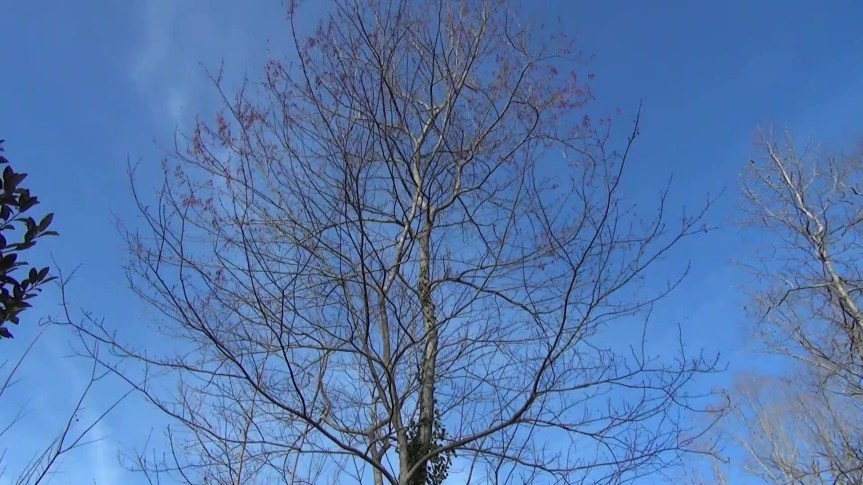
I’m not sure I avoided much trauma to the roots, though. It looked pretty traumatic to me!
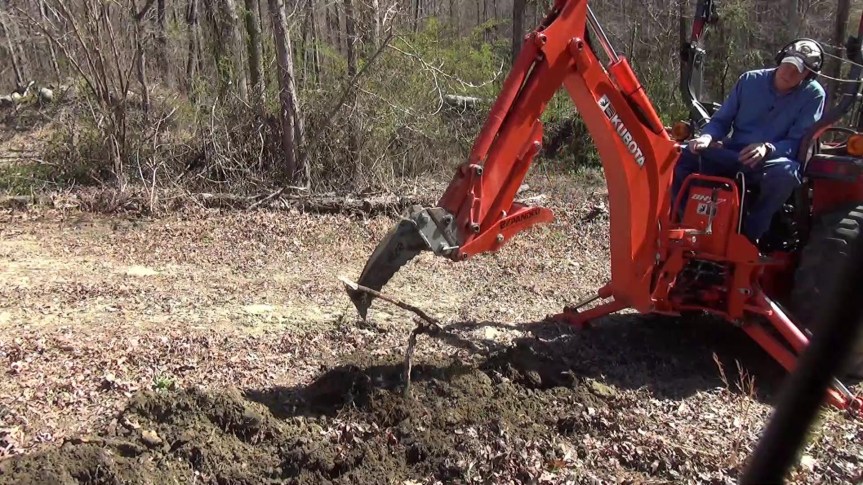
As I used the ripper near the valve box, I heard the sound of metal on rock. I was hope the rocks weren’t too big!
After ripping the roots around the maple it was time to change from the ripper back to the trenching bucket. Quick and easy!
Turns out that there was a lot of rock near the valve box, but they weren’t very big and plucked out of the ground easily.
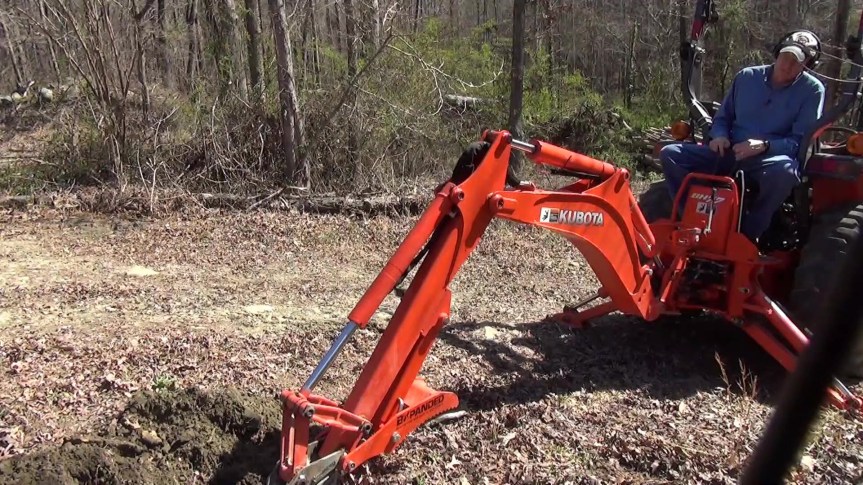
After finishing digging toward the valve box, I continued trenching from the big rock toward the area where the new pool house will be. Fortunately, the digging was easy.
Part 1 Picture Gallery


Part 2
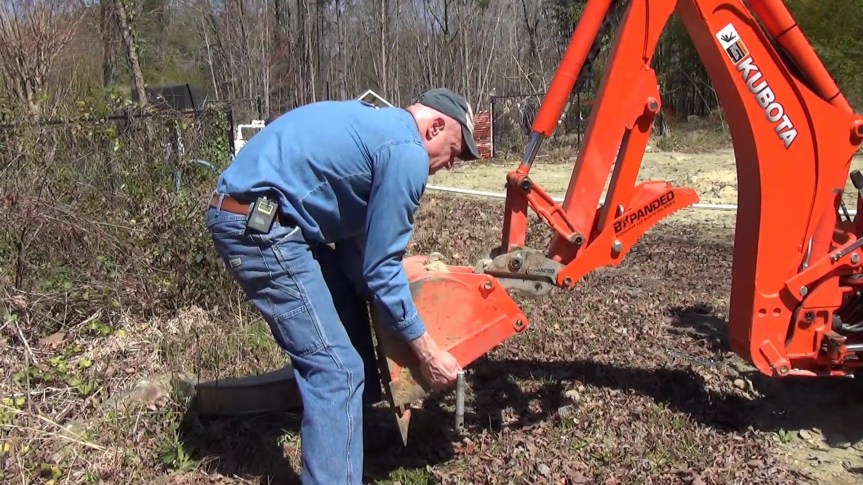
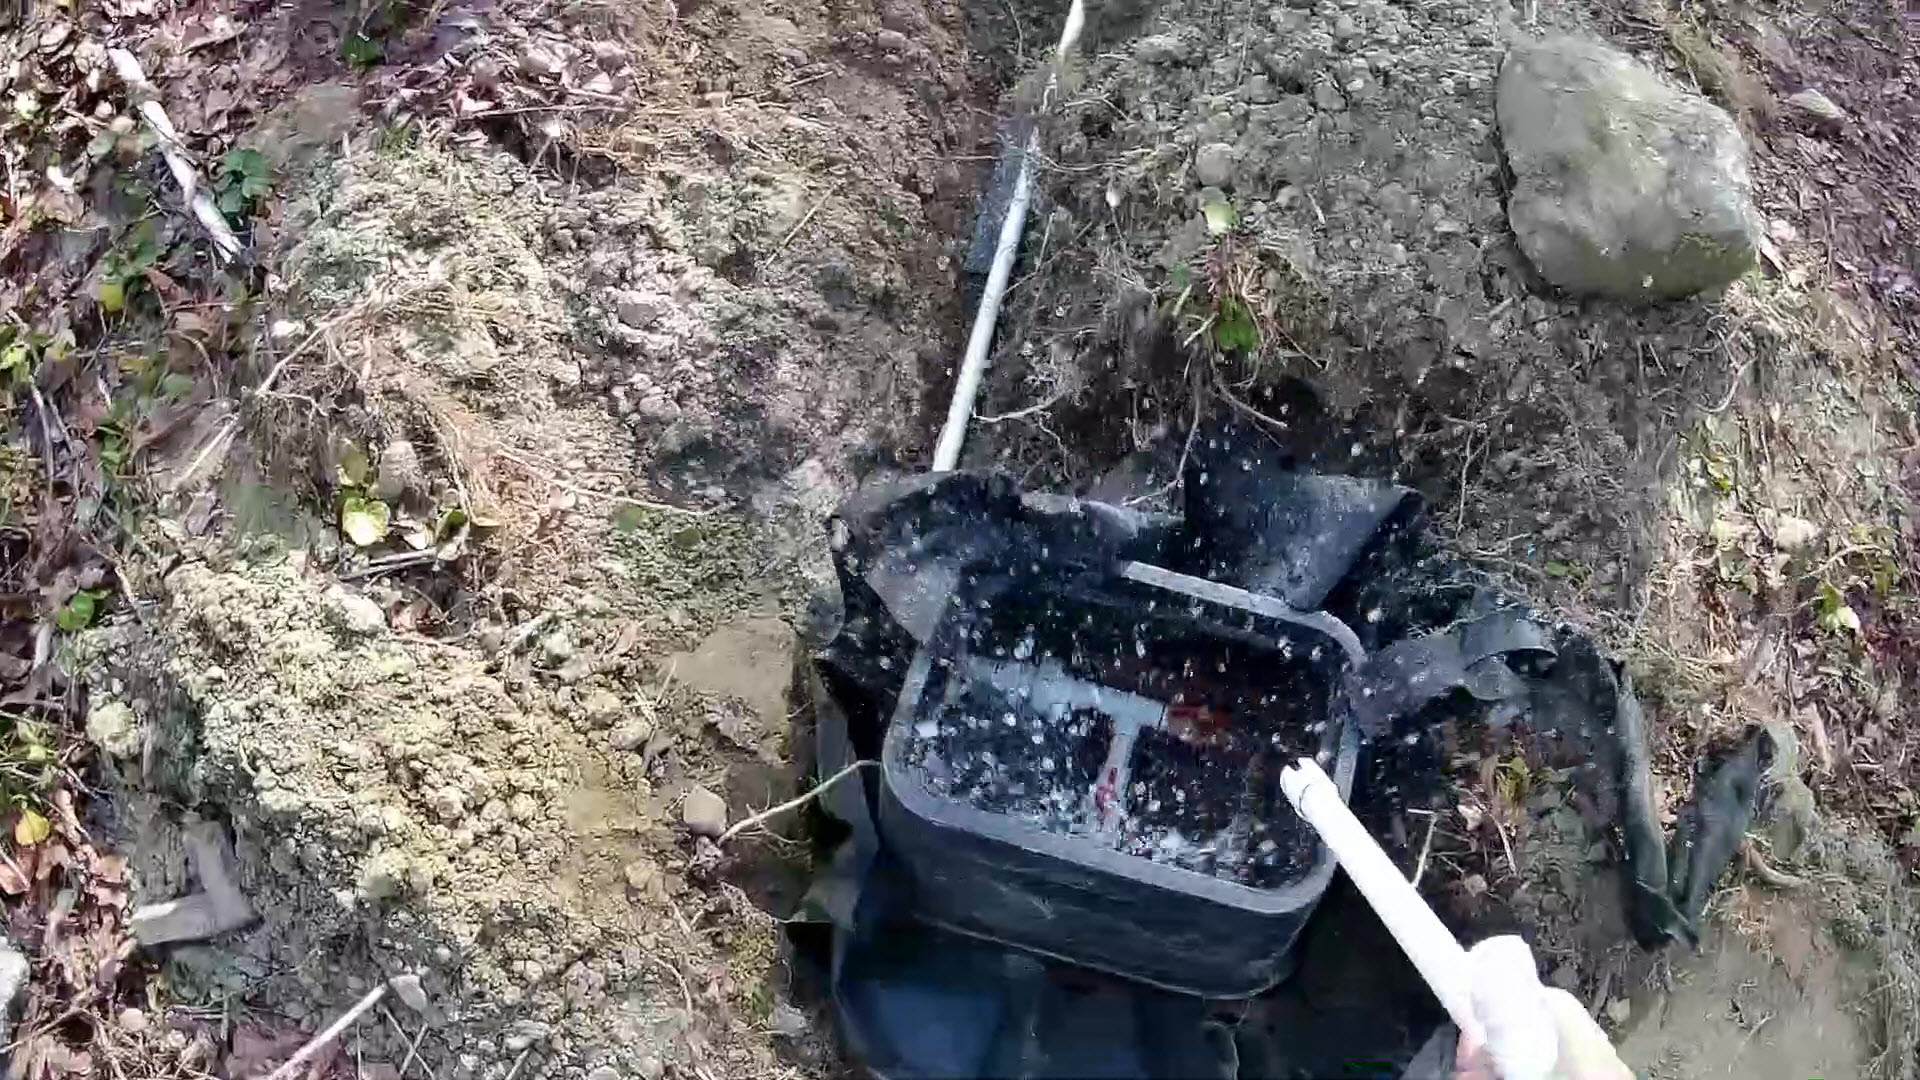
I needed to clear the dirt away from the valve box to expose the pipe and started doing it by hand then I decided to dig it the lazy way – with the backhoe. What could possibly go wrong?
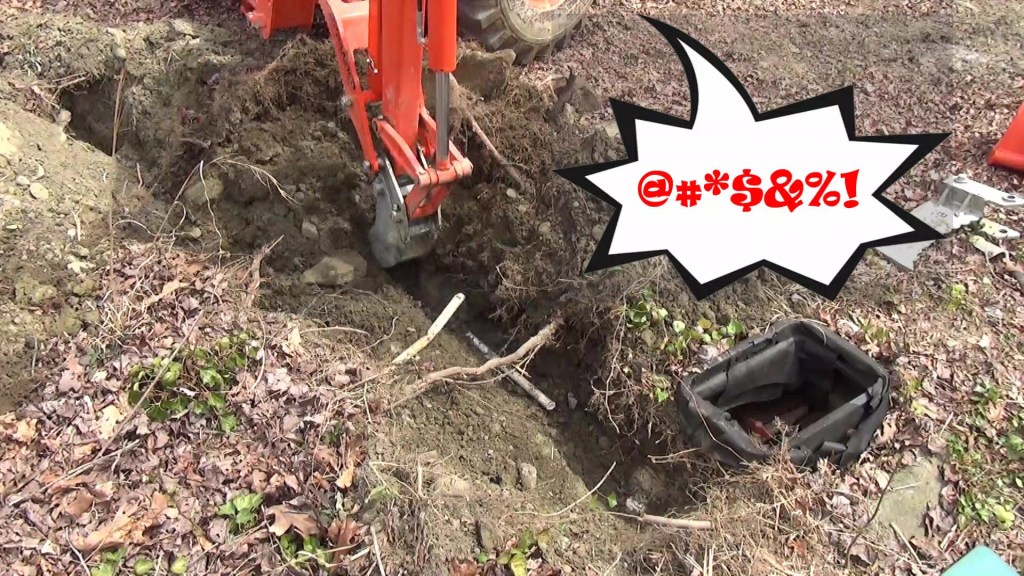
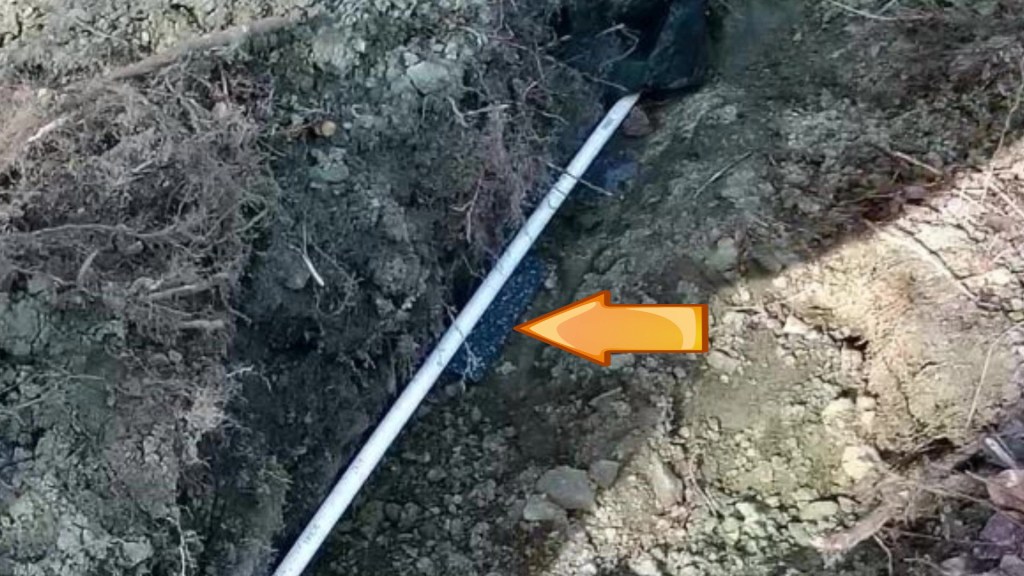
So that was the old water line. Now my plumbing job was going to be a little more complicated than I had hoped. Oh well, I would have to deal with that later.
First, I needed to finish the trenching, starting with clearing out the curve of the trench. Then I moved up near the pool house site to finish the trenching on that end. This was right next to a big stump so I was expecting to have to cut through some big roots, but it wasn’t bad. Turns out I would have a bigger challenge shortly.
And there it was. The sound of trouble. The sound of rock! This was a job for the 16” bucket. I put on safety glasses since digging rock can hurl chips my way.
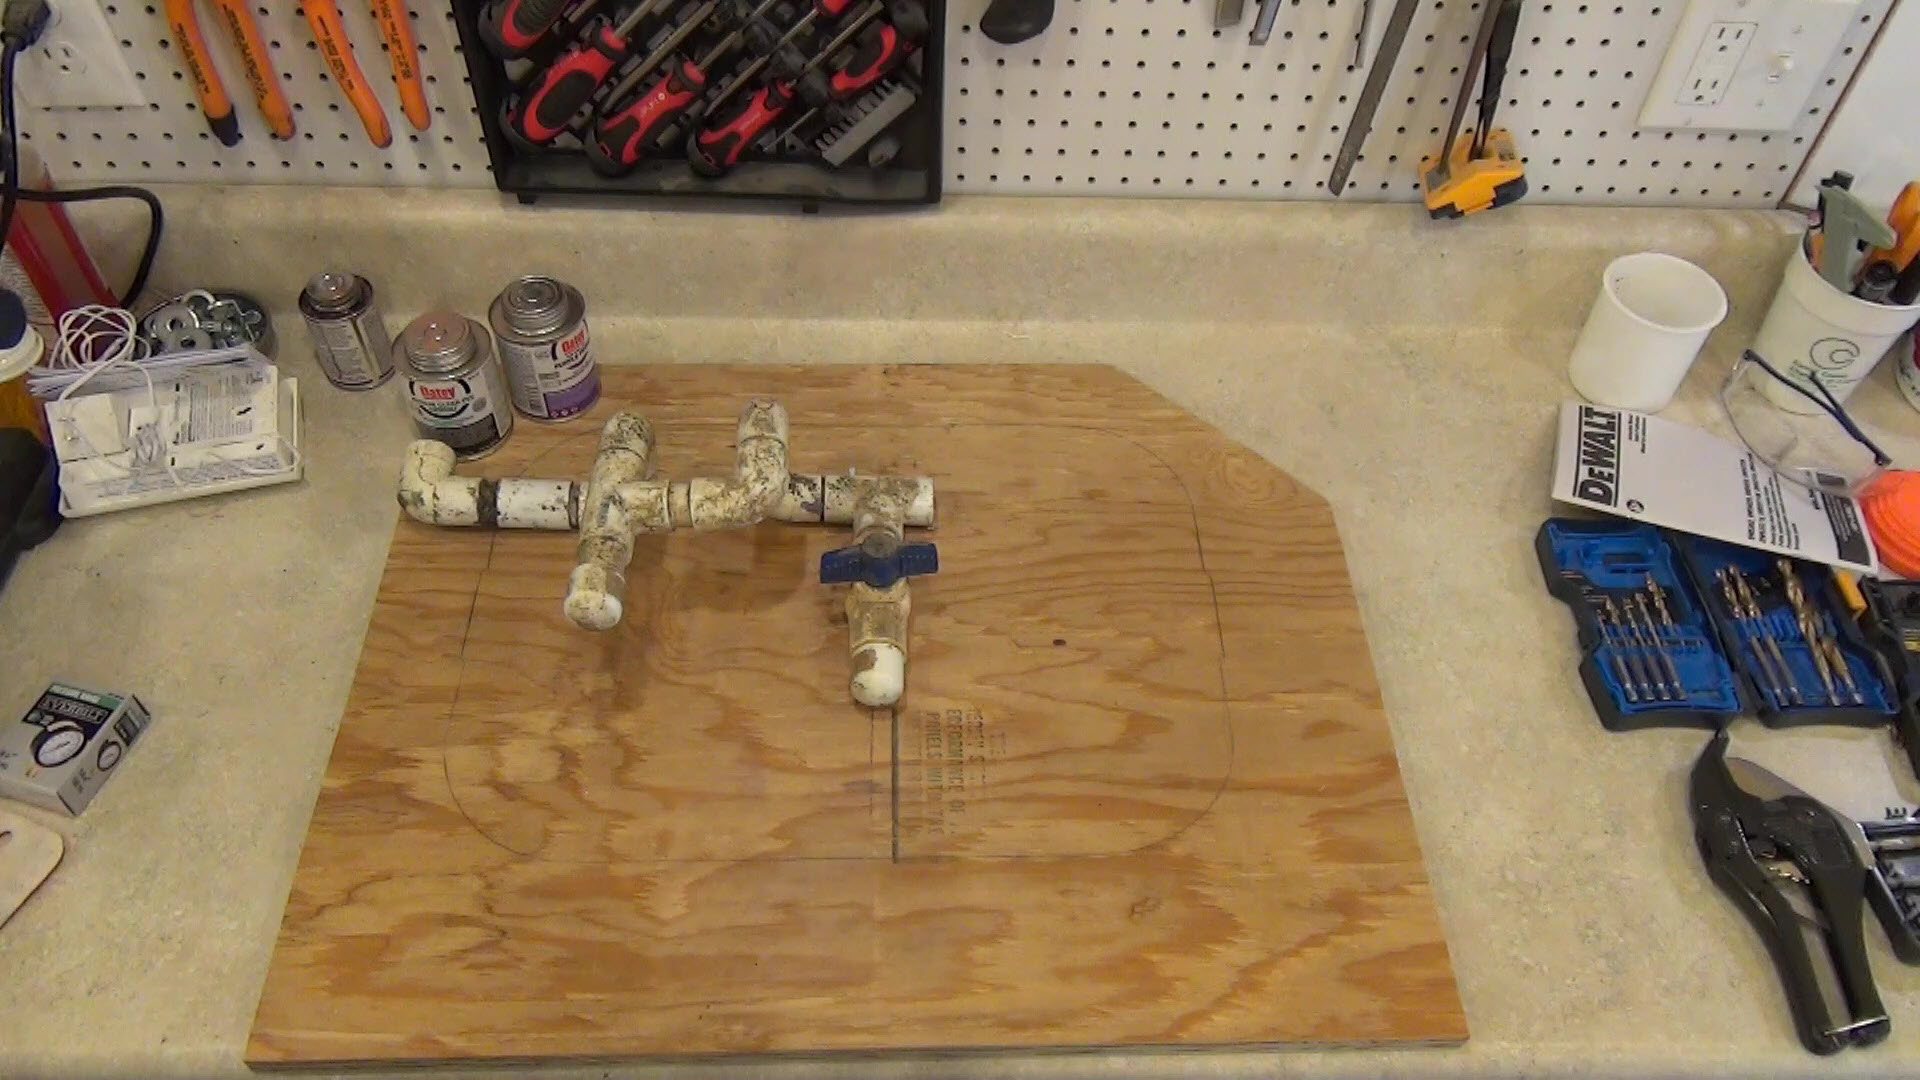
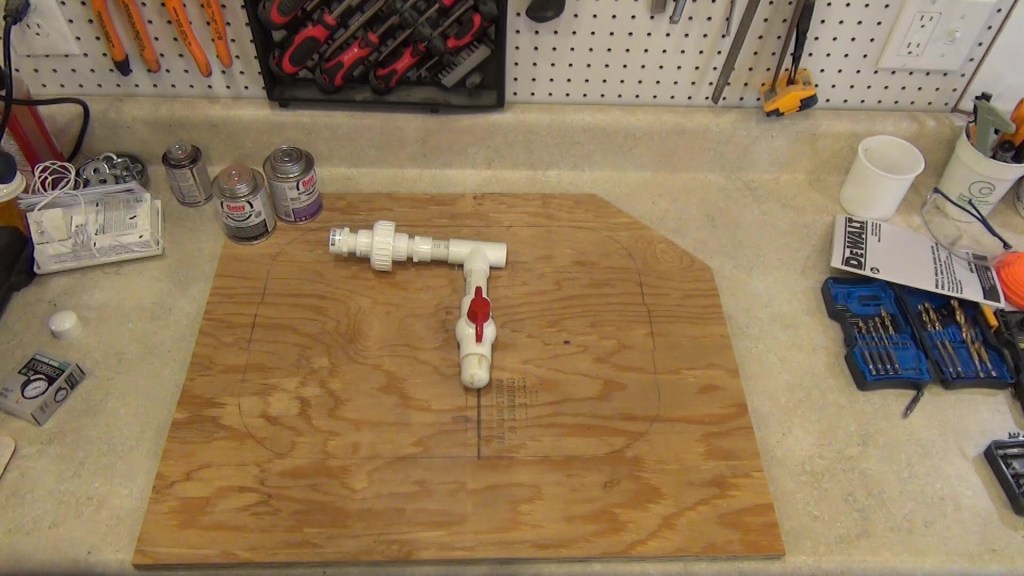
With the trench cleared, I started on re-plumbing the valve box by cutting the old piping out and taking it to my shop as a reference for building a new valve assembly. I had an outline of the bottom of the valve box on a piece of plywood to help figure out the new piping. First I recreated the drain valve, then added a union with threaded connections, which will give me maximum flexibility for any future changes I might need to make. A few short pieces of pipe pulls it all together.
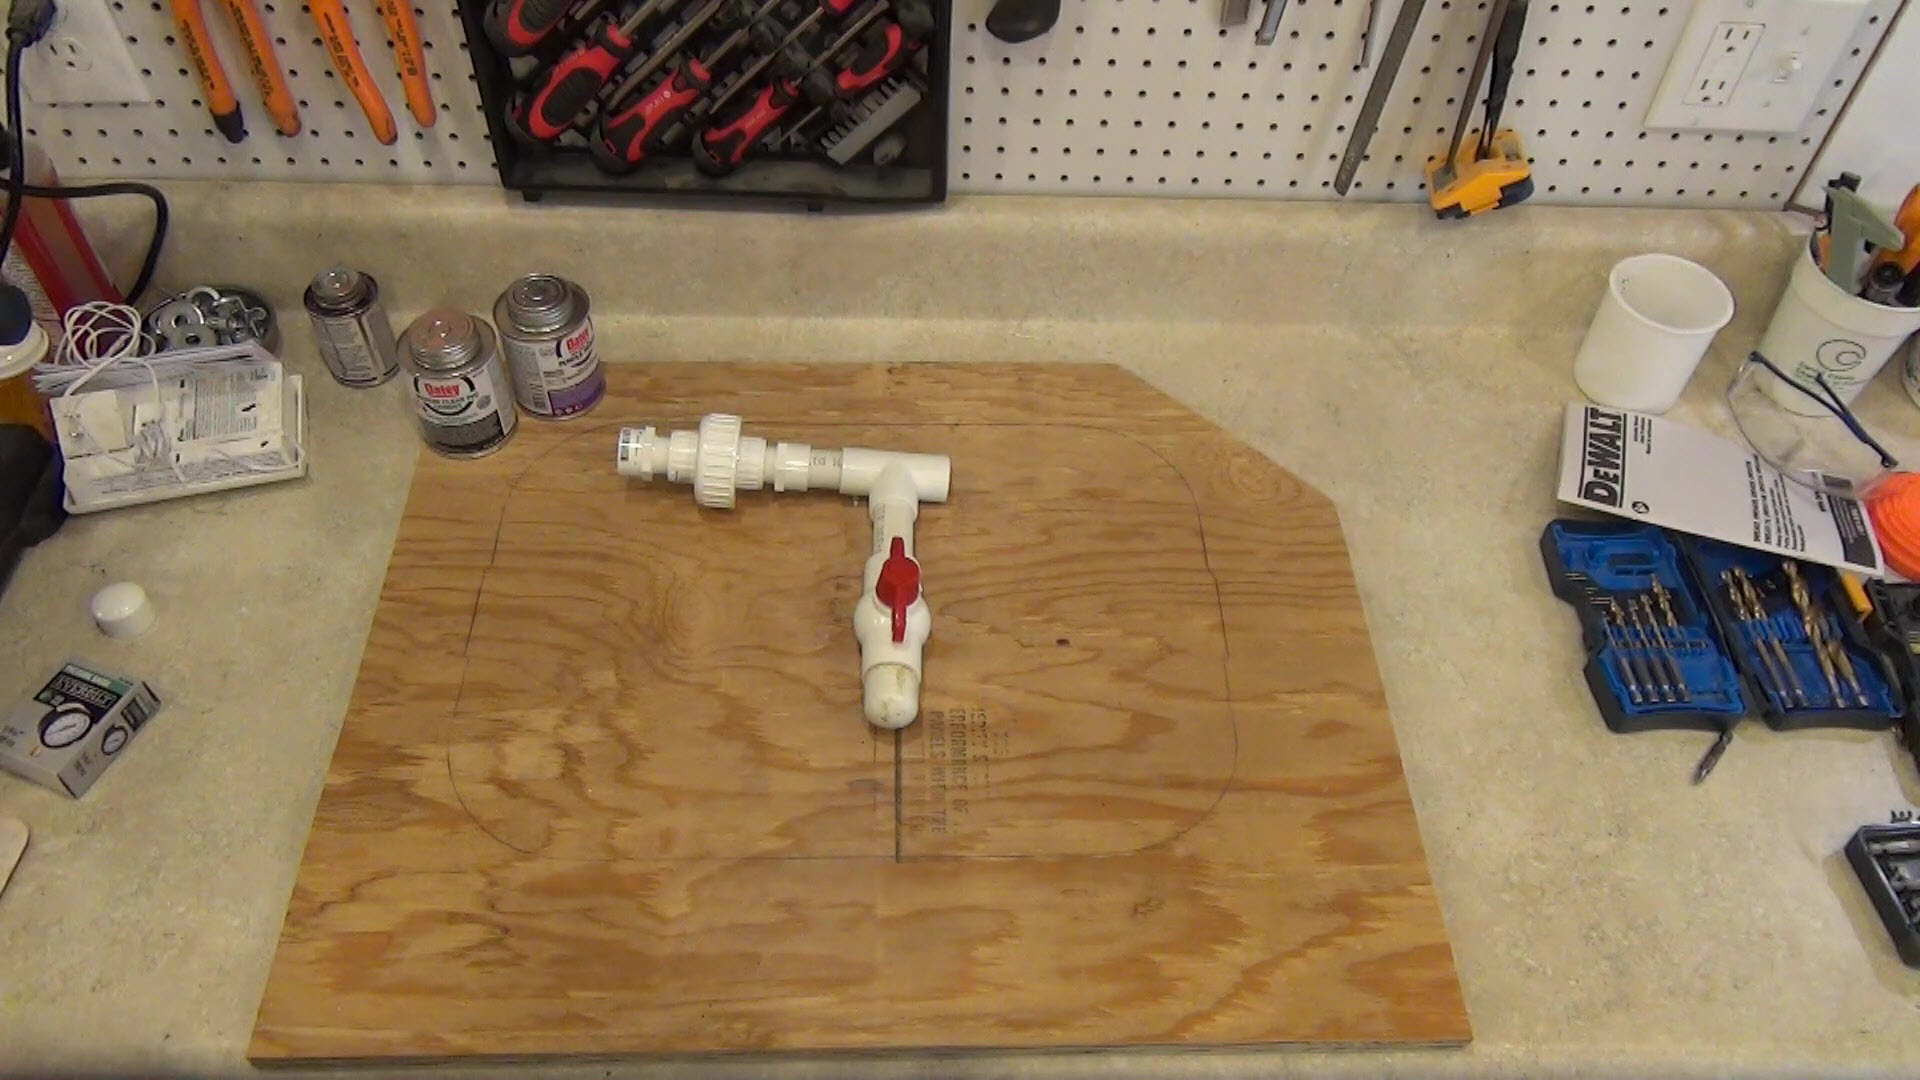
After installing the new vavle assembly, I added a section of pipe with an elbow to head the line toward the trench. Then I measured for the length of pipe I would need to get where the 45 degree coupler will be.
I put an end cap on each section I’m installing to keep dirt out until I’m ready to attach the next piece. Sometimes I use a brick to keep the end of the pipe out of the dirt.
A short piece of PVC pipe is quite stiff, but long lengths are like a wet noodle, which worked to my advantage through the curves of the trench.

After gluing all the piping together with and end cap on the end, it’s still about 15 feet from where the pool house valve box will be. I won’t run the rest until the slab is poured and the electrical service is run. Then I’ll lay the rest of the pipe and install the valve box.
When it was time to pressure test the line, I used the “Valve Tamer” I made as a previous project to open the valve. However, I forgot one detail that gave me a surprise.
I forgot to close the drain valve, so I ended up getting a shower earlier in the day than usual! Brilliant. Now I wouldn’t know for a while if there is a leak in the valve box.
By the way, wherever the pipe has to sit on top of rock, I use a piece of rubber gym floor mat to cushion it from the rock.
Also, when practical, I like to glue the pipe sections together and pressure test above ground before putting the pipe in the trench. That way the pipe joints are at full strength by the time I put the pipe in the ground.
When the dirt beside the ditch has too much rock in it, I use some relatively rock-free dirt from a near-by pile.
After filling in the trench, I pack it in with the tires of the tractor. I fill in dirt around the valve box by hand to avoid chaos, death and destruction. Finally, I put some of those rocks to good use by placing them around the box.
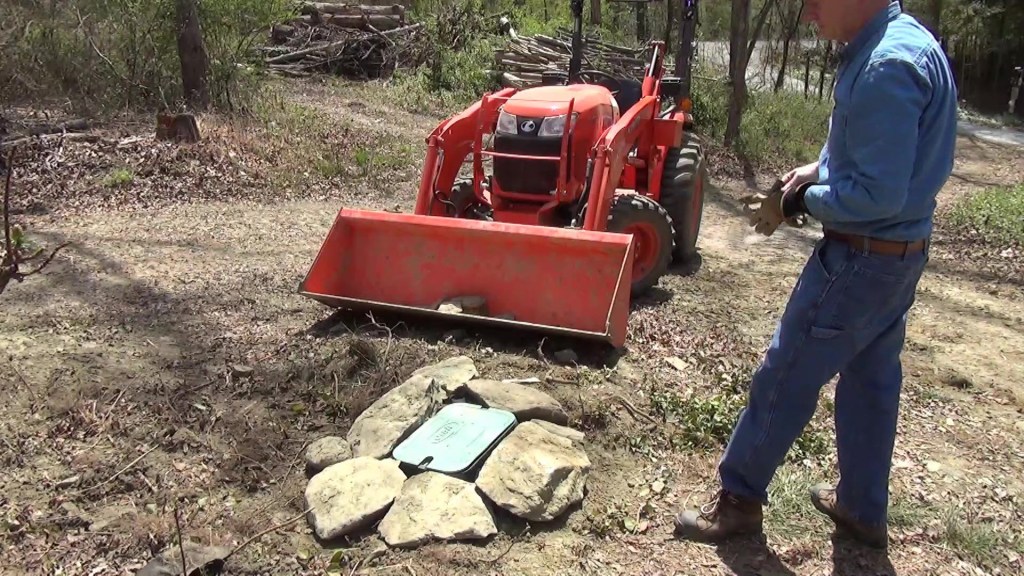
Here’s a last tip for you. I insulated the valve box lid with spray foam insulation to help protect from freezing.
I’m calling this done for now. I’ll lay the rest of the pipe and install the valve box after the slab is poured and the electrical service is run.


One thought on “Trenching for a New Water Line for the New Pool House”
Comments are closed.