When I added LED lights to my tractor it opened my eyes to the benefits of having super bright light to work by after dark. While the headlights on my Ranger are adequate for night driving, there’s no comparison to the light bars. But in this post, I start with the rear LED lights.
Rear Lights
It may seem backwards but I started with the rear LED lights because The Ranger has headlights but no rear lights for backing up and as work lights. The material list for this project is below:
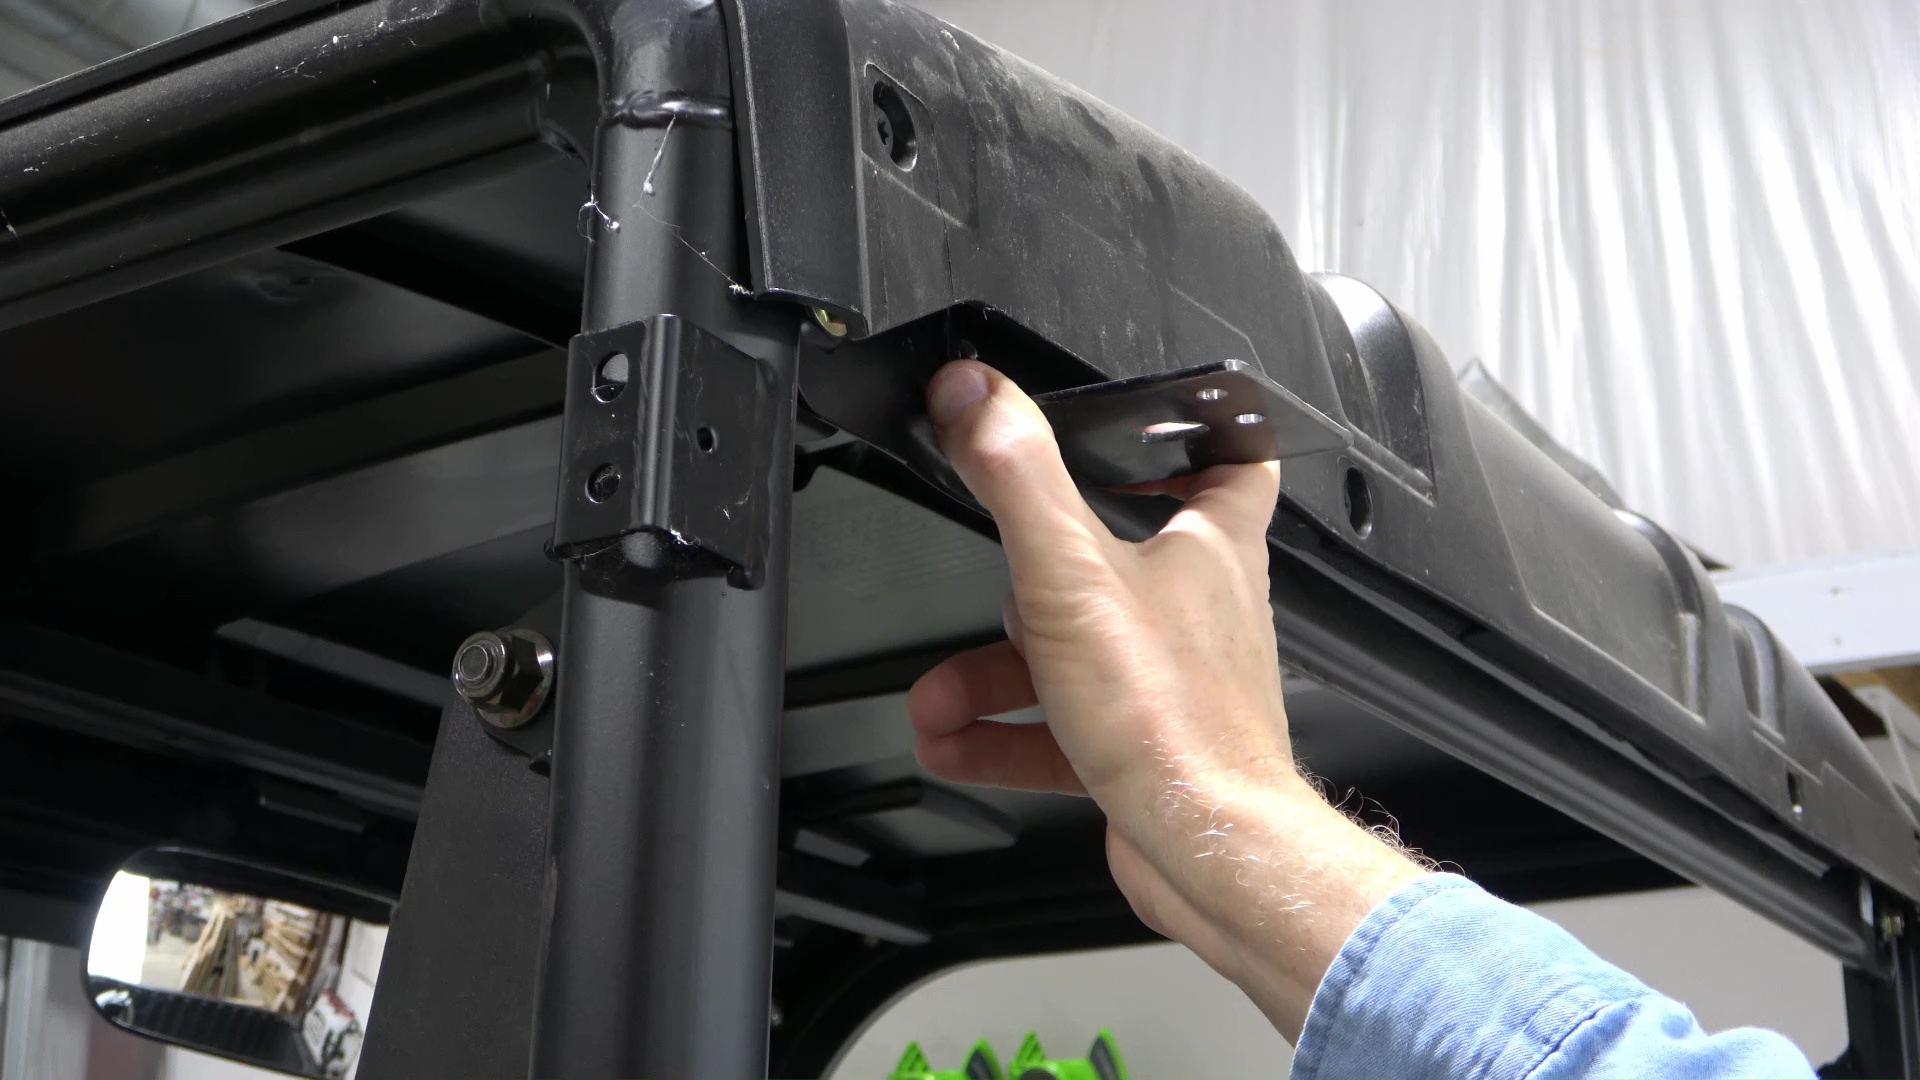
The first thing I needed was a way to mount them, so I reused the corner braces I had used on my tractor for my side lights before I added a canopy. However, they would need to be modified to fit on the Ranger.
Materials for Rear LED Lights:
- Nilight – 60001F-B Led Pods 2PCS 18W 1260LM Flood
- Nilight NI-RS05 LED Rear Lights Rocker Switch
- Nilight Spot Lights Rocker Switch
- GS Power Red/Black 16 Gauge Wire (16 AWG) – 100 Foot
- Cable Zip Ties,500 Pack, Self-Locking 4,6,8,10 and 12-Inch
- 2-Pin Waterproof Electrical Connectors, 10 Pack
- Dual Wall Adhesive Heat Shrink Tubing Kit, 130pcs
- Wire Electrical Connectors Kit – Butt, Ring, Spade, Quick Disconnect, 120 pcs
- 2 Structural Corner Braces (May find cheaper at a hardware store)
- 4 1” 3/8” Bolts
- 4 3/8” Washers
- 4 3/8” Lock Washers
- 4 3/8” Nuts
Recommended Special Tools:
Note: Links to Amazon products are Amazon Associate links that won’t cost you any extra, but will help support my efforts with a small commission on qualified products. Thanks for your support!
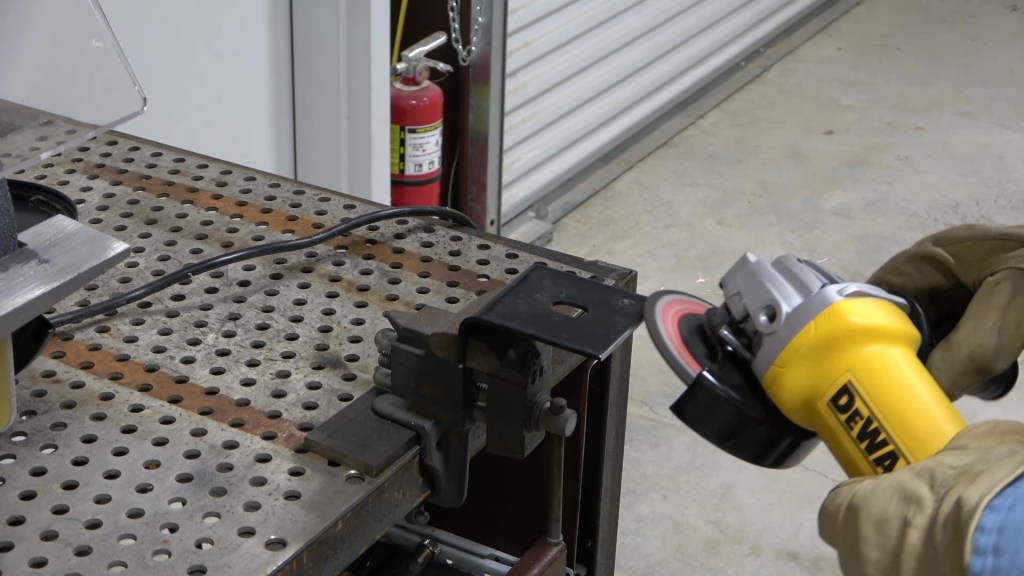
I cut one of the ears of the brace to 1.5″ long, leaving two of the original mounting holes and smoothed off the cut end. Then I cut the other ear to 3.5″ long and smoothed the edges and rounded the corners. I drilled a new 3/8″ hole in the center of the 3.5″ ear, ¾” from the end.


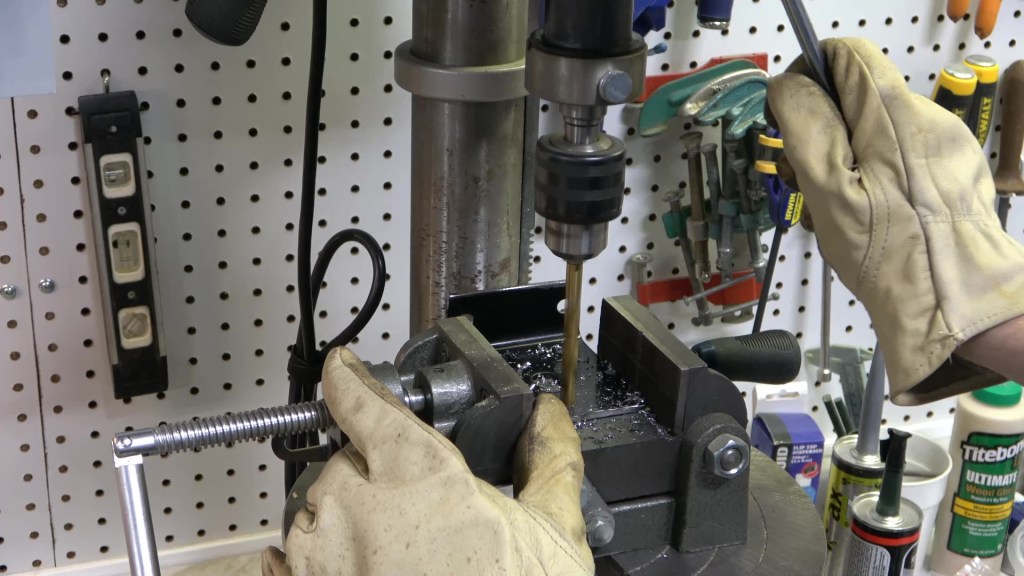
The first bracket works nicely, so I make a second bracket. Using one of my newly made mounting brackets as a template, I mark where the holes need to be drilled and use my automatic punch to make divots to keep the drill bit on course. I drill pilot holes with a smaller bit then use a step drill bit to drill 3/8″ holes. Then it’s just a matter of attaching the brackets with 1″ 3/8″ bolts, flat washers, lock washers, and nuts.
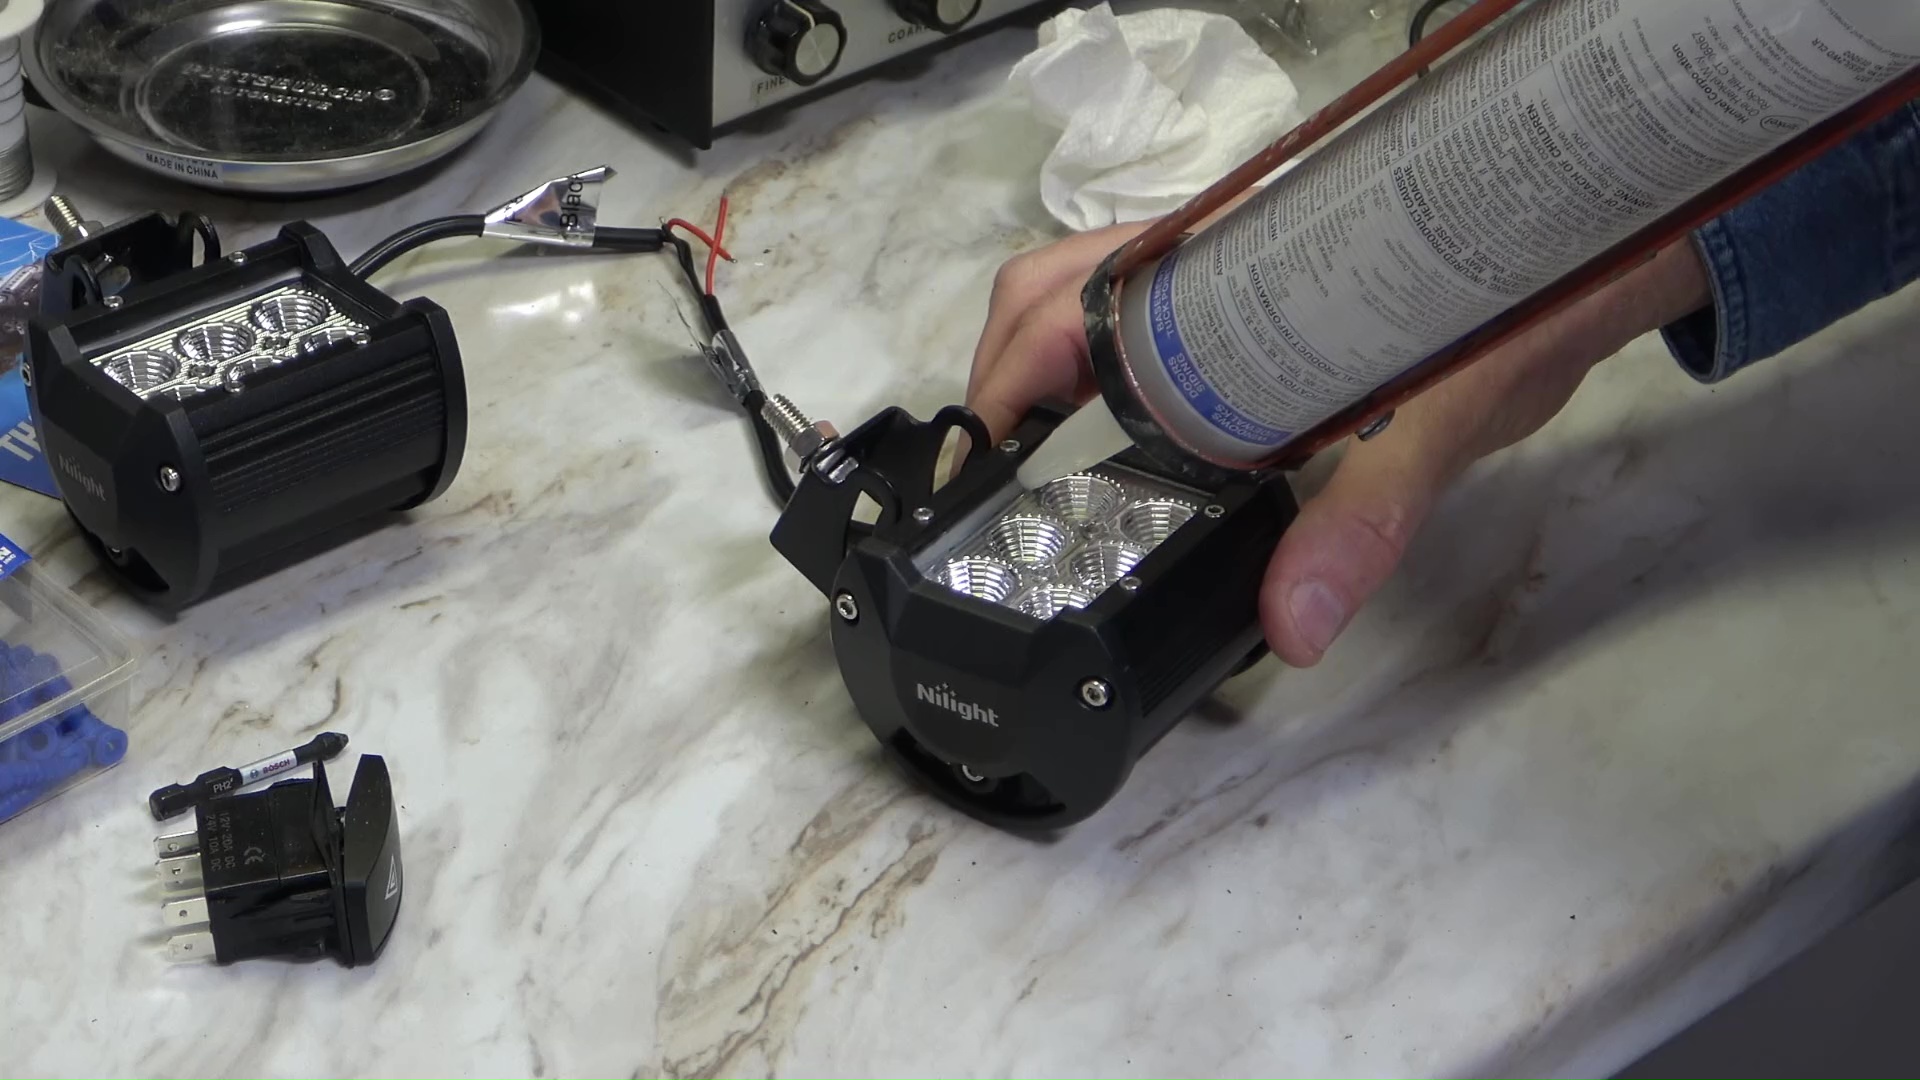
Before modifying the LED lights, I test them out on the bench, and they worked fine. Next, I put a bead of silicone caulk around the lenses for extra waterproofing.

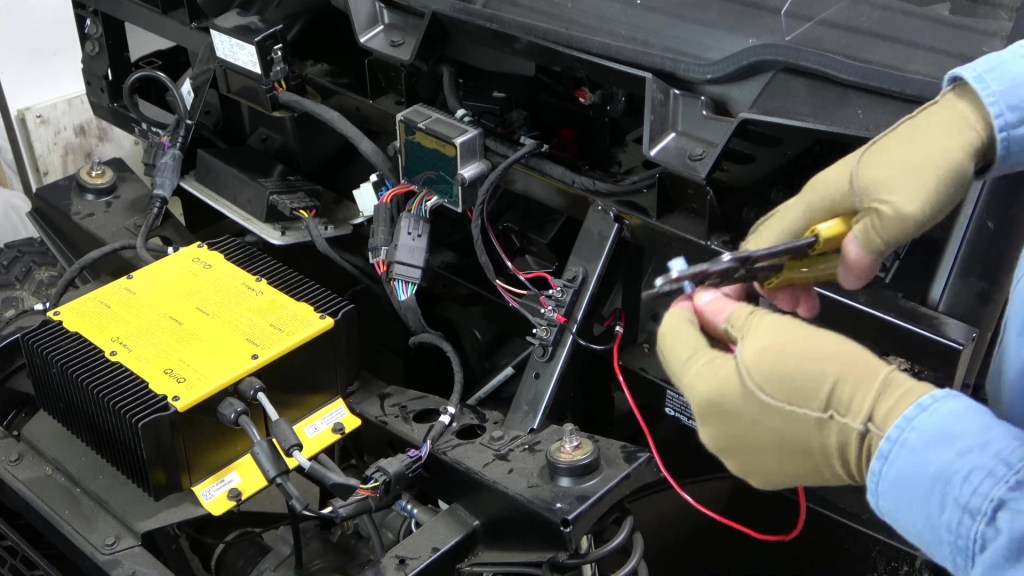
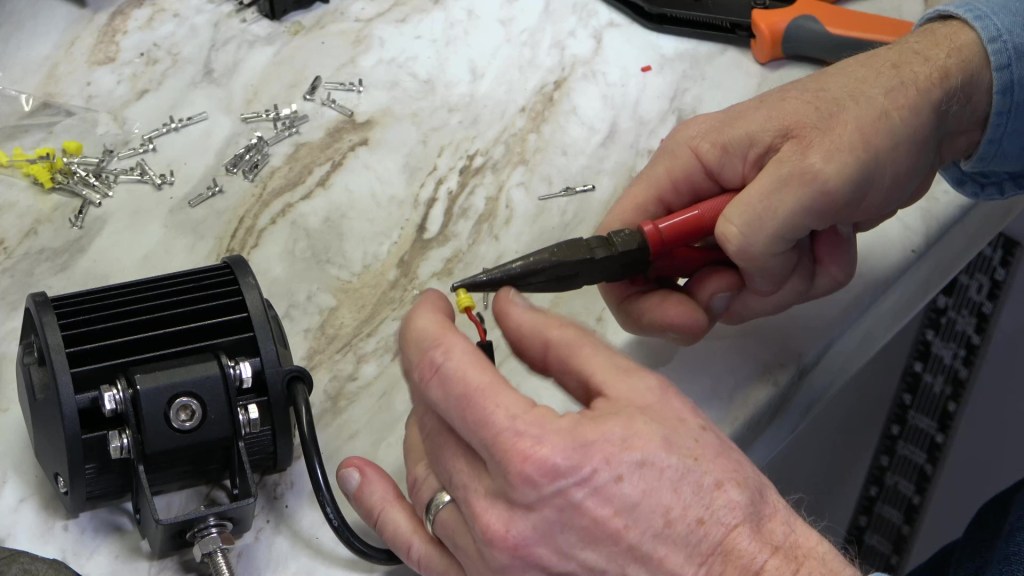
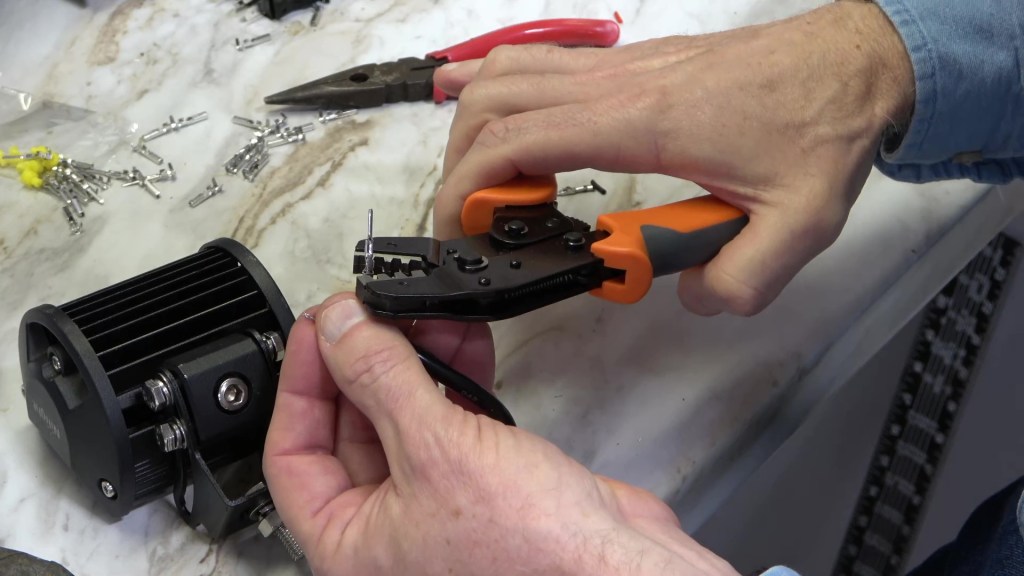
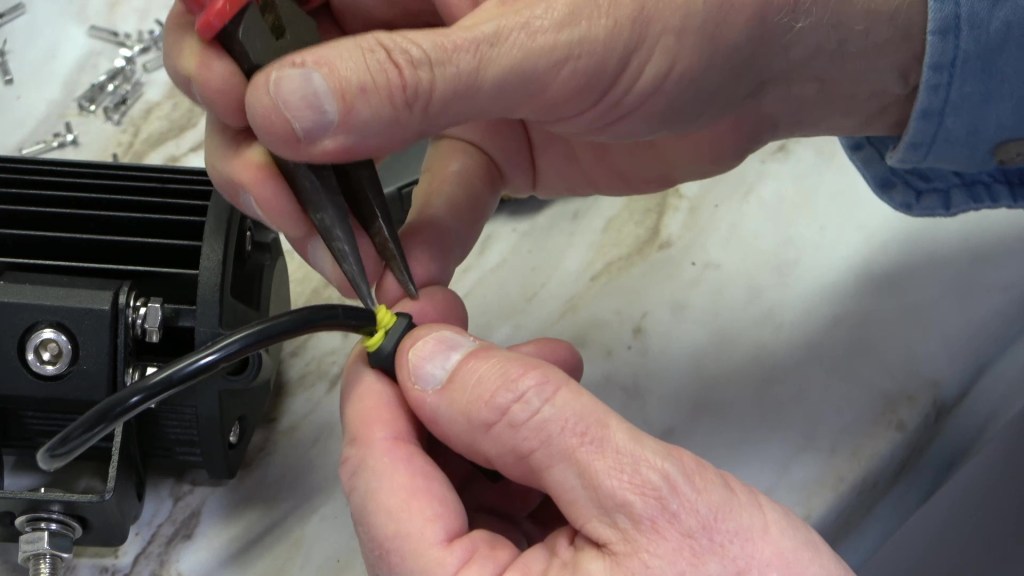
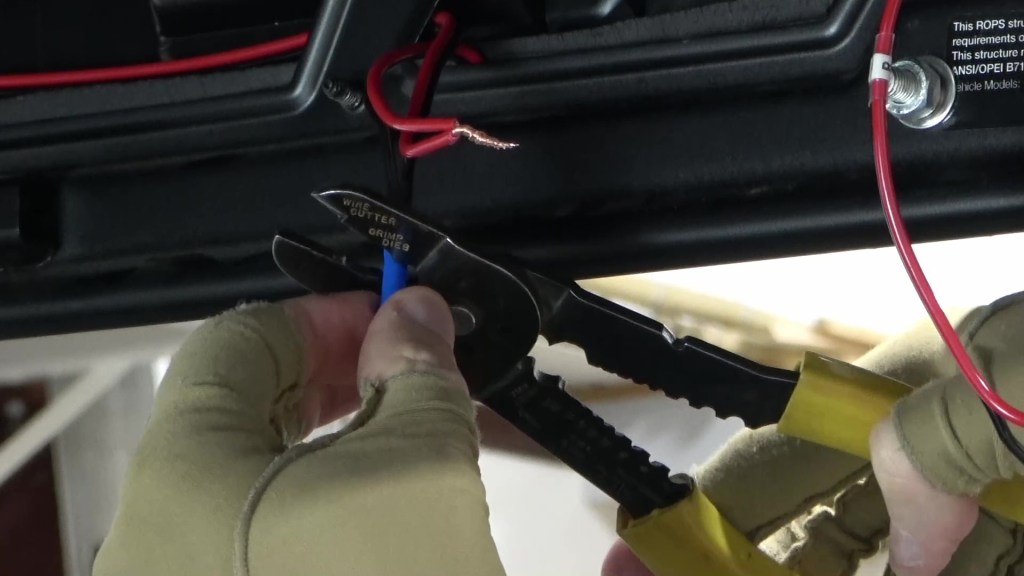
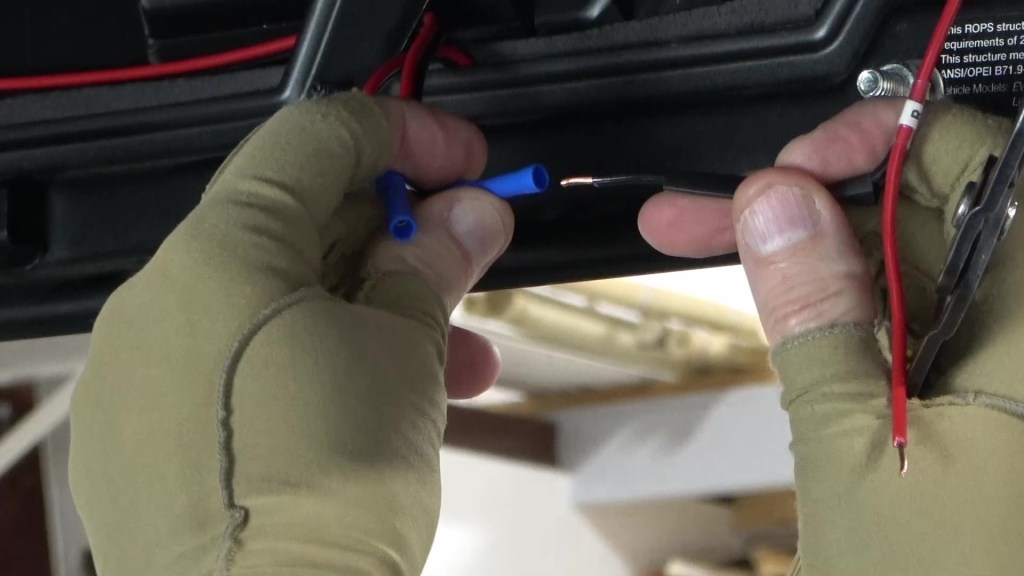
Now it’s time for the delicate work of attaching the waterproof electrical connectors. These are the same kind I used for my tractor LED lights. First, the silicone rubber boots go on the wires. Then I strip about a quarter of an inch of insulation off the ends of the wires. Next, I crimp on male connectors pin to both wires. The special crimping tool crimps one set of ears around the wire connection and another larger set of ears around the insulation of the wire to act as a strain relieve for the wire. I push the pins into the male connector body until they lock in place. Then I shove the weatherproof boots down into the connector. Lastly, I put a little bit of silicone calk around where the wire comes out of the LED light bar.

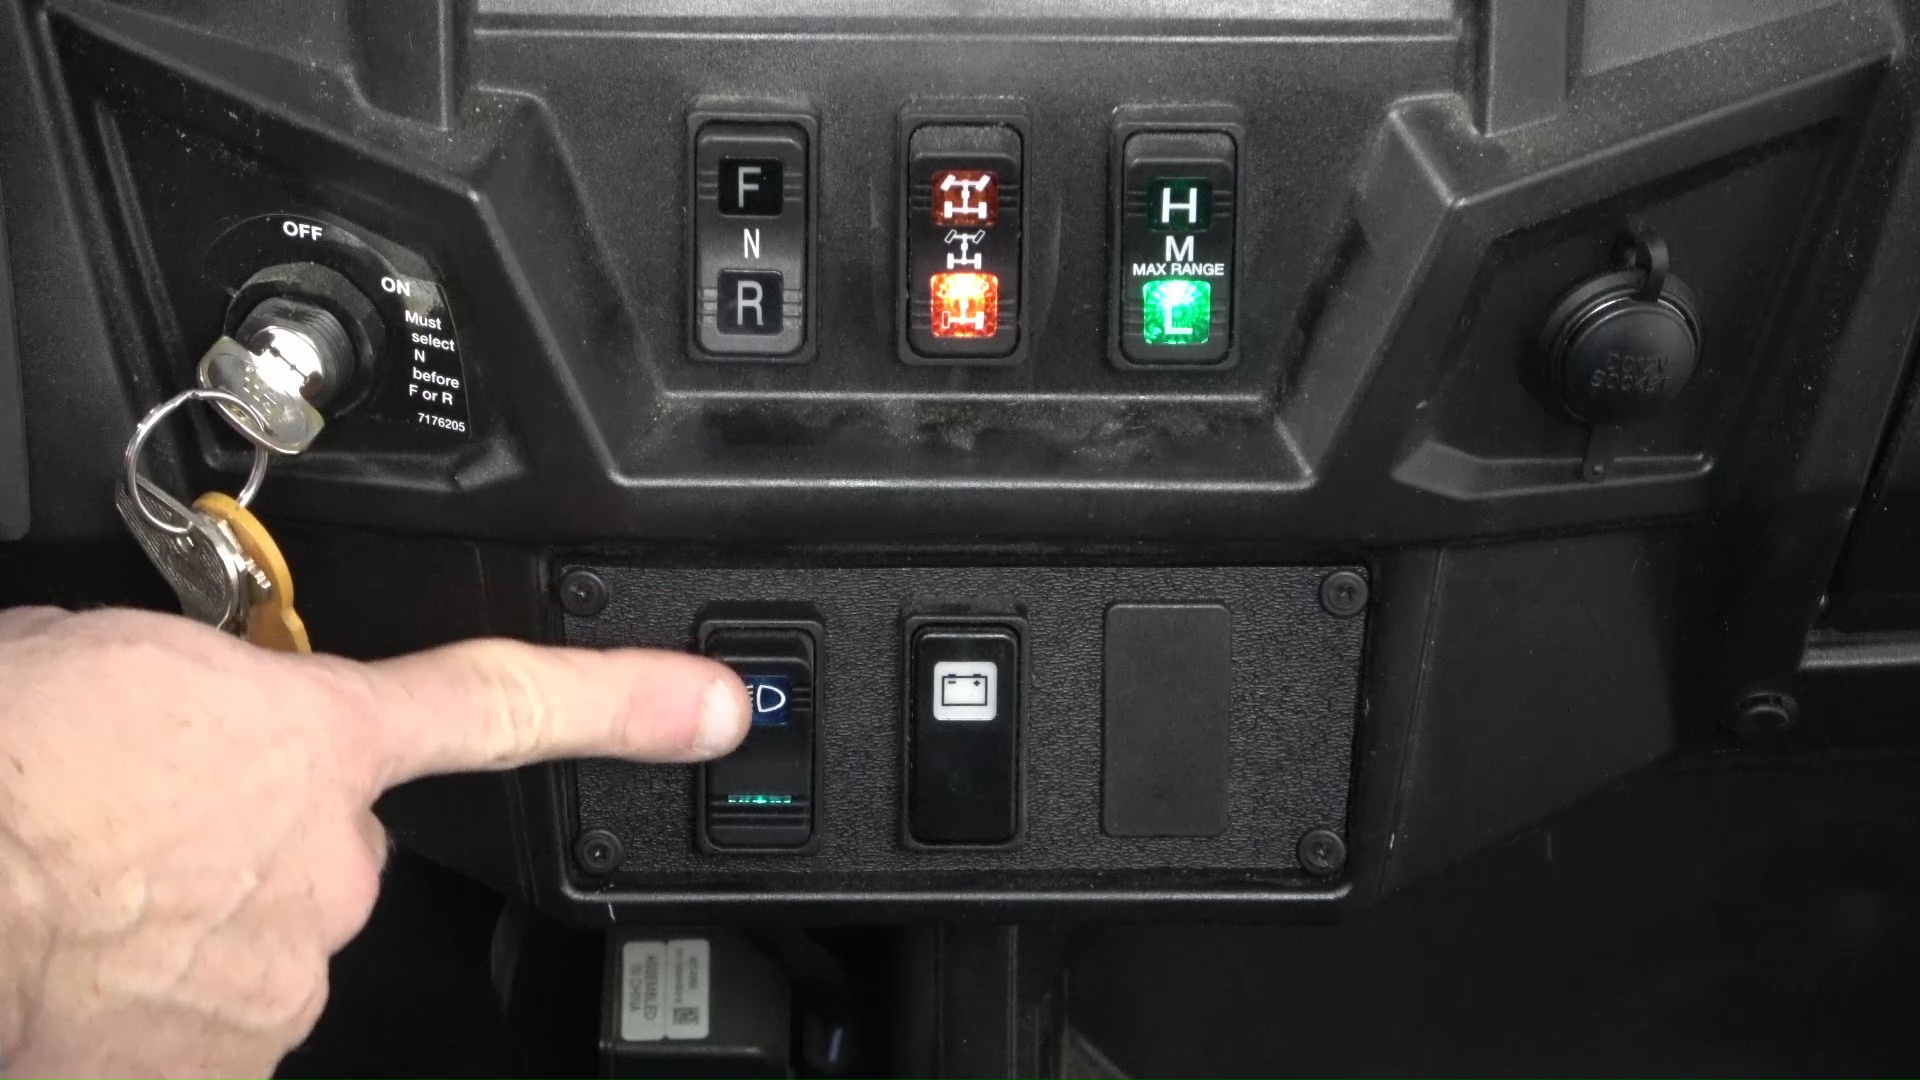
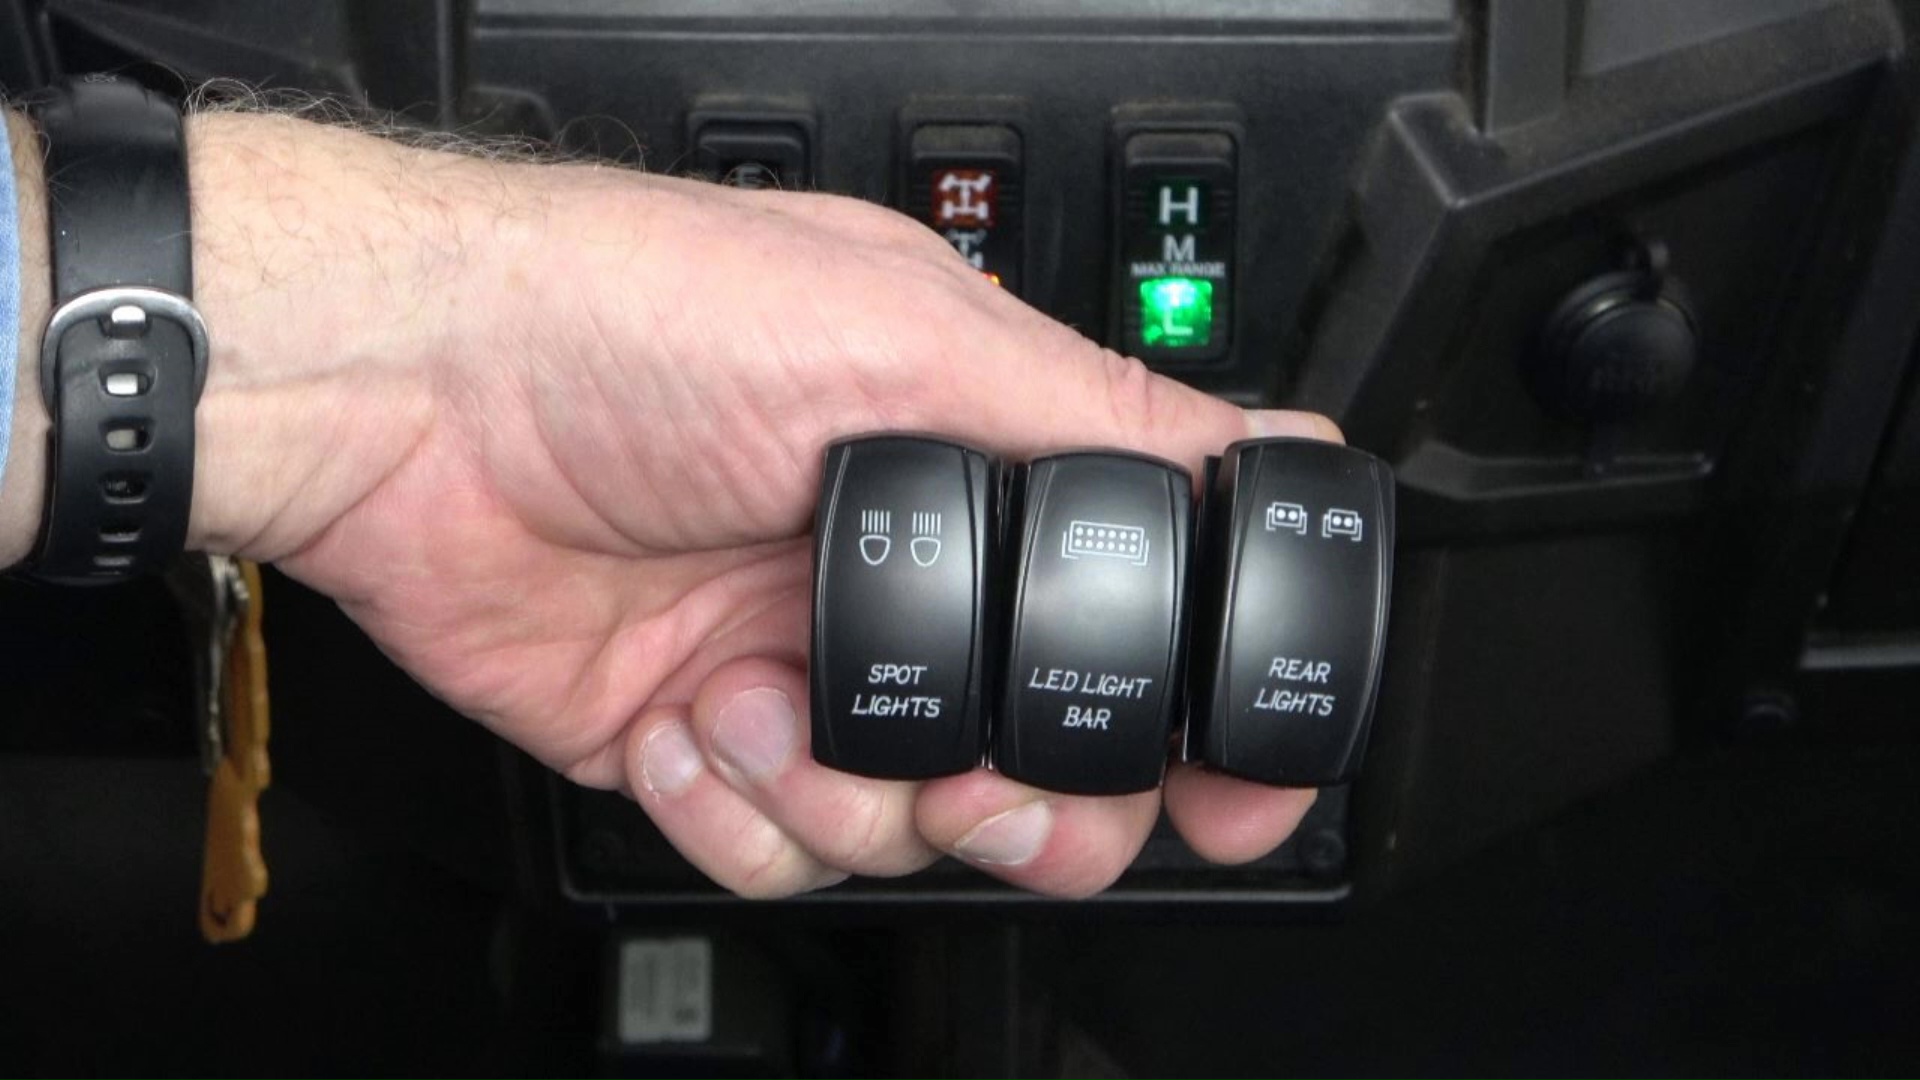
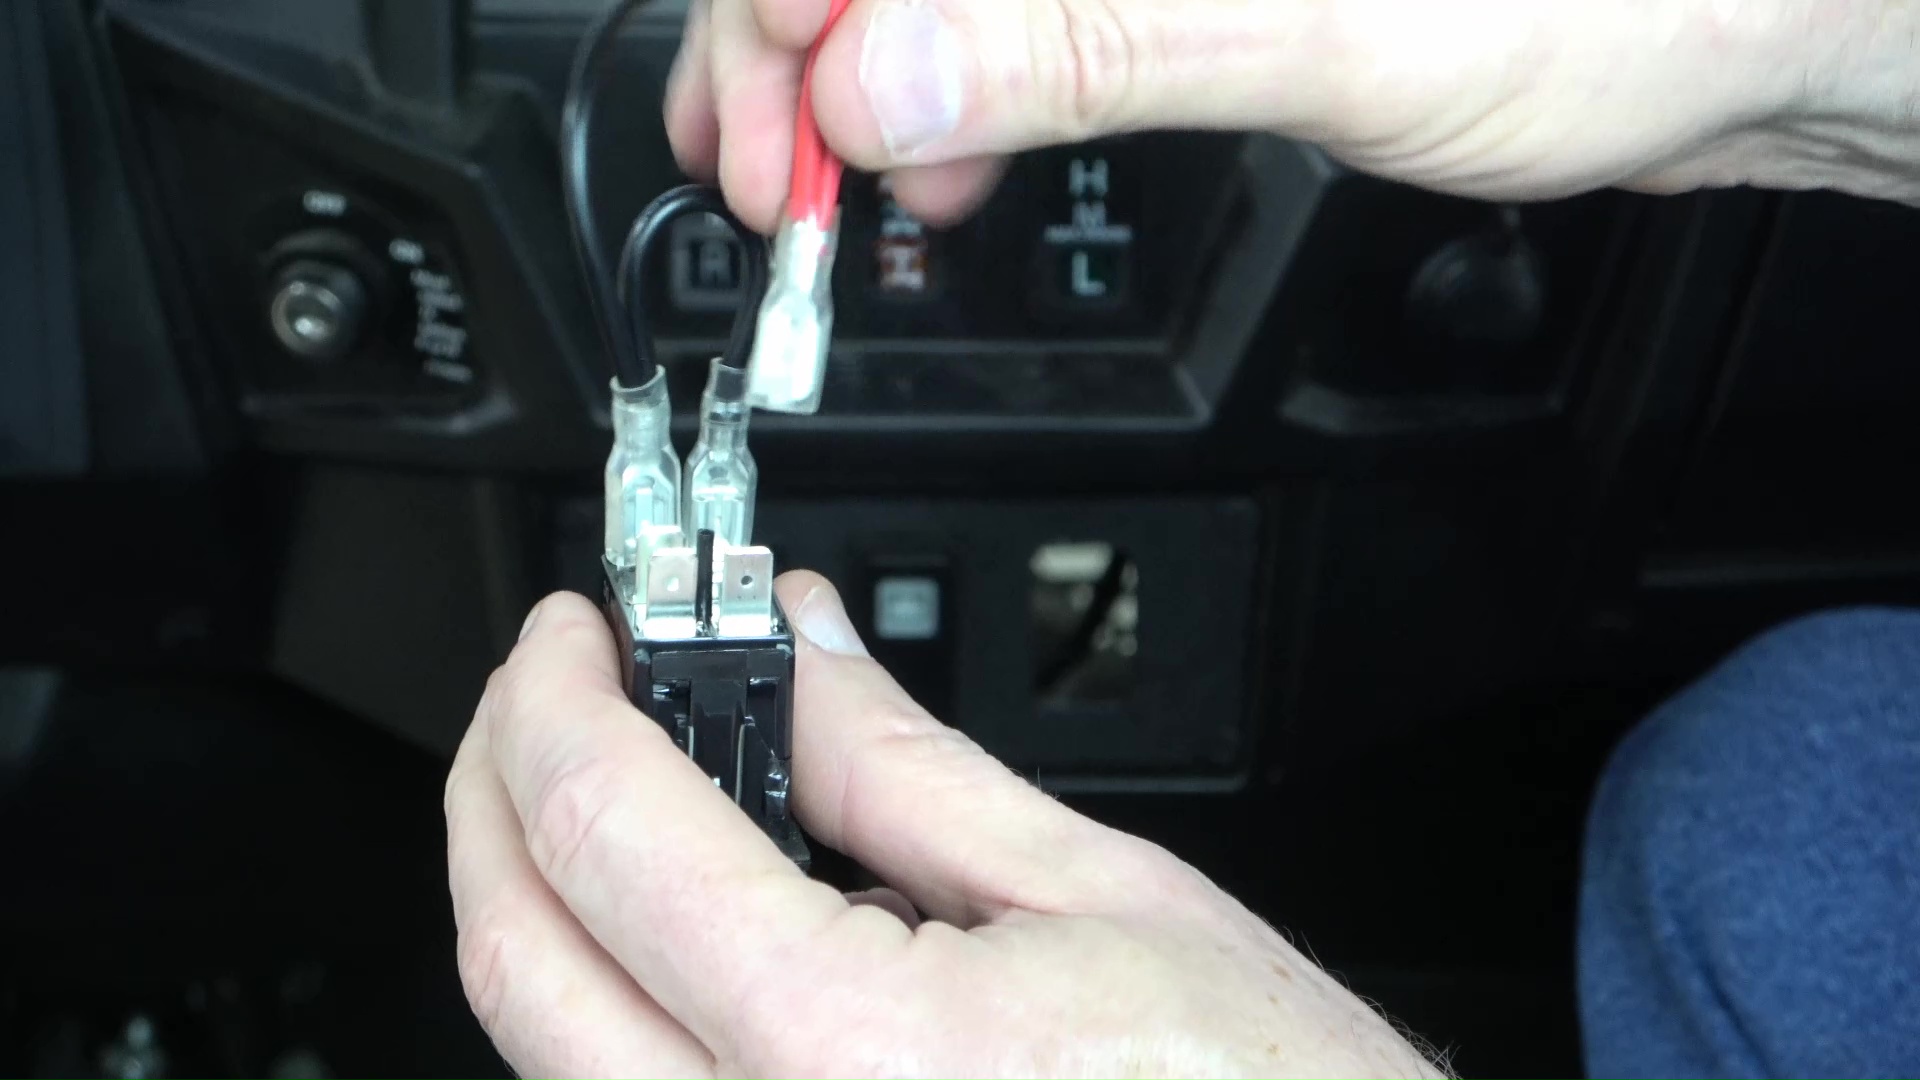
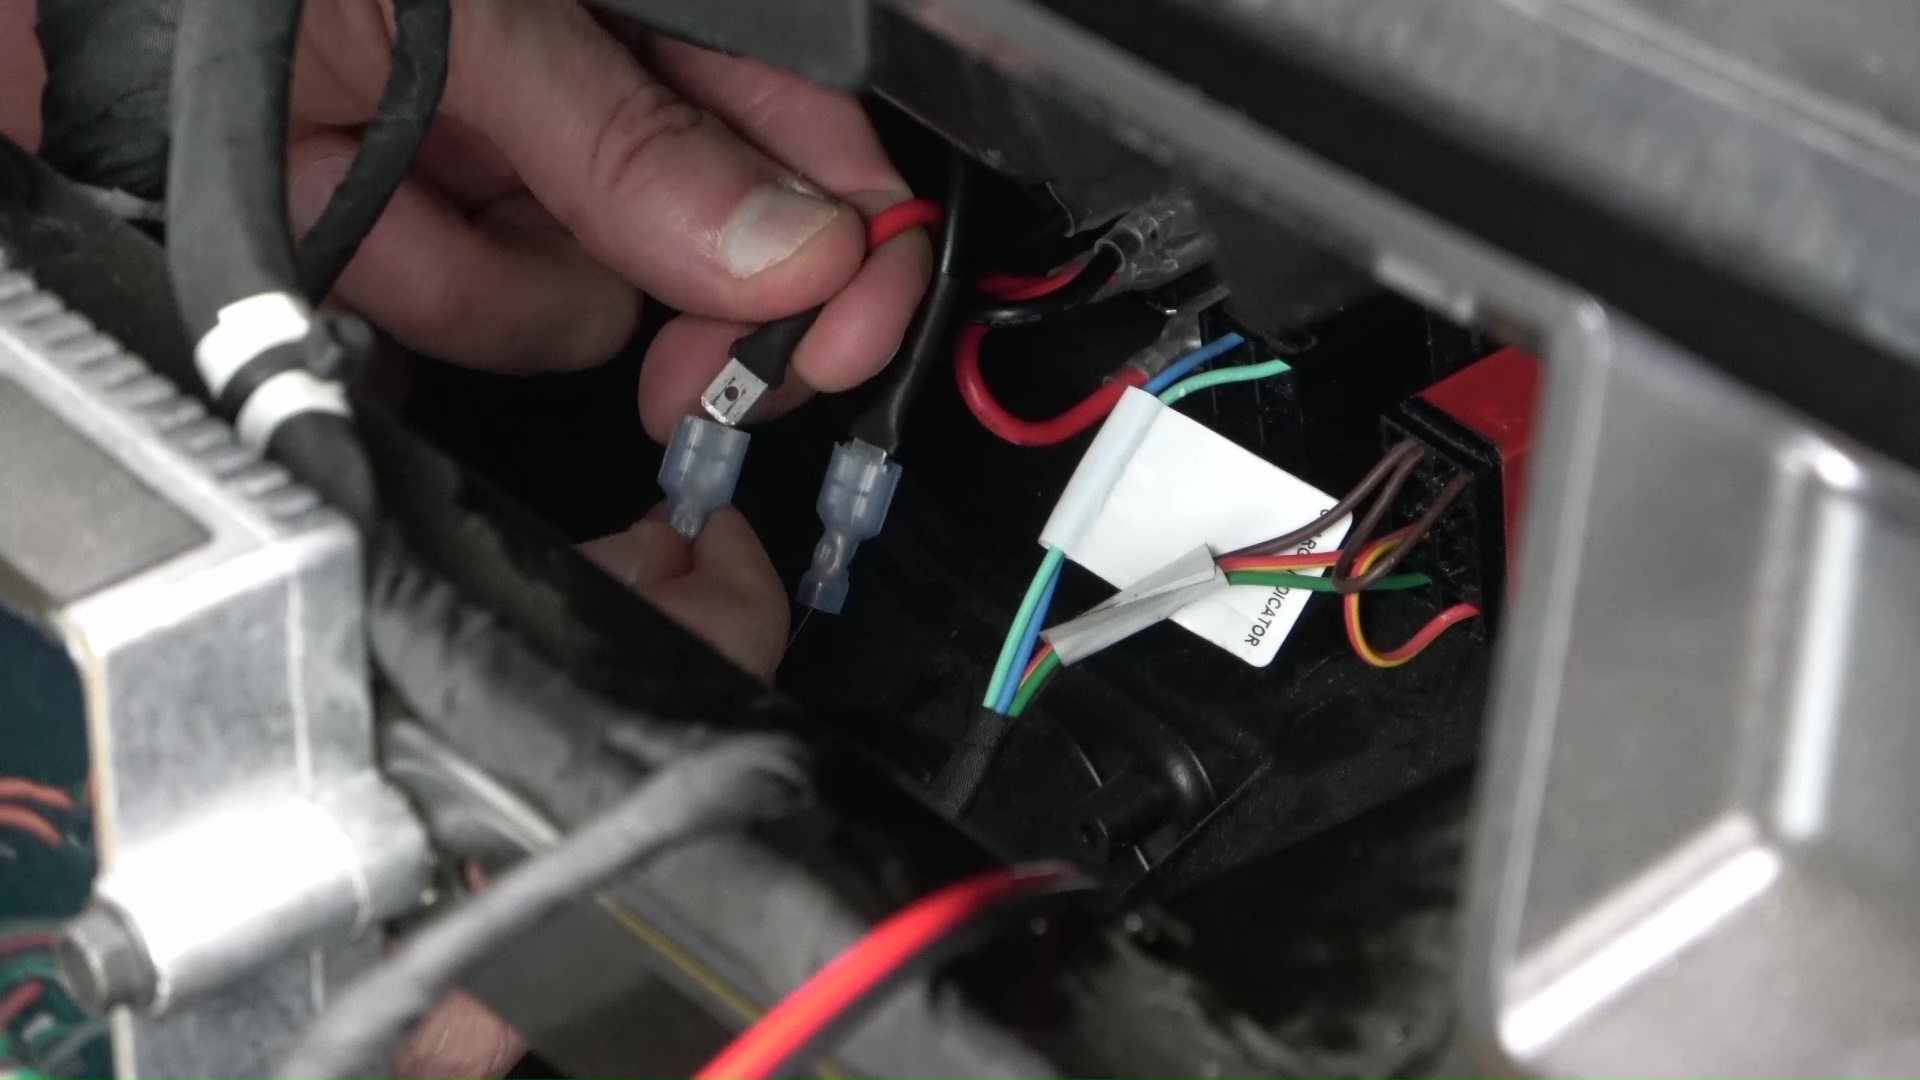
The stock Polaris headlight switch doesn’t match the style of the new switches, so it’s got to go. And these are the cool-looking new switches to be installed. Out with the old switch and in with the new one. Fortunately, the pin layout of the old and new switches is the same, so I just have to push the connector on to the new switch. I think the new switch looks much better.

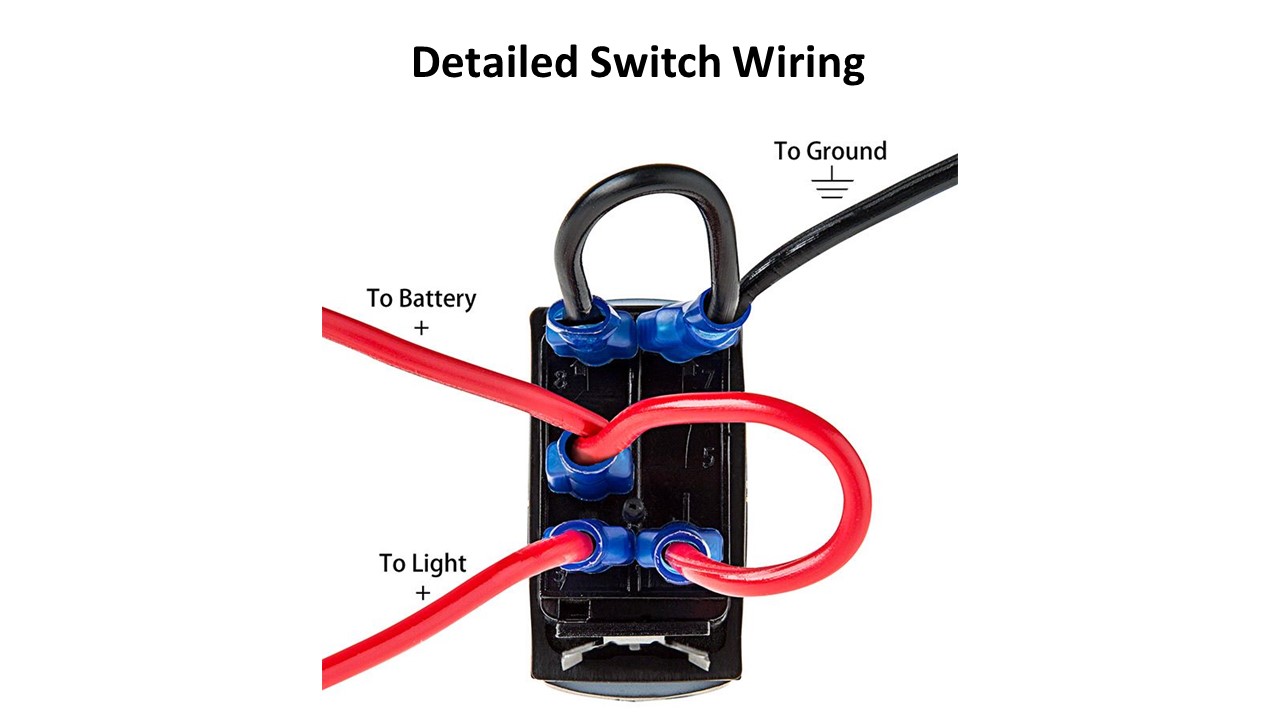
I can also go ahead and install the rear lights switch. The connection pigtails are hooked up per the switch instructions. A detailed diagram of the switch wiring is shown below. Click on the picture for a full-size view. The front light bar switch will have to wait until I move the charging indicator elsewhere on the dashboard.
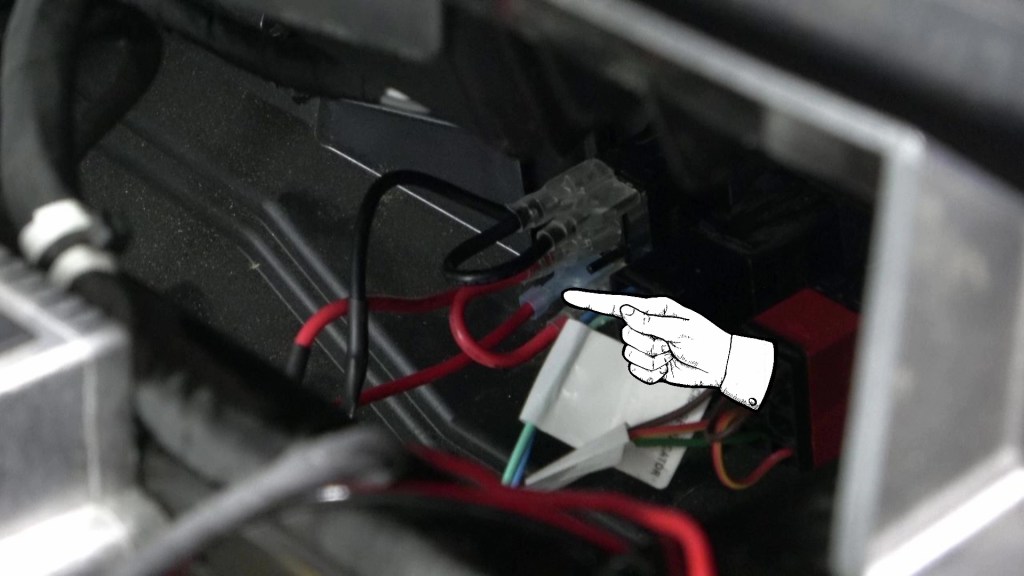
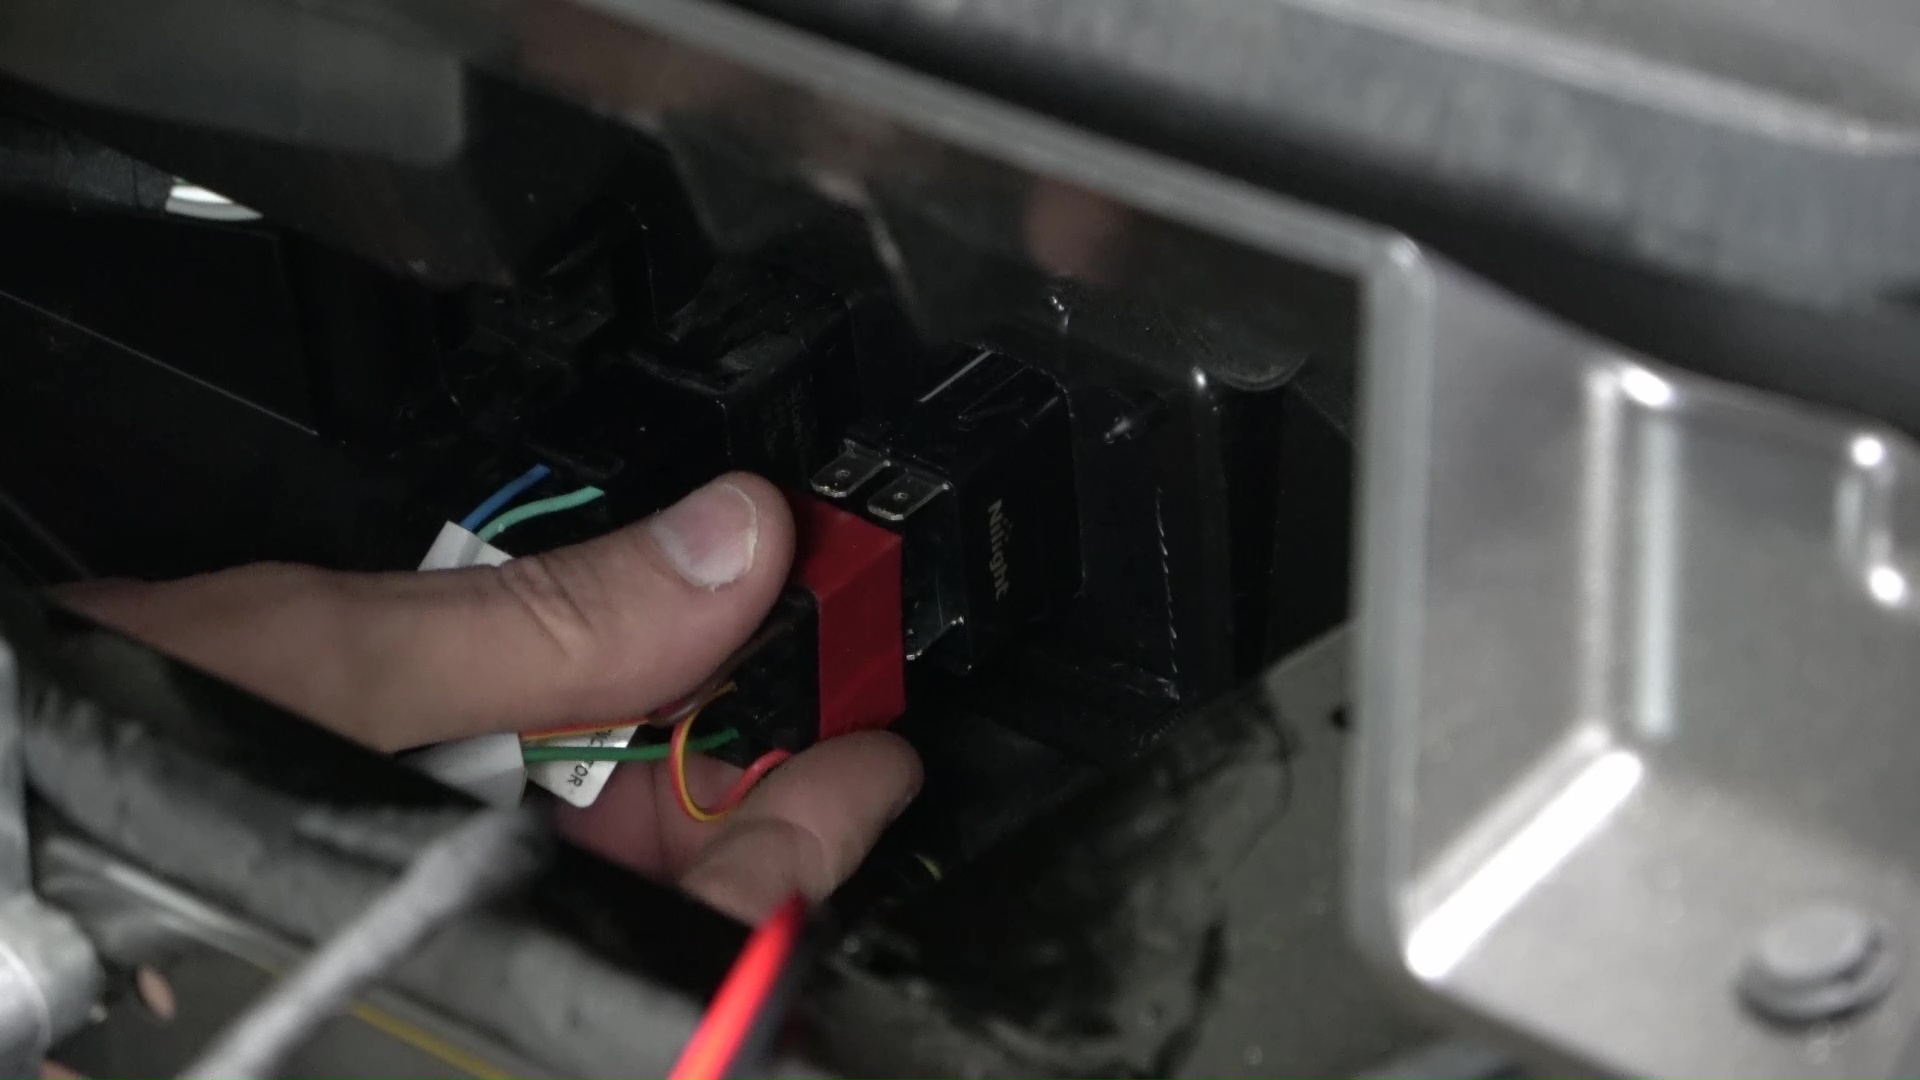
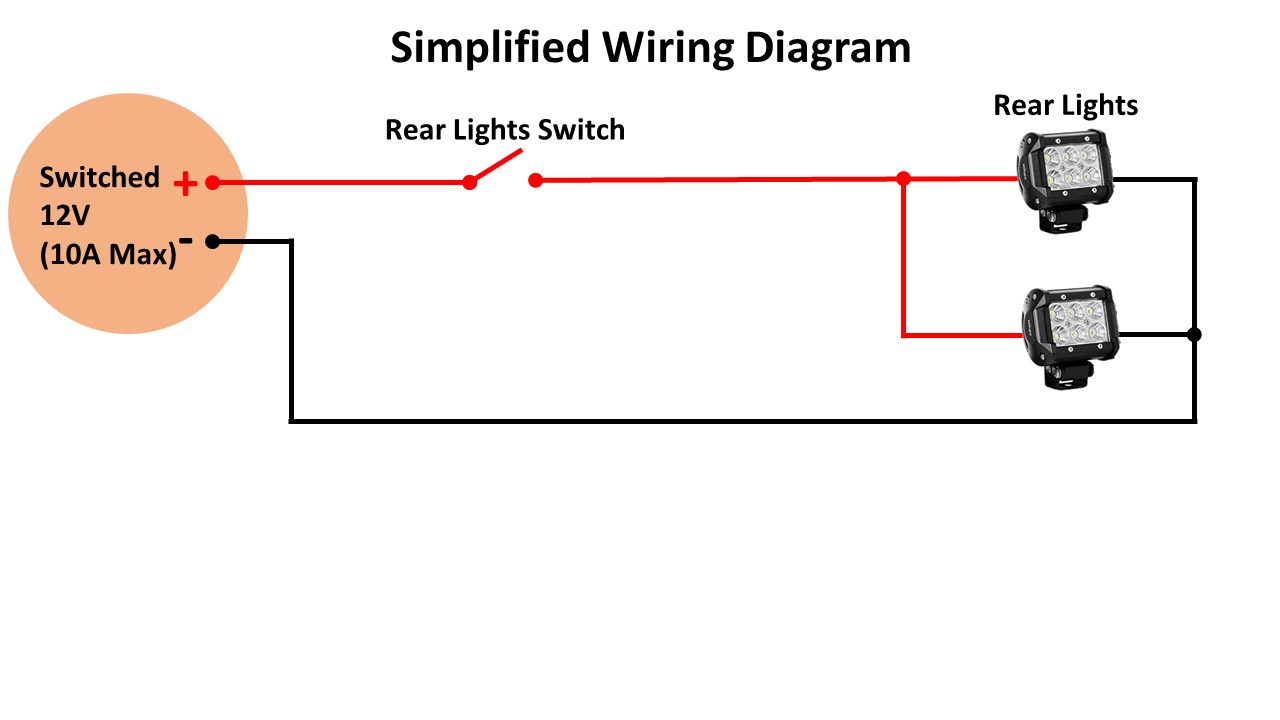
Now you might be wondering where these lights will hook into the electrical system. Well, on the Ranger EV there is a 12V 10A terminal block for accessories. There is a switched positive terminal, which is on when the key switch is turned on, a negative terminal, and an always-on positive terminal which provides constant 12V. And for reference, below is a simplified schematic of the wiring for the rear lights.
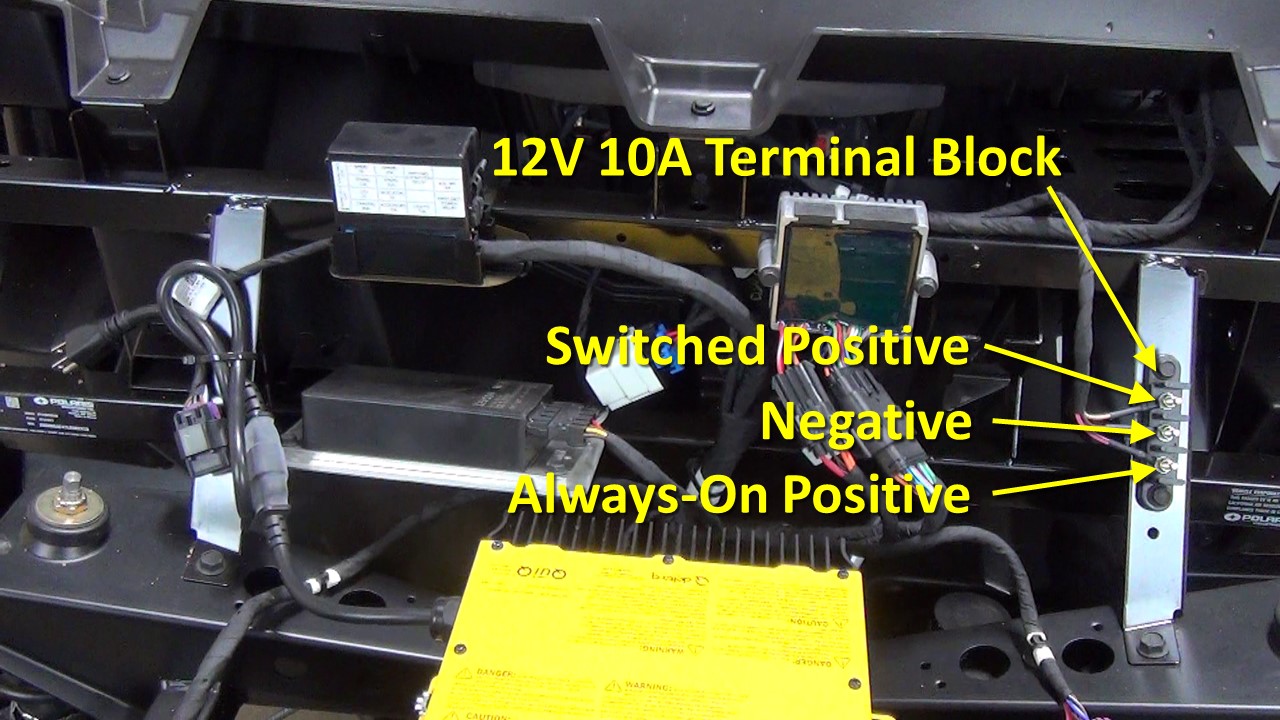
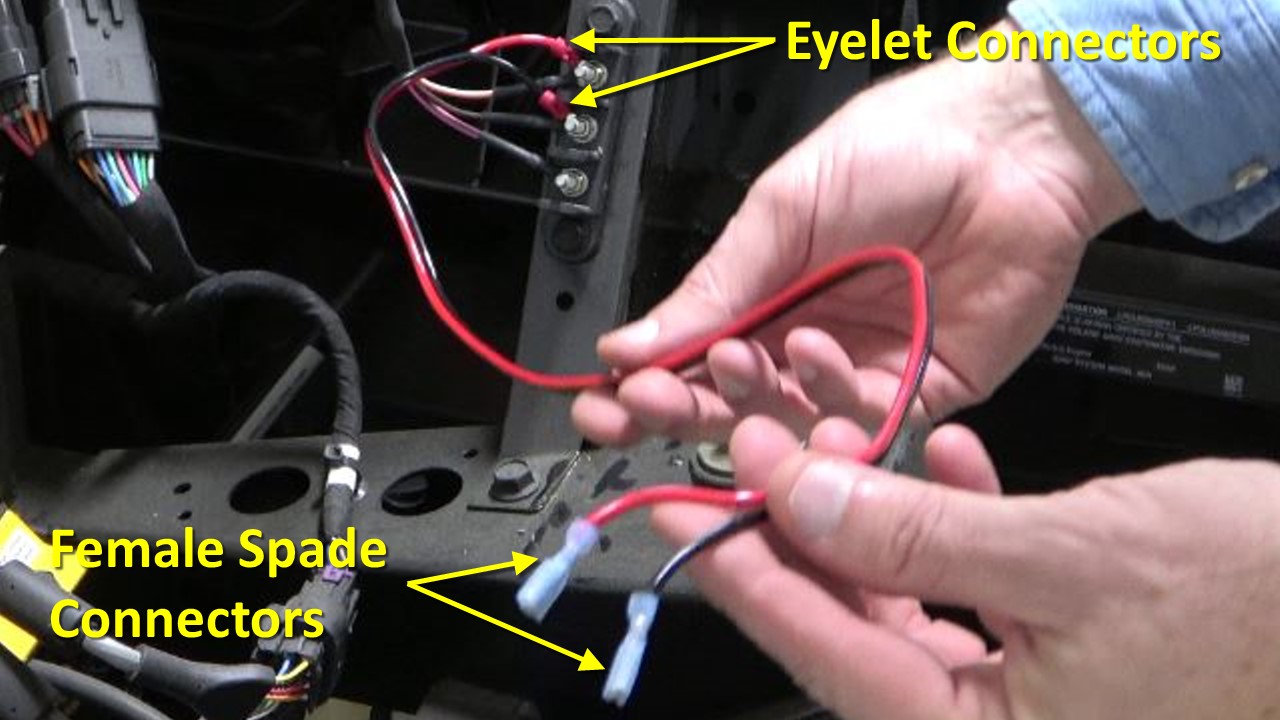
I made up a short length two-conductor 16 gauge cable with crimp-on eyelet connectors connected to the switched positive and negative terminals. The switch end has crimp-on female spade connectors. This cable will take power to the rear lights switch, black to black and red to red.
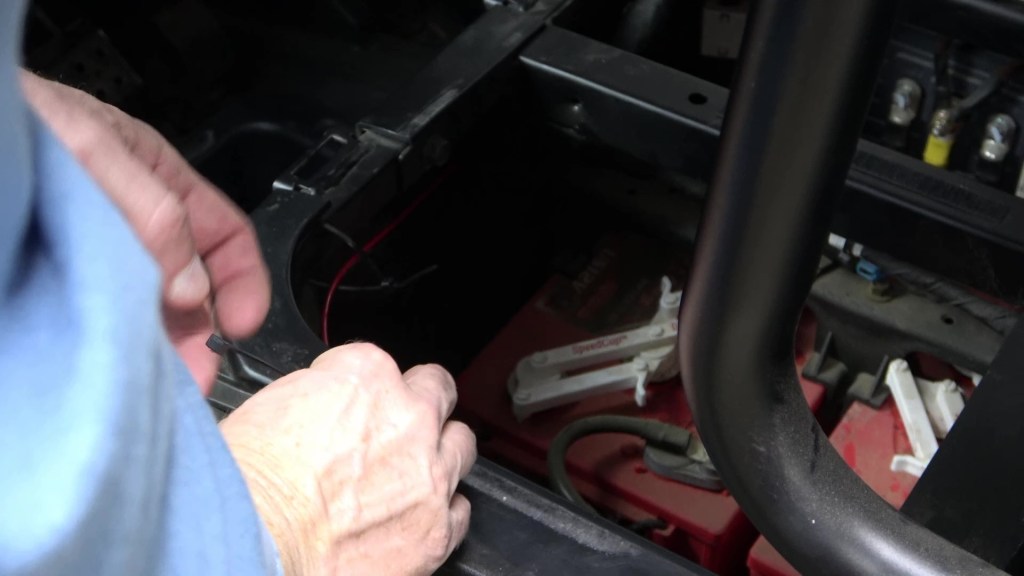
Now comes the fun part of routing the wire for the rear lights to the switch. I start by feeding the wire behind the seat and into the battery compartment. Then push the wire toward the front of the Ranger. With a little luck, it appears where I had hoped it would. I grab it and pull it up to the top and I make sure I have enough slack to reach the switch.
Then I put zip ties loosely in several places so that the wire is held up high and follows the rim of the battery compartment. I keep the zip ties loose because a few more wires will follow this same route and then be covered with protective wire loom.
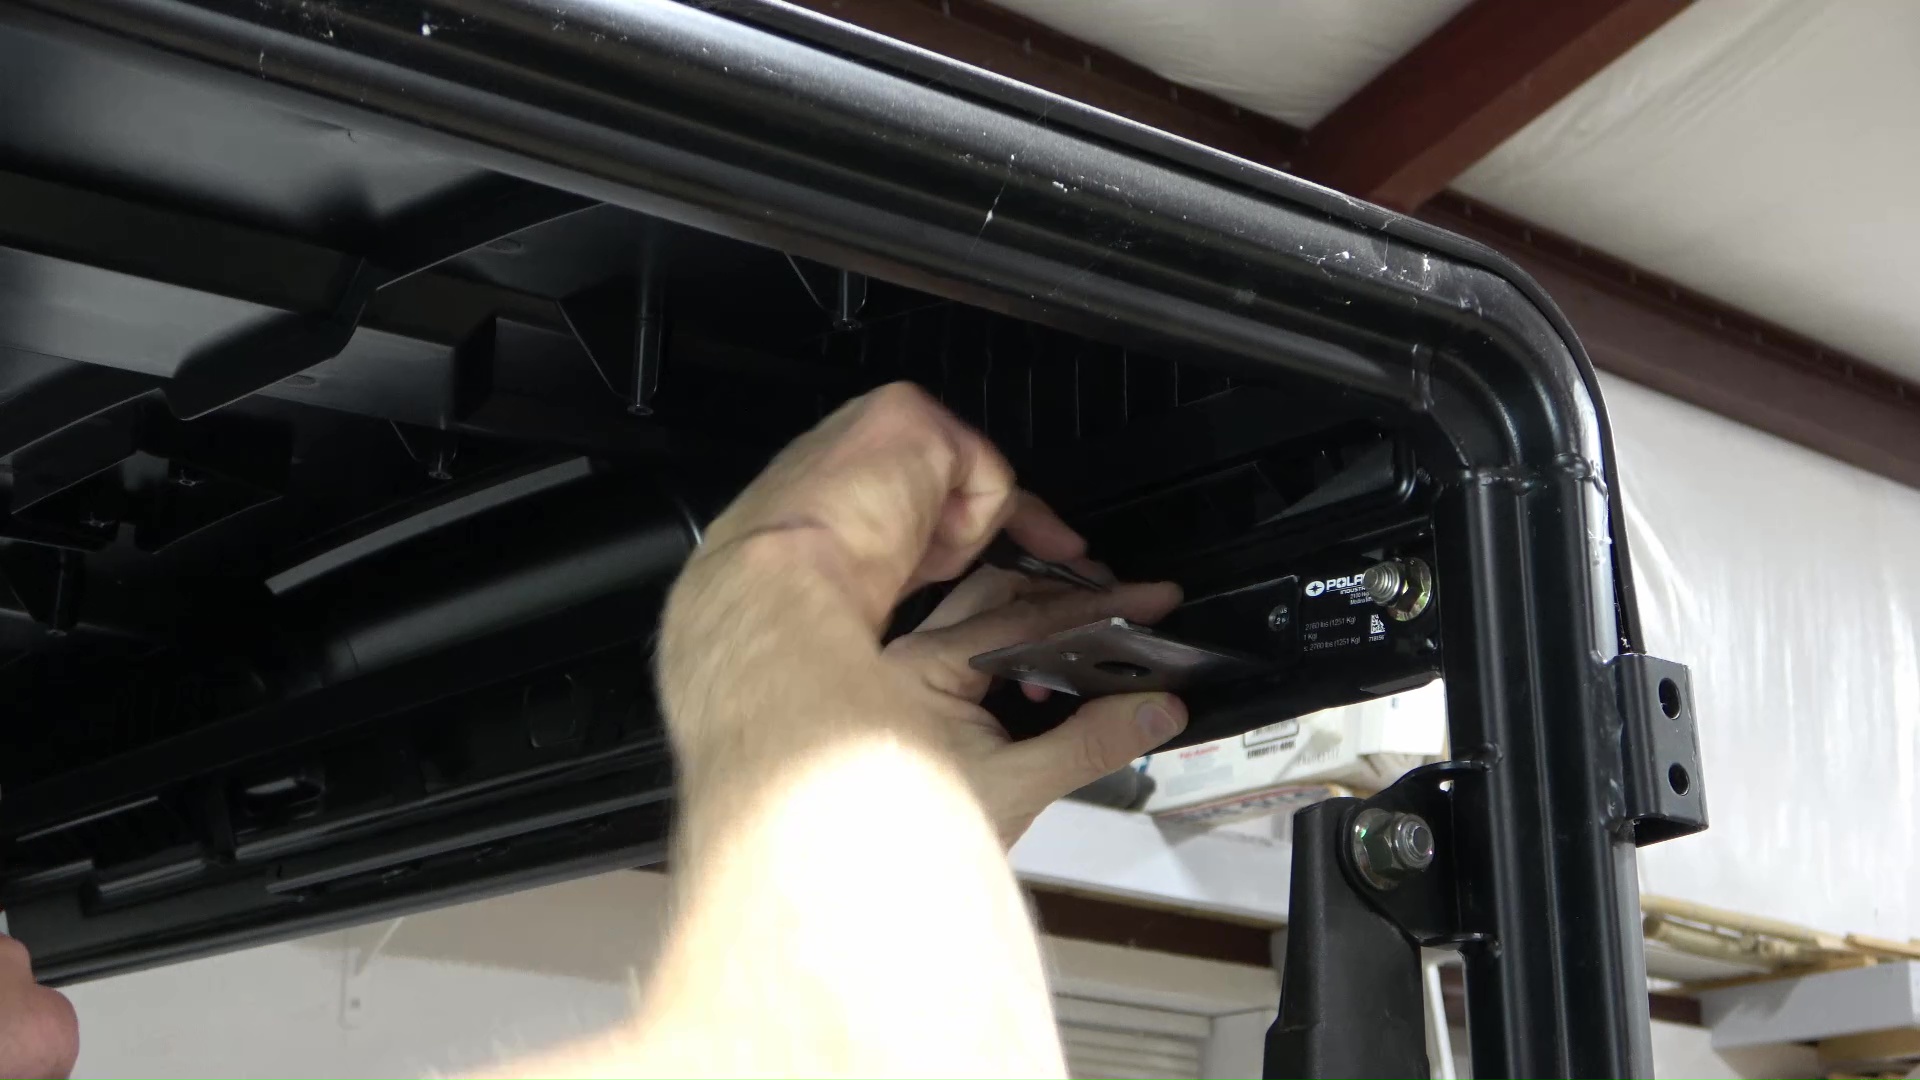
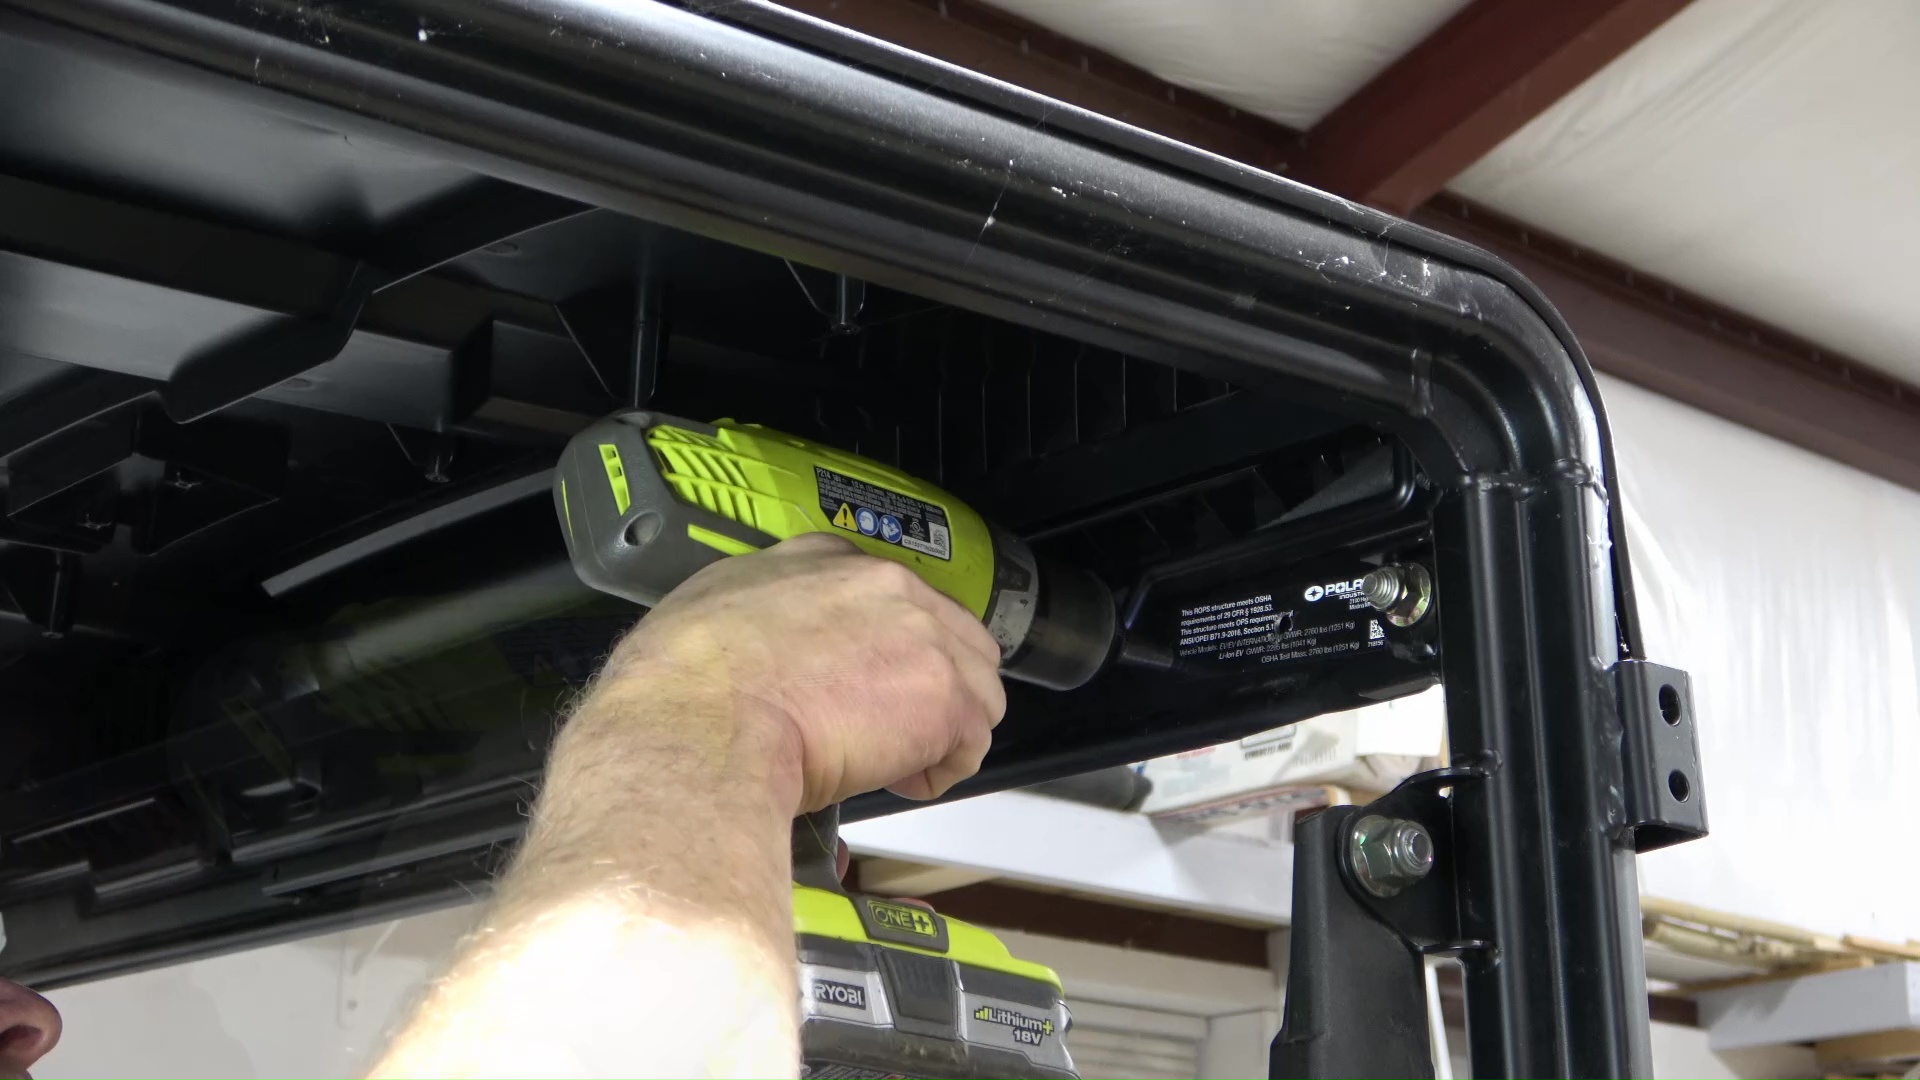
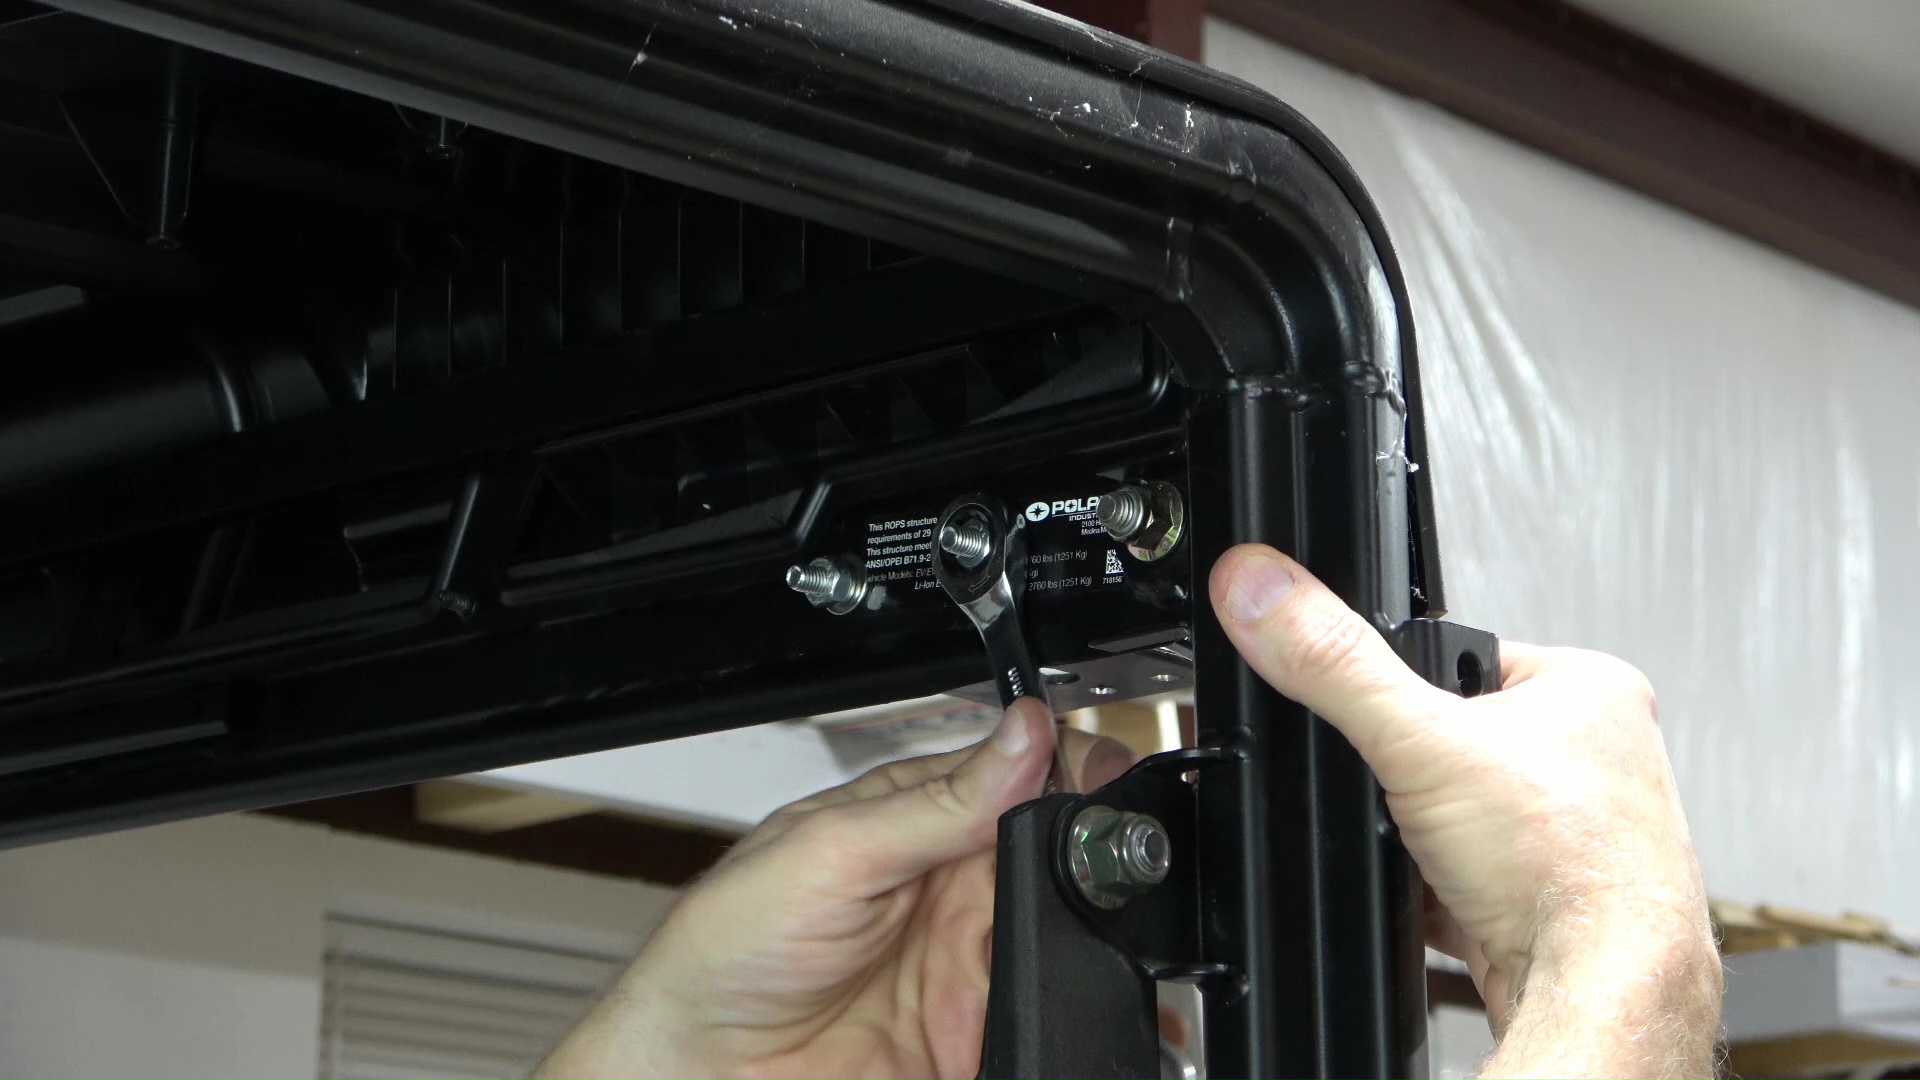
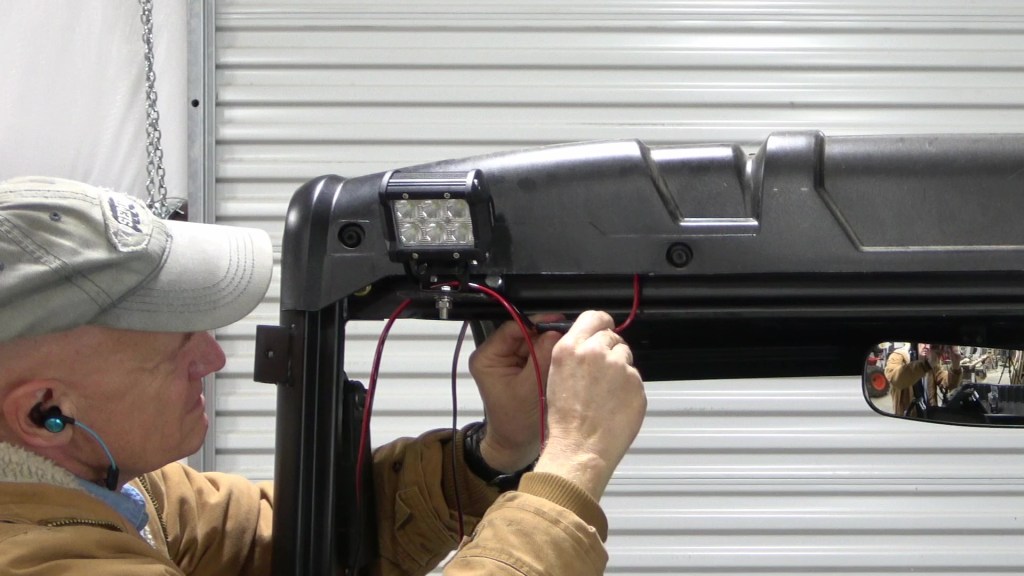
Now I feed the wire up toward where the rear lights will be mounted. Then feed a wire with a female connector attached from near the right rear light to the left rear light. Now is a good time to install the right LED light with the hardware provided, then make the connection.


I push a short section of wire with a female connector up over the top of the cabin frame. And the connect it to the light. I label the wire from the switch with an R for rear lights. Then use a piece of clear heat-shrink tubing to make sure the label stays put. Since I’ll have several wires coming to this same area, it’s important to label them.
Next, I twist the positive and negative wires going to the lights together. And crimp butt connectors to them. Then I put heat-shrink tubing on the switch wire conductors; crimp them to the butt connectors and shrink the tubing.


I label the other end of the switch wire with an R then separate the conductors, cutting the black wire shorter because it only has to connect to the negative post of the accessory terminal strip. The red wire has to reach all the way to the switch. I crimp an eyelet connector to the black wire, then attach it to the negative post. Next, I crimp a female spade connector to the red wire. And connect it to the switch.
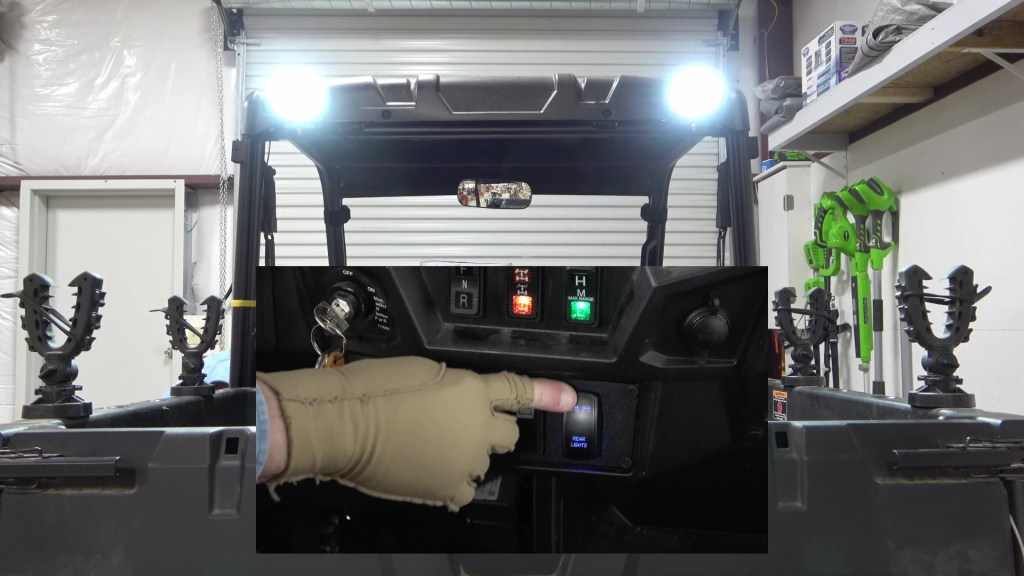
I test it out and bingo, it works!