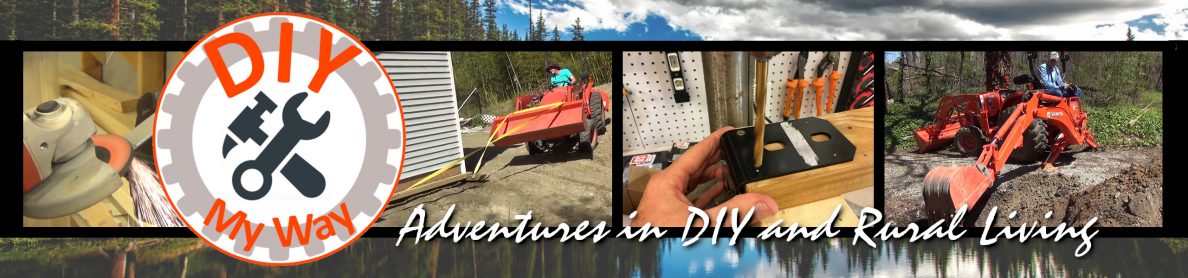
As colder weather sets in, I decide to add a windshield to my Polaris Ranger EV and settle on the SuperATV Heavy Duty Scratch Resistant Full Windshield for Polaris MIDSIZE Rangers. I show you how I installed it and share tips for easier installation and caring for the windshield.
In warm weather, having the wind in our faces while riding in our Polaris Ranger EV was nice. In the winter, not so much. So I set out to find a reasonably-priced windshield for it. There are a lot of options out there, but the one I kept seeing and circling back to was the SuperATV Heavy Duty Scratch Resistant Windshield for Polaris Ranger.
SuperATV makes ATV accessories for brands such as Polaris, Can-Am, Honda, and many more, including windshields, of course. I chose the Polaris Ranger Midsize Full Windshield for 2015 models and later. It comes in standard polycarbonate for $199.95 or scratch resistant polycarbonate for $349.95. And from everything I have read in the reviews, you definitely want the scratch resistant version, which is what I got. SuperATV sells this windshield on directly on their website as well as other online ATV stores, but they also sell it on Amazon so I bought it there since the price is the same, I wouldn’t have to set up another account, and shipping is free from either SuperATV or Amazon.
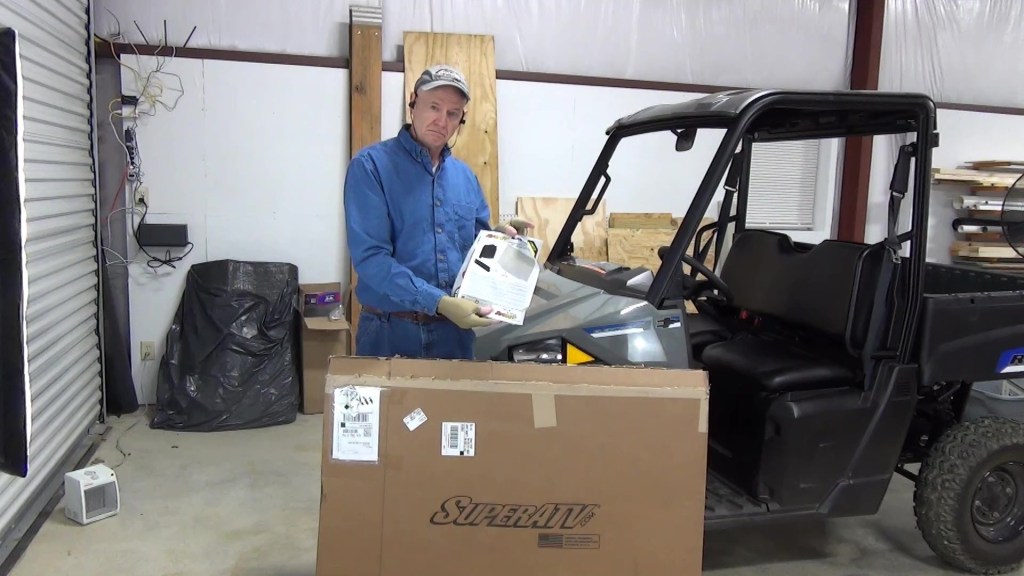
The box contains:
- Installation instructions and decals
- Two sets of clamps that hold the windshield in place
- The weather seal that goes around the windshield
- The star of the show, the windshield itself
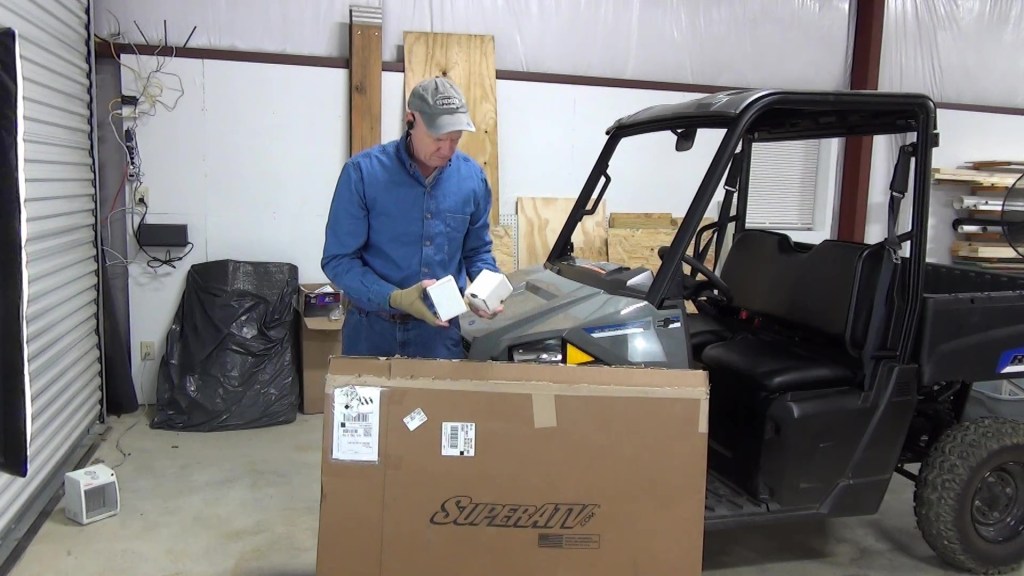
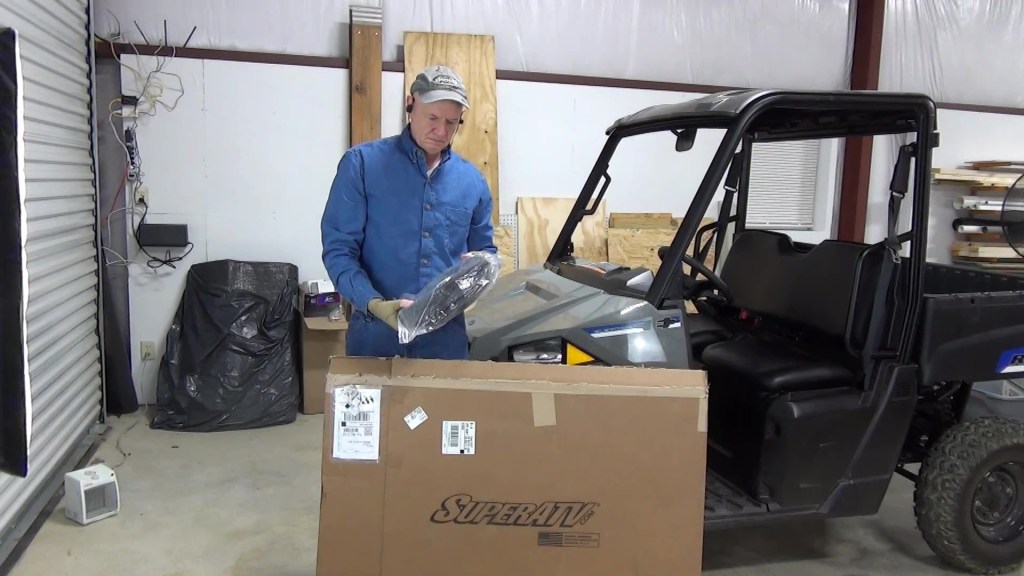
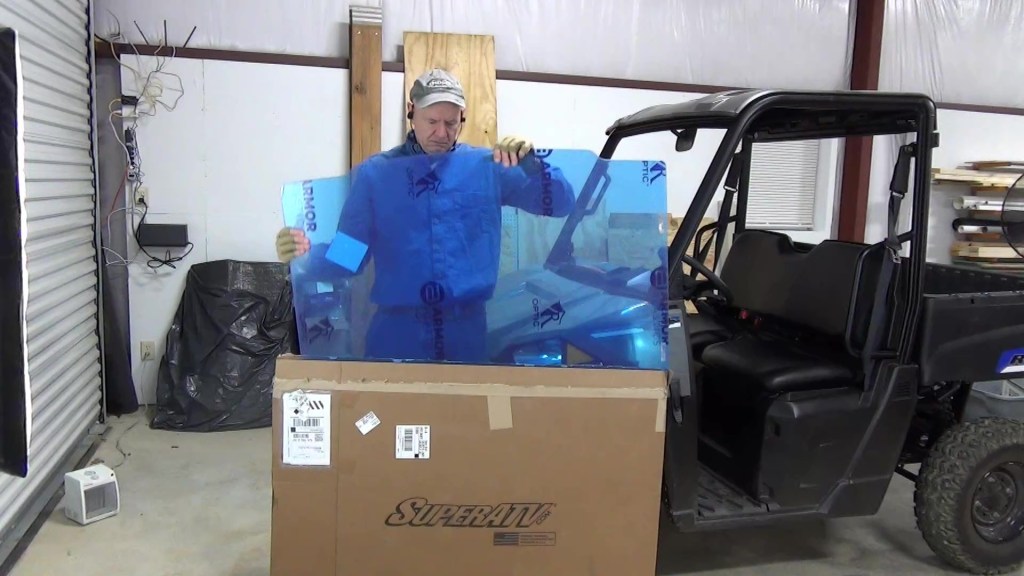
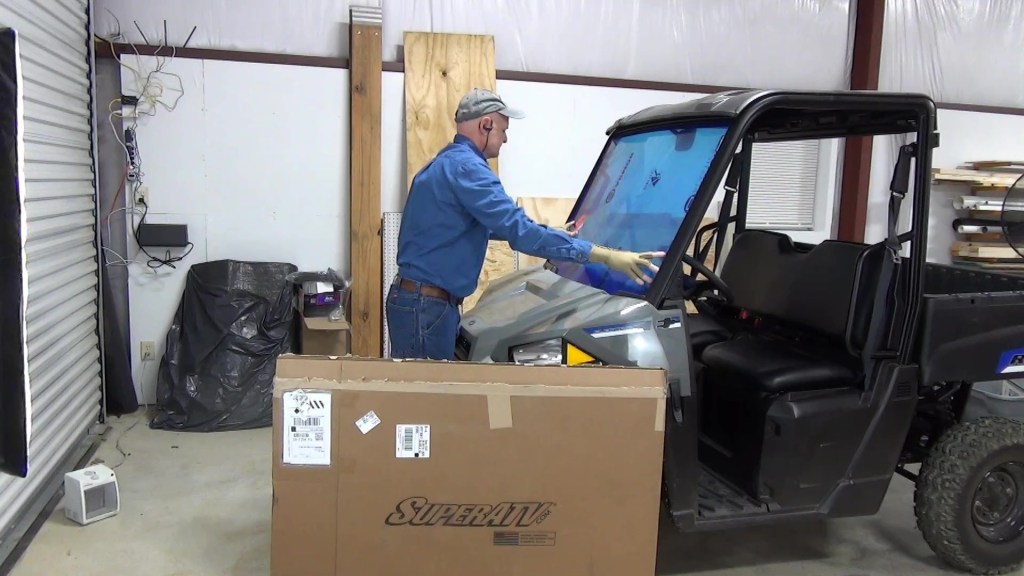
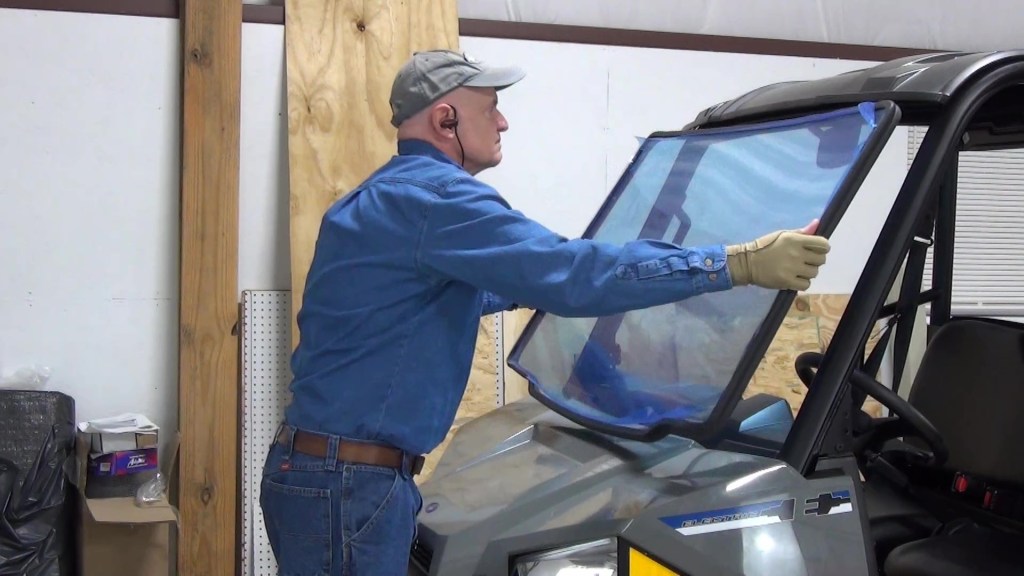
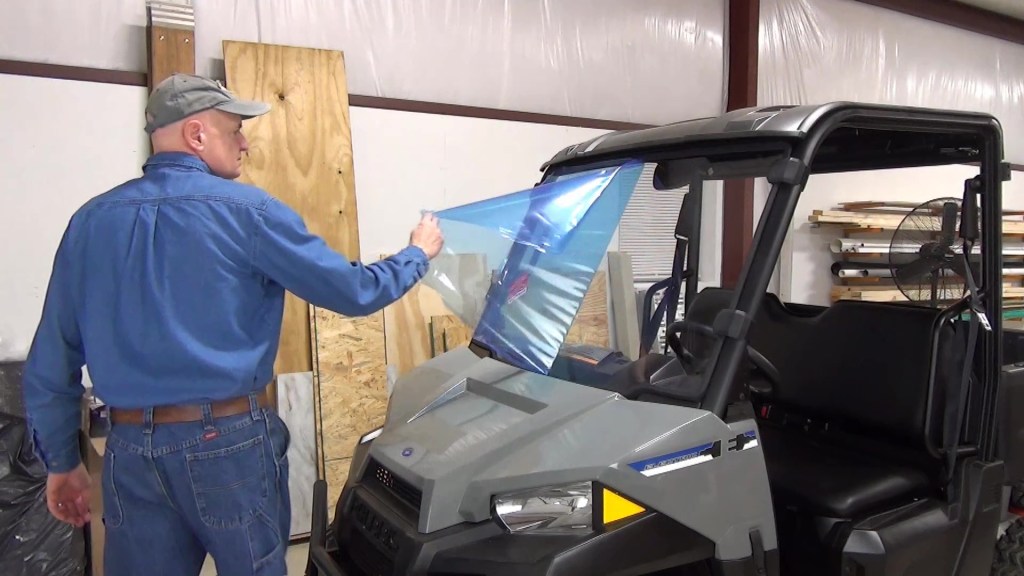
Note that the windshield is covered front and back with a blue protective film. DO NOT take the film off until you test fit the windshield to your ATV. You cannot return the windshield if the film has been removed. In fact, I leave the film on until the last step of installation to minimize the risk of scratching my scratch-resistant windshield. BTW, they don’t mention that there is a front or back side, so I assume both sides are scratch resistant. Looks like it will be a perfect fit.
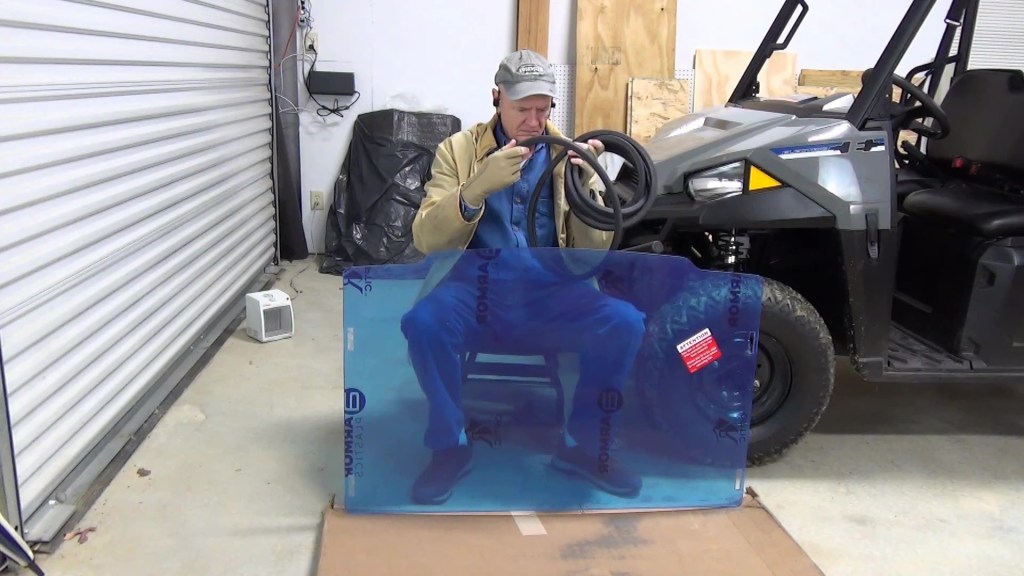
The first step is to put on the seal. I place the windshield upside down and sitting on the cardboard box for protection.
Note: I am deviating from the current installation instructions, which say to snap the mount clamps into the windshield and then install sections of the seal around the windshield and up to the clamps. However, the clamps are designed to snap on around a continuous seal. Also, I came across an earlier version of instructions that show installing the seal all the way around the windshield, which makes sense, if you want a full seal all the way around. And I do, so that’s what I did. If you’re not comfortable with it, just follow the instructions as written.
I should warn you that the seal absolutely stinks when first removed from the bag, so you may want to do what I did and let it air out a day or two before installing. SuperATV recommends you soak the seal in hot water before installing it to increase the flexibility, but I thought it was flexible enough so I skipped that step. In quite a few reviews people complained that installing the seal was the hardest part, but as you’ll see, I didn’t have much trouble with it.
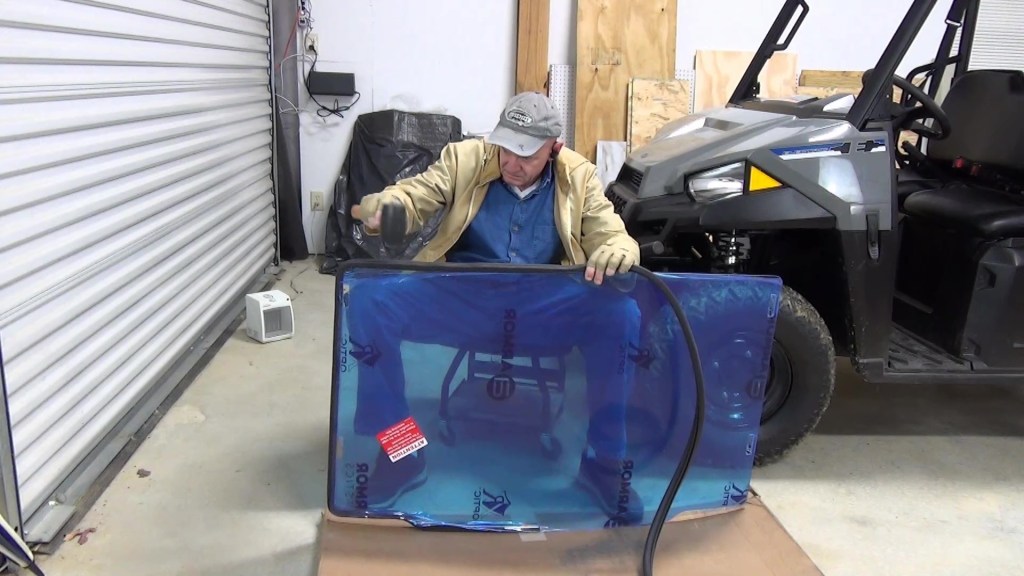
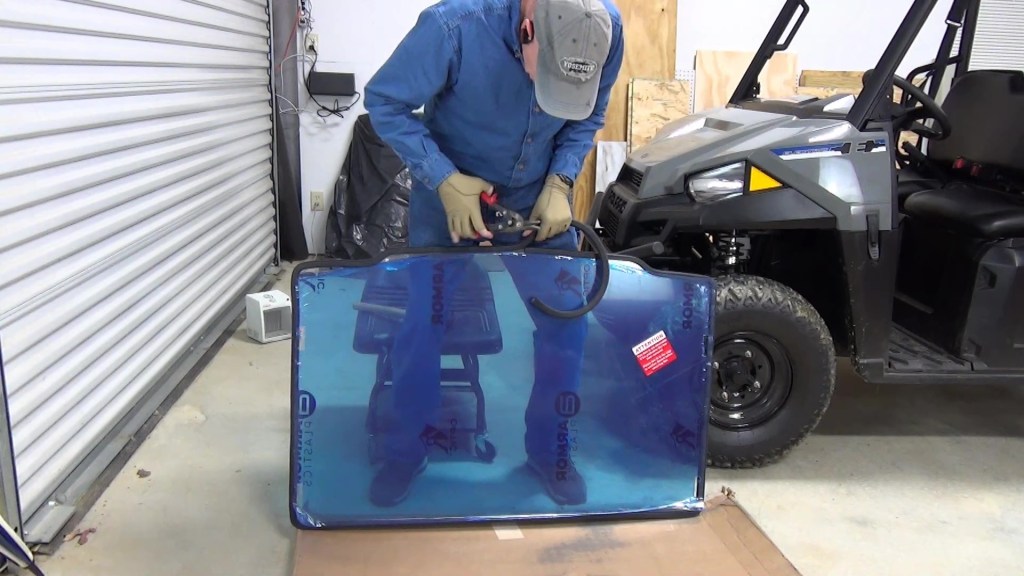
I peel back both sides of the protective film just enough to seat the seal. BTW, when putting on the seal as a single piece, you’ll want to start at the bottom so that the only gap in the seal will be there.
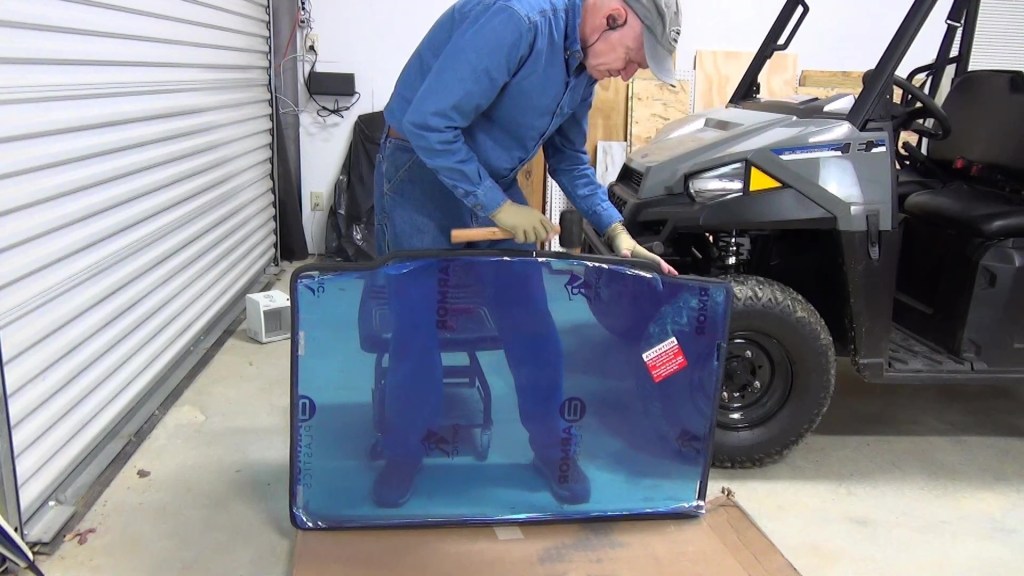
I start pushing firmly down on the seal until it is fully seated against the edge of the windshield. As I go, I keep peeling back the protective cover as I work my way around the windshield. I use a rubber mallet to gently tap the seal to make sure it’s fully seated and follows the contour of the windshield.
Where the seal turns a corner, I make there is no slack in it.
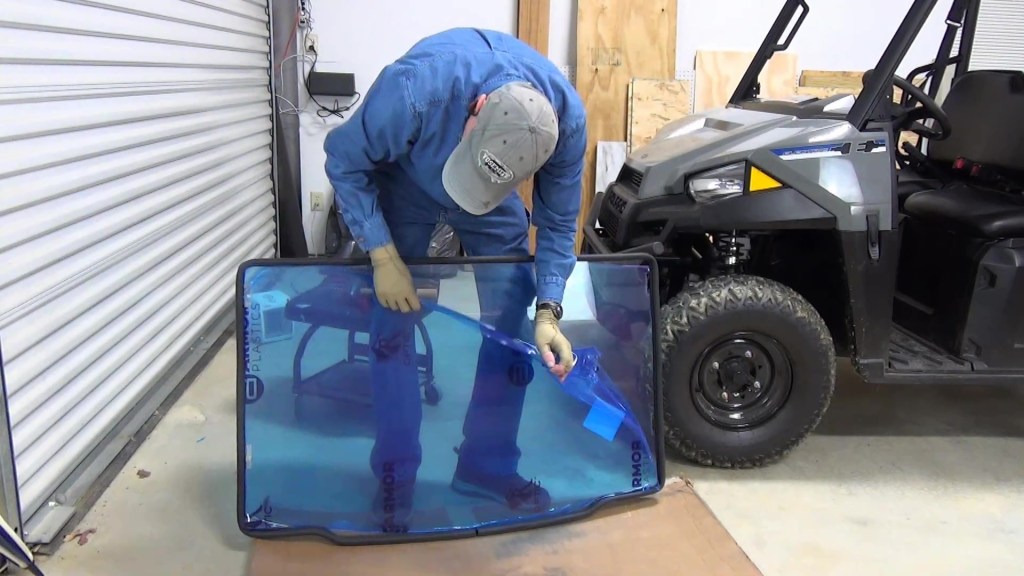
When I get the seal on all the way around, I use tin snips to cut it, leaving as small of a gap as possible. Why tip snips? Because the seal has an embedded metal u-channel that gives it it’s holding power and is why it takes some effort to put on. I carefully nibble through it, trying not to deform the metal u-channel too much. One final round with the mallet and the seal is seated.

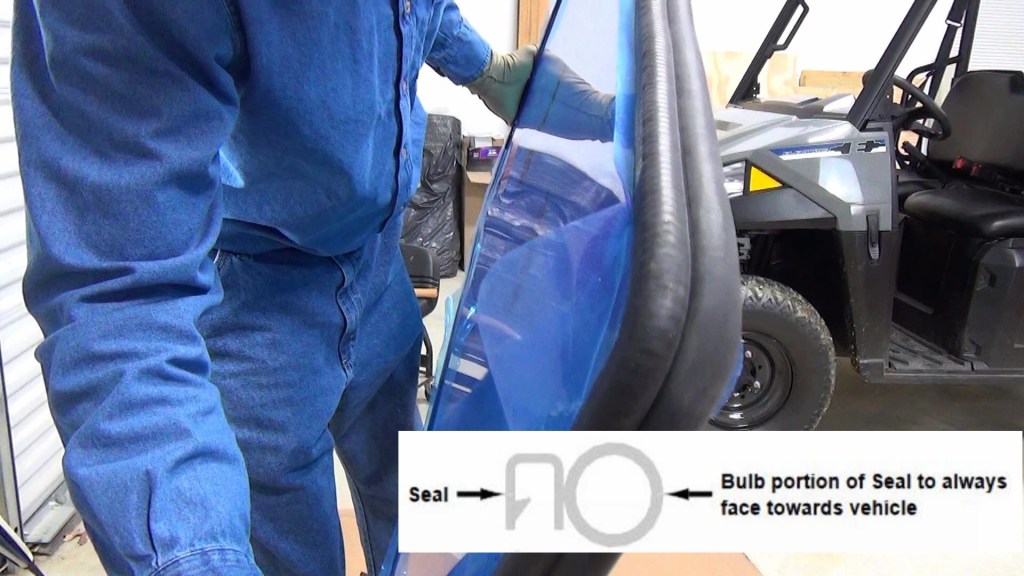
Below is a close-up look at the seal. Notice that the bulb portion of the must face toward the vehicle. I take off the film on the inside of the windshield, but leave the film on the outside for now. Then I set the windshield in place.
Next, I install the four mount clamps that hold the windshield to the frame. The mount clamps come in two white boxes, two clamps to a box.
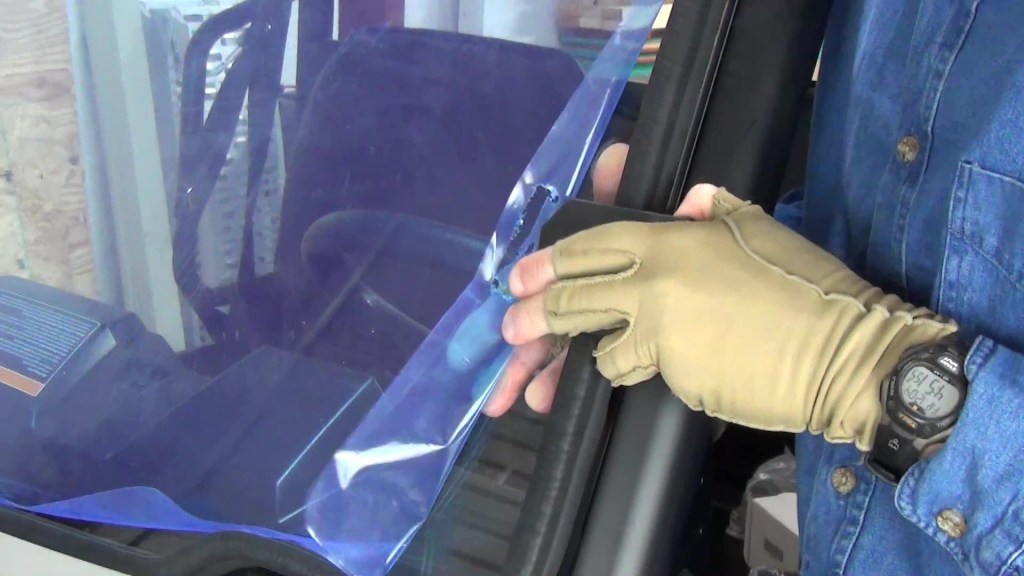
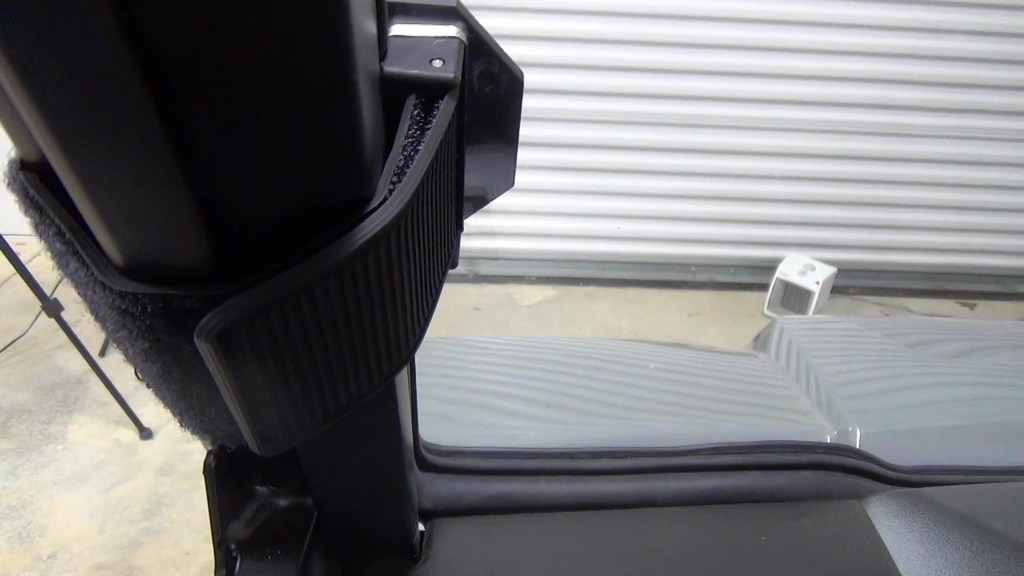
Each one has a Velcro strap to hold it and the windshield to the frame. I pull back the film and press the clamp into the hole. It’s a snug fit, but it will go on with a little wiggling. Be sure to support the back of the windshield and don’t use too much force.
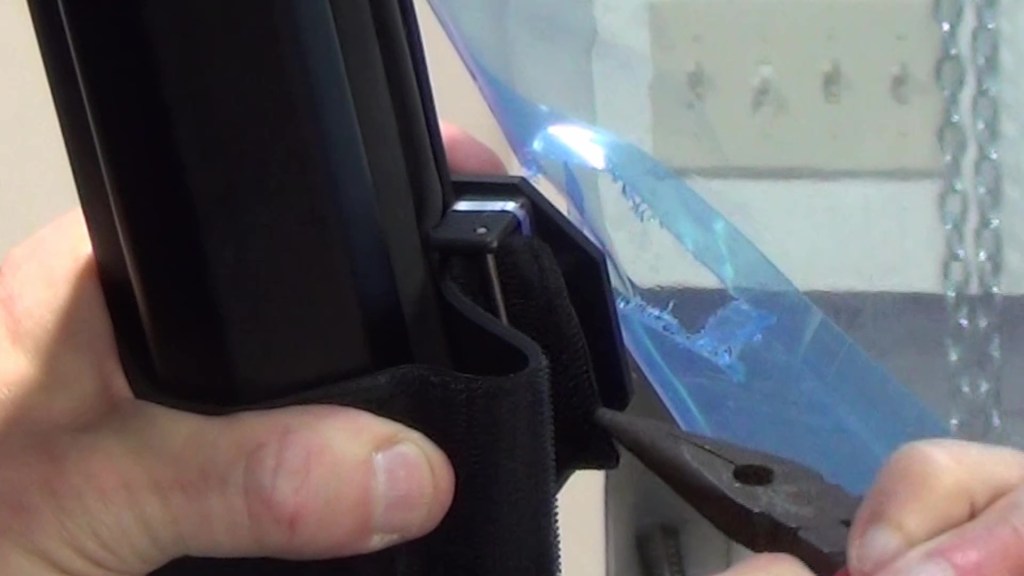
From the inside, I push the strap behind the metal spindle, which is also a tight fit. Some needle nosed pliers help to pull it through. Pull it nice and tight and fold back and stick it to itself.
After installing the other to clamps, I finally remove the last of the protective film.
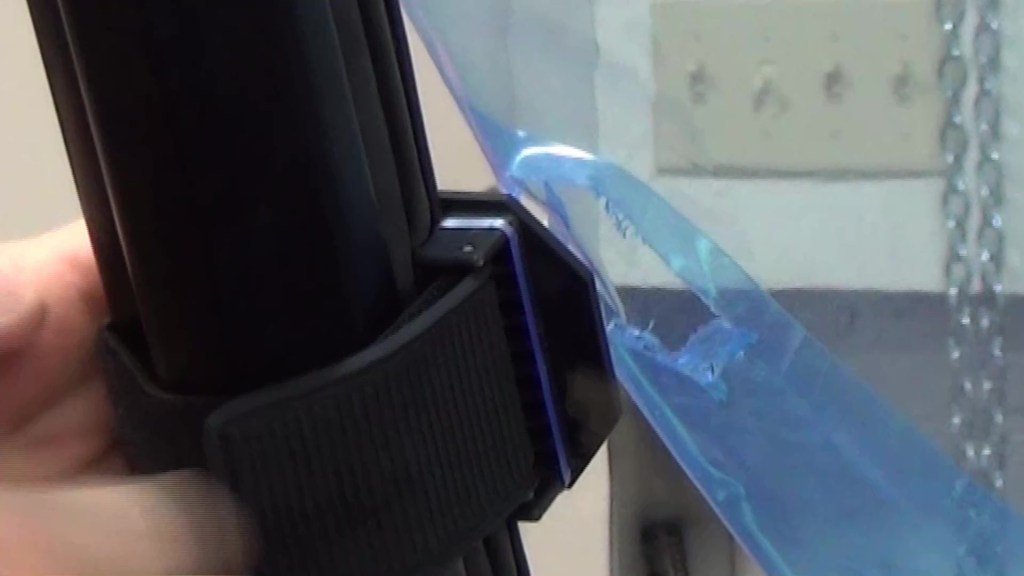
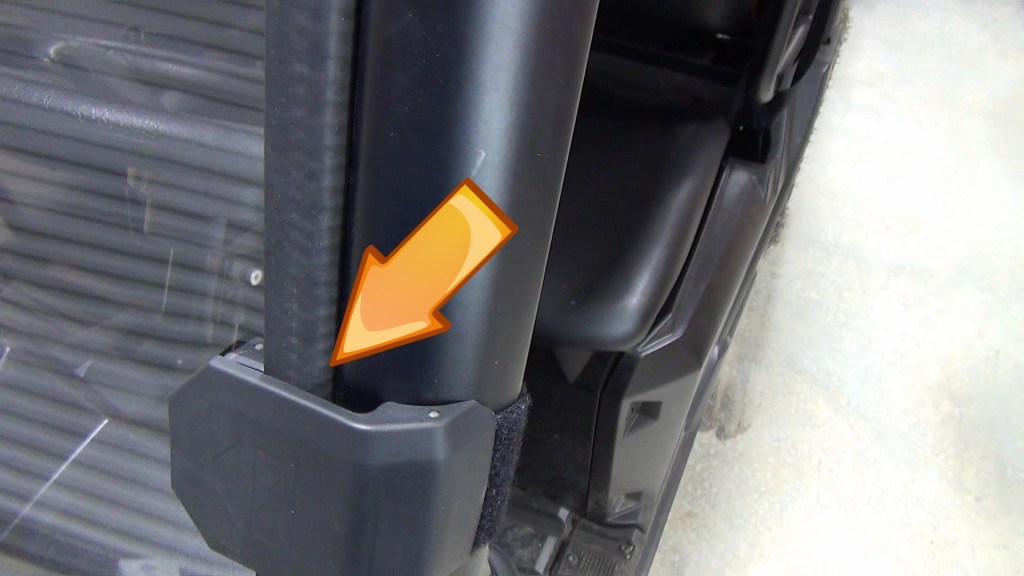
The below closeup picture shows that the clamp is indeed made to allow a continuous seal around the windshield. The next slide is a closeup of the Velcro strap.
All in all, I’m pleased with the look of the windshield and the fairly easy installation. However, remember that this windshield is scratch resistant, not scratch proof. With that in mind:
- Do not use window cleaning fluids like Windex or 409, or any solvents like gasoline, alcohol, or acetone.
- Never use abrasive cleaners, abrasive pads, or gritty cloths.
- Never use razor blades, scrappers, squeegees or brushes.
- Failure to heed these precautions will cause weeping and gnashing of teeth!
To clean the windshield:
- Thoroughly rinse Windshield to float off dirt and mud.
- Using a soft cloth, or microfiber cloth, clean Windshield with warm water and a gentle detergent such as baby shampoo or hand soap.
- To prevent water spots, use a Shammy cloth to blot the windshield dry.
Note: Links to Amazon products are Amazon Associate links that won’t cost you any extra, but will help support my efforts with a small commission on qualified products. Thanks for your support!
