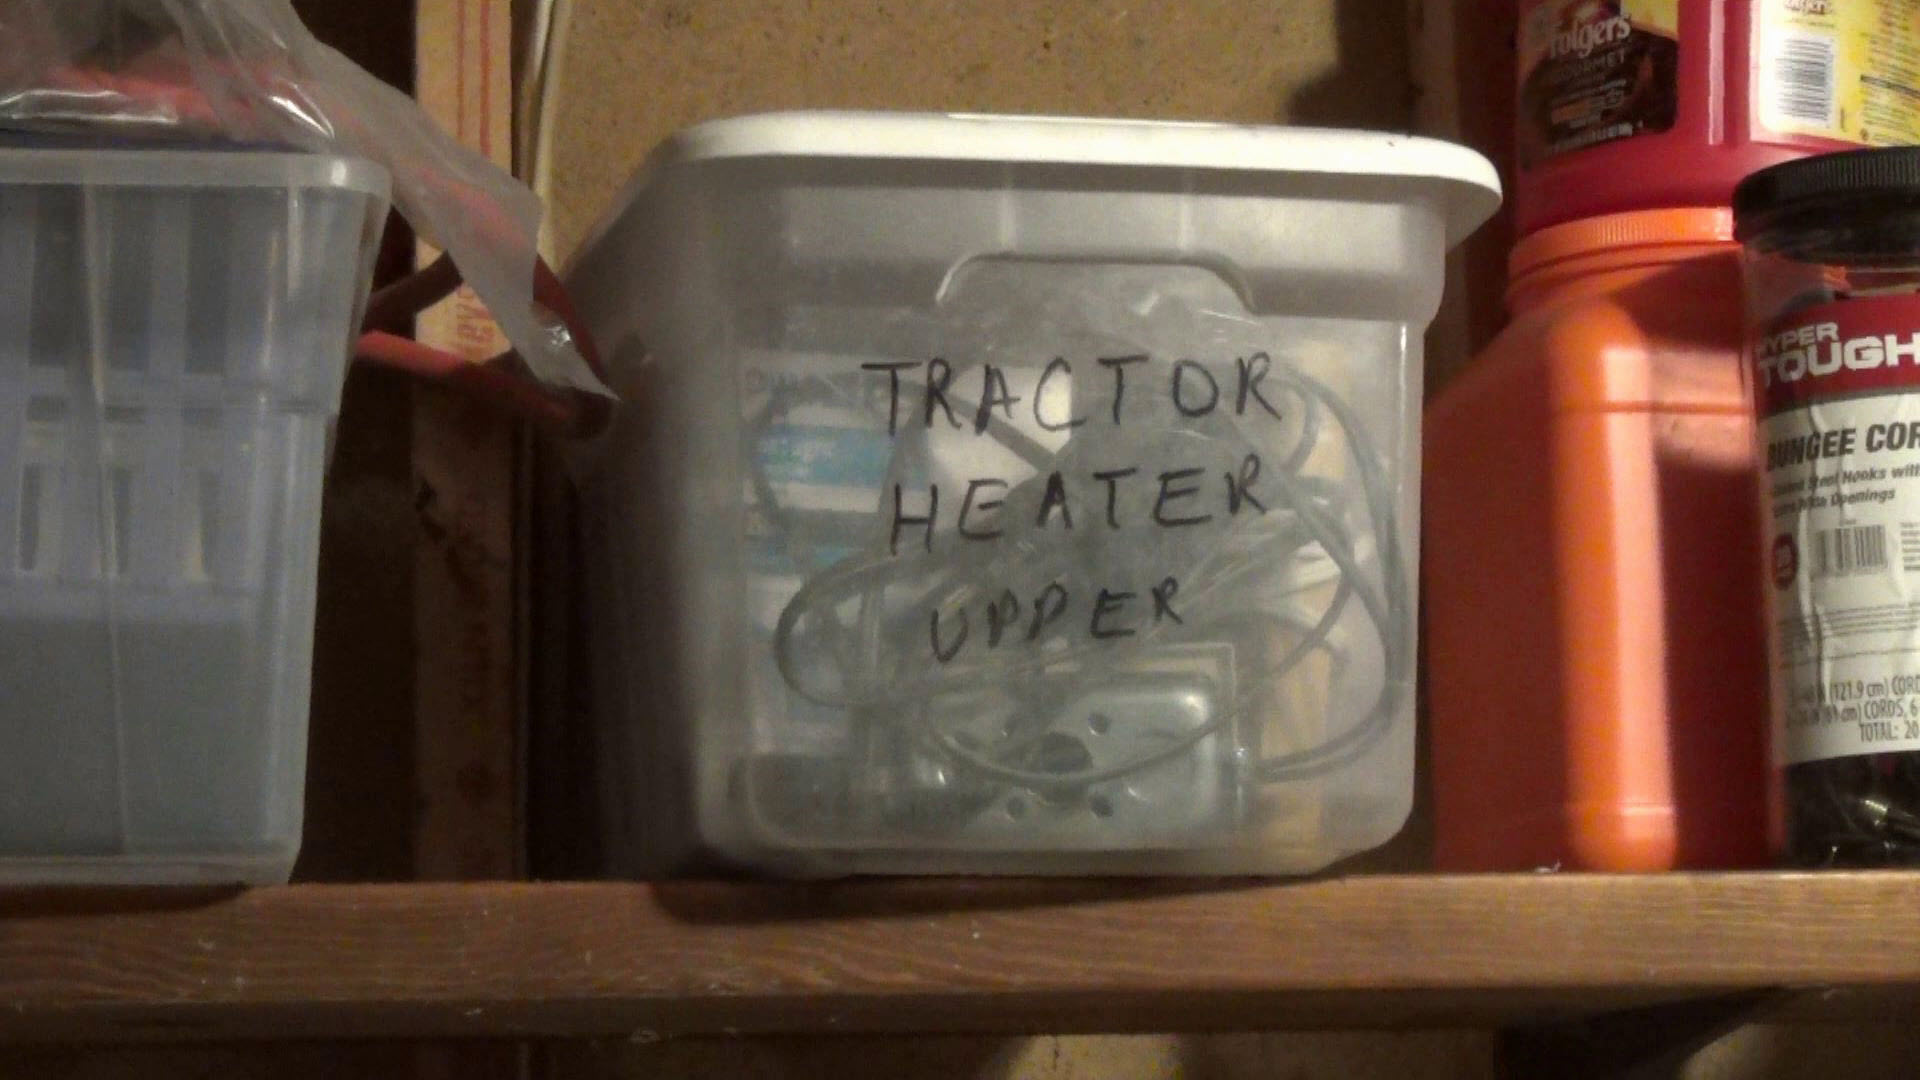
It doesn’t get nearly as cold here in the South as it does up North and I am just fine with that! Since really cold weather is rare here, engine block heaters aren’t as common as they are in the North. But occasionally, the temperature dips into the teens and single digits, which would make for a sluggish tractor start. So this is my solution for warming up the tractor on those rare occasions.
This involves the old tried and true method of using heat lamps, which certainly not a new idea. However, you may find some of my improvements on the idea worth considering.
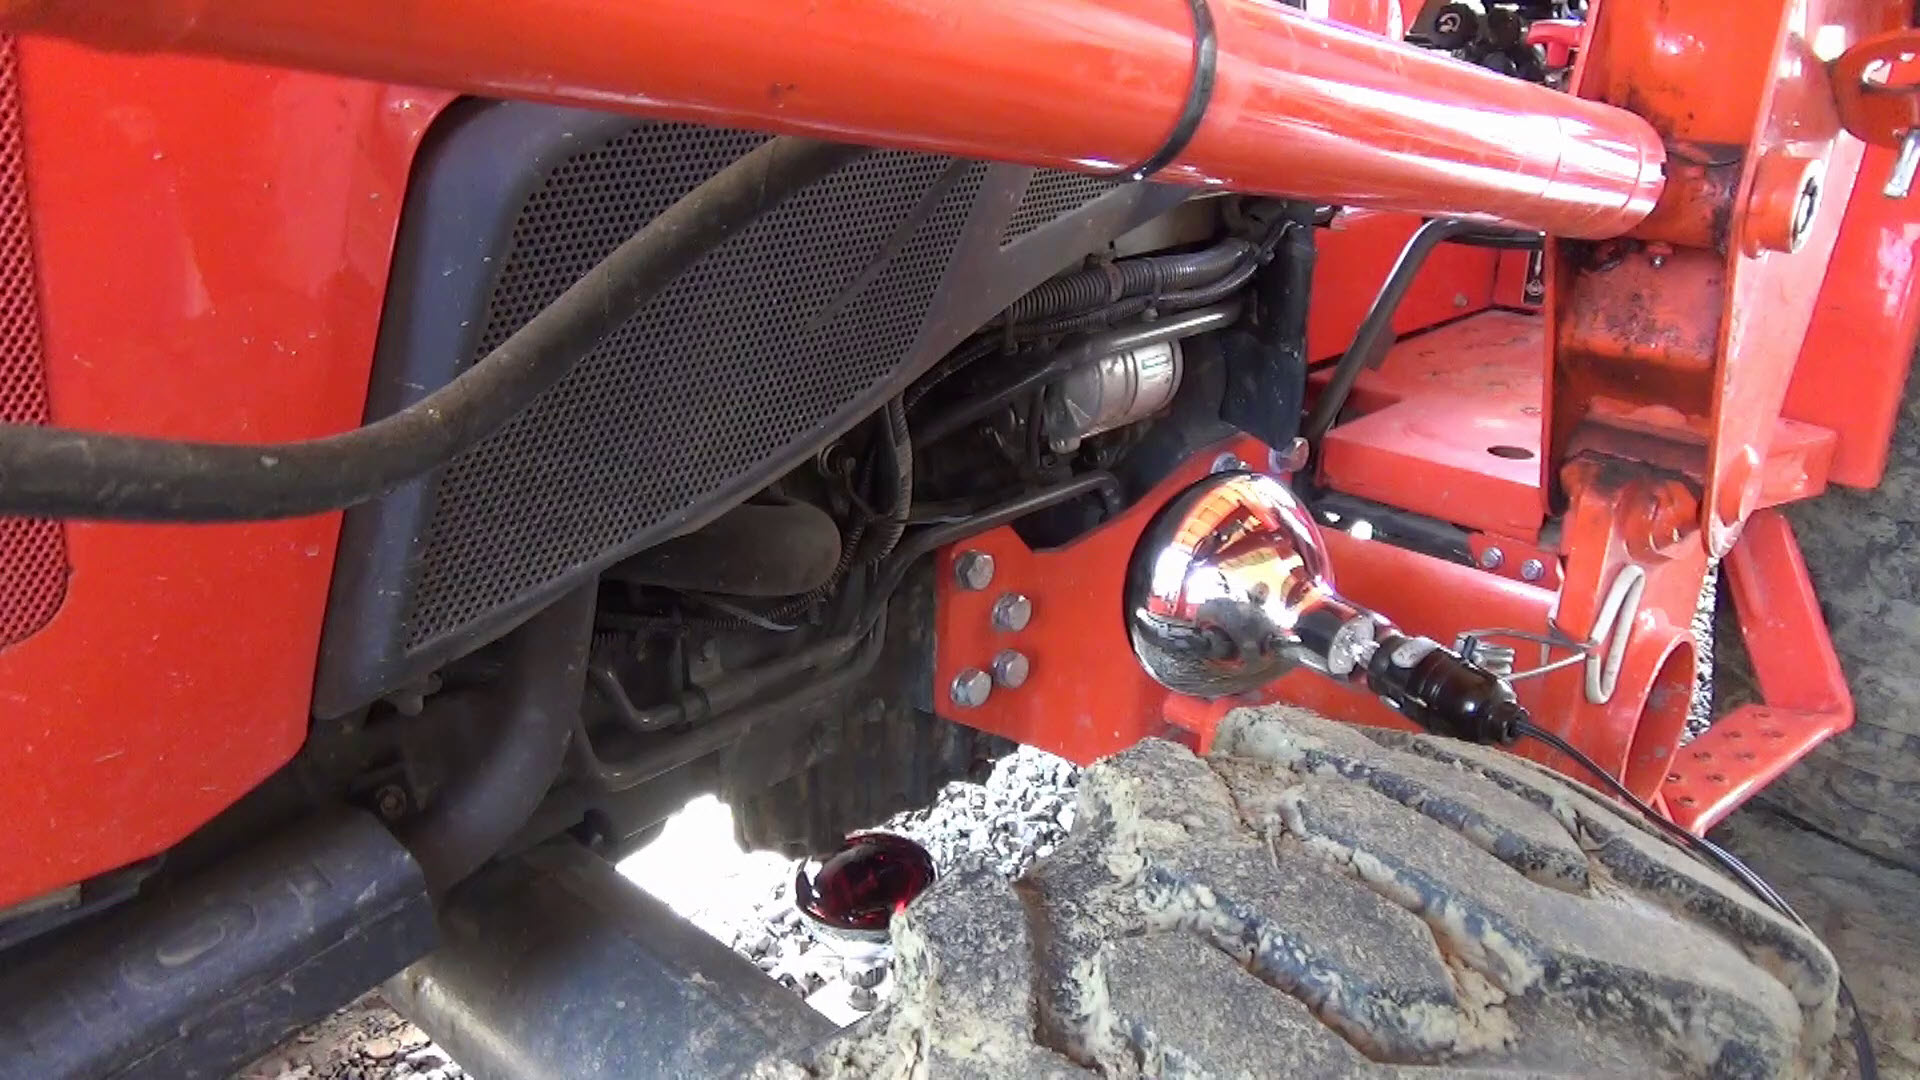
One of the big issues, with cold weather starts is that the tractor’s vital fluids such as oil, hydraulic fluid and diesel fuel tend to get thick and not flow easily. So, it occurred to me that maybe I should focus the heat on areas that will warm the fluids first and then the engine block indirectly. (I have since learned that this is not a new idea either. You can buy magnetic oil pan heaters and similar products for this application. If I lived up north, I’d have probably known that!)
I use a dimmer switch as part of the setup for two reasons. First, I already had it on hand so there was no extra cost, but the main reason is to maximize the life of those heat lamps, which aren’t cheap. I learned a long time ago that incandescent bulbs will last way longer if you use a dimmer to ramp up the current to them when turning them on. This alone makes it worth adding a cheap rotary dimmer switch to the setup in my opinion, but it is optional. I think next cold snap I’ll try using a clamp on fixture to heat the side of the engine block in addition to the oil pan lamp.
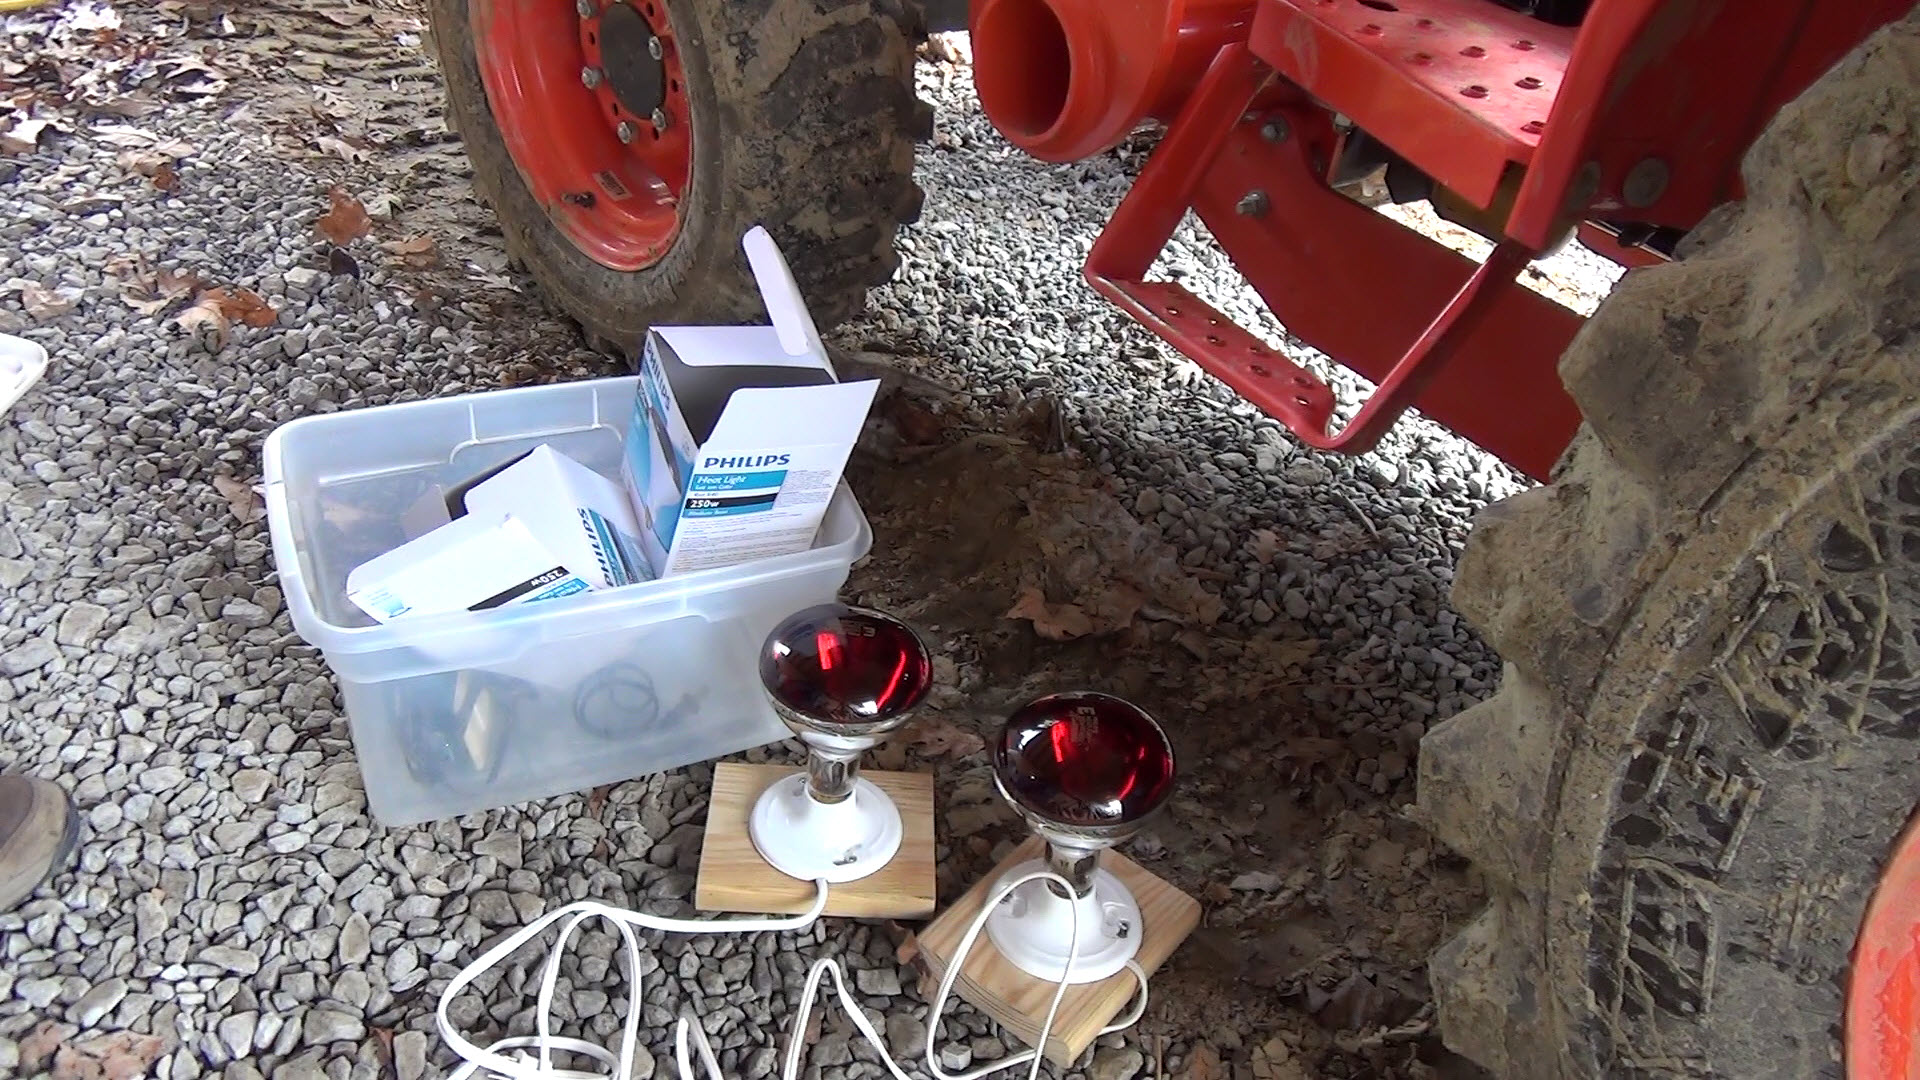
Make a tractor engine heater can be as simple as a clamp-on light fixture and a 250W heat lamp bulb. But why settle for a simple solution when a more complicated one will do?
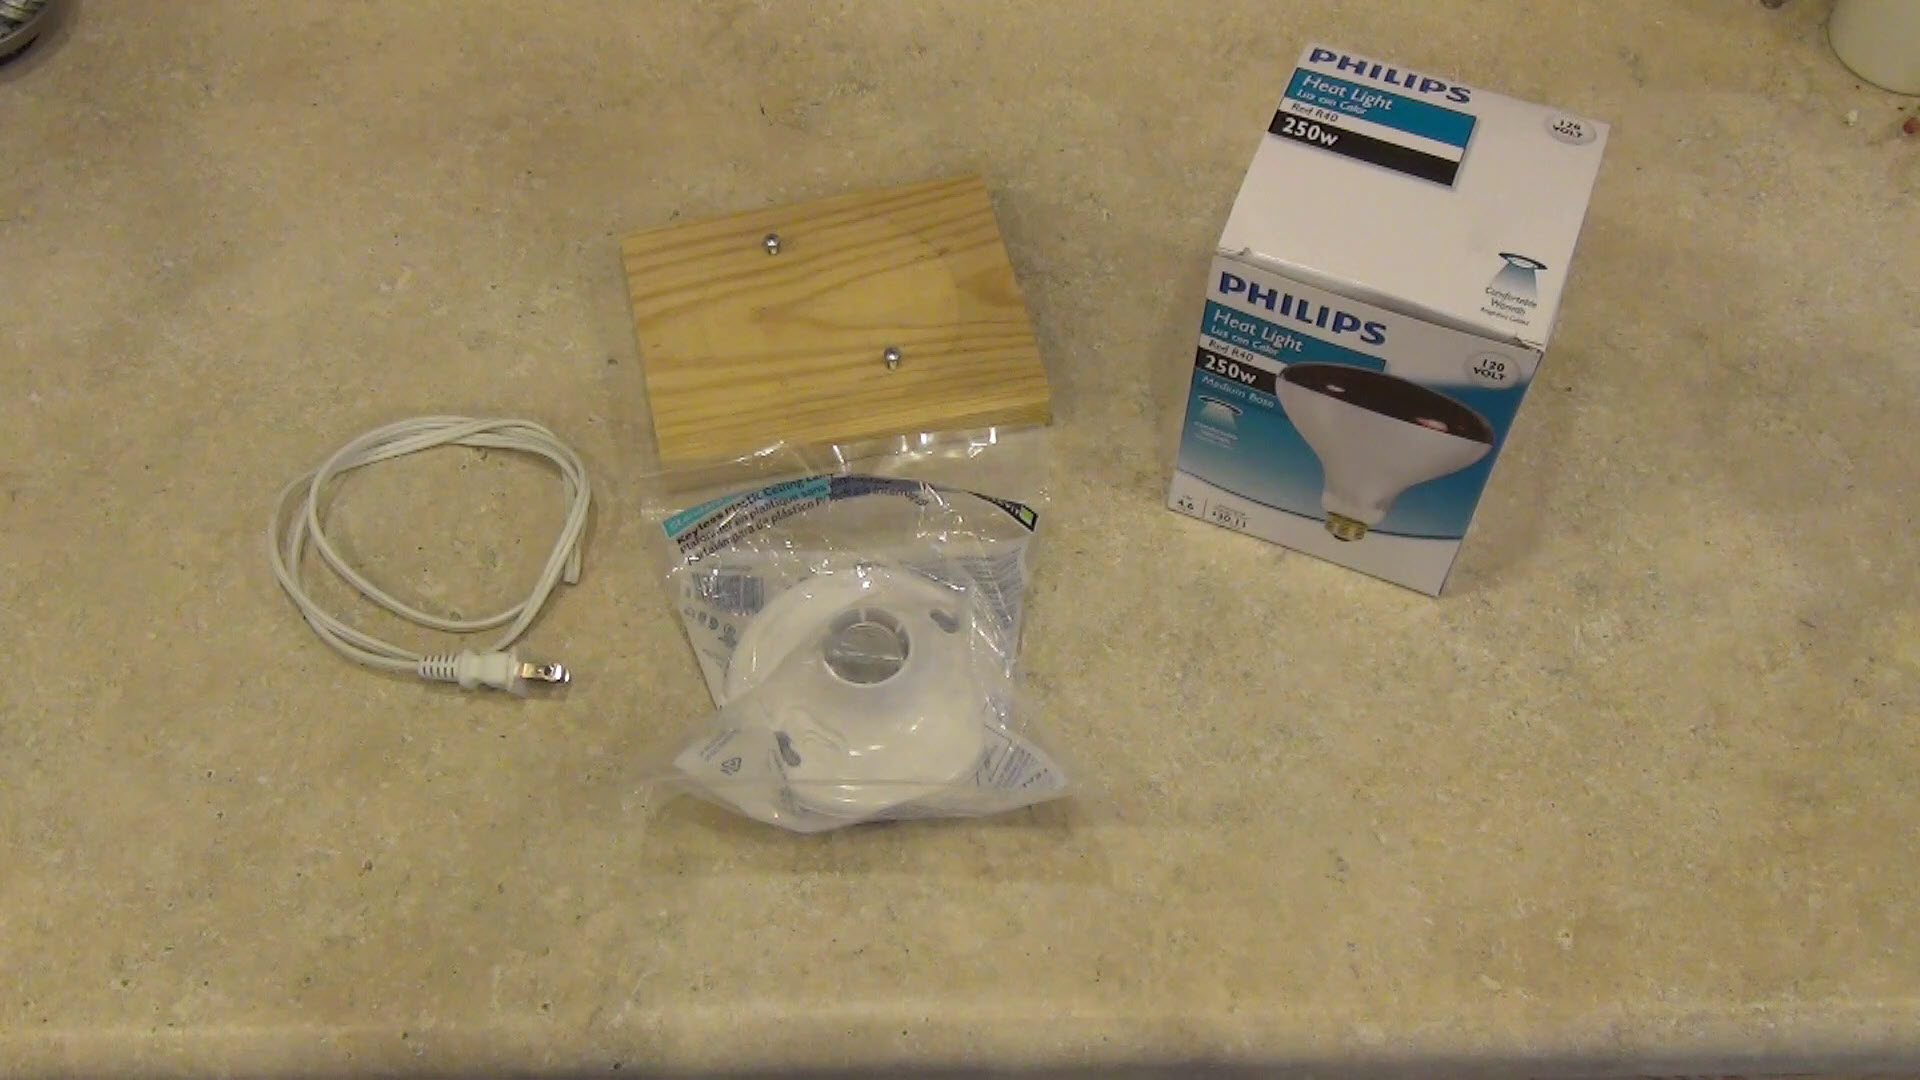
To make an oil pan heater, in addition to the heat lamp, I used a two-conductor power cord, a light socket, and a block of wood to provide a solid base. I used a piece of pressure treated deck board. One thing to keep in mind is the total height of the bulb, socket and block of wood should be less than the clearance between your tractor oil pan bottom and the ground, by an inch or so.
When wiring the power cord to the light socket, it’s very important to wire the neutral and hot conductors to the correct terminals. The neutral is the wider of the two plugs and the hot is the narrow one. Normally, the neutral conductor has ridges on the wire that you can see and feel.
I made sure the neutral conductor was connected to the silver screw, which is the neutral connection on the light socket. The hot conductor connects to the gold or brass colored screw.
The light socket mounts on the block of wood with two screws. I was careful not to over-tighten the screws to avoid cracking the light socket.
A picture of the wiring diagram is below. It is important to wire the hot and neutral conductors correctly to minimize the risk of electric shock. Note that the dimmer ground wire is connected to the neutral.

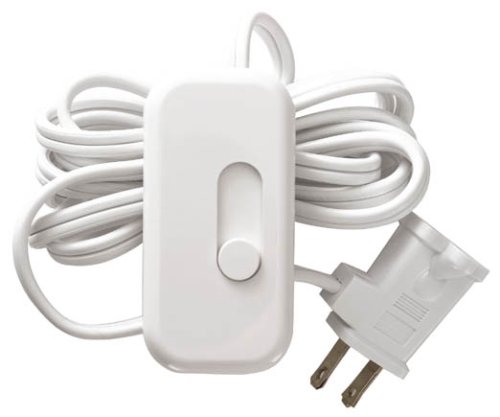
Now if you don’t want to build a dimmer circuit, you can buy one similar to the one pictured to the left and then plug your heat lamp or extension cord into it. The Amazon link to it is below.
Lutron Credenza Plug-in Dimmer on Amazon
Also, here is the Amazon link for the heat lamps I use:
Philips 415836 Heat Lamp 250-Watt R40 Flood Light Bulb
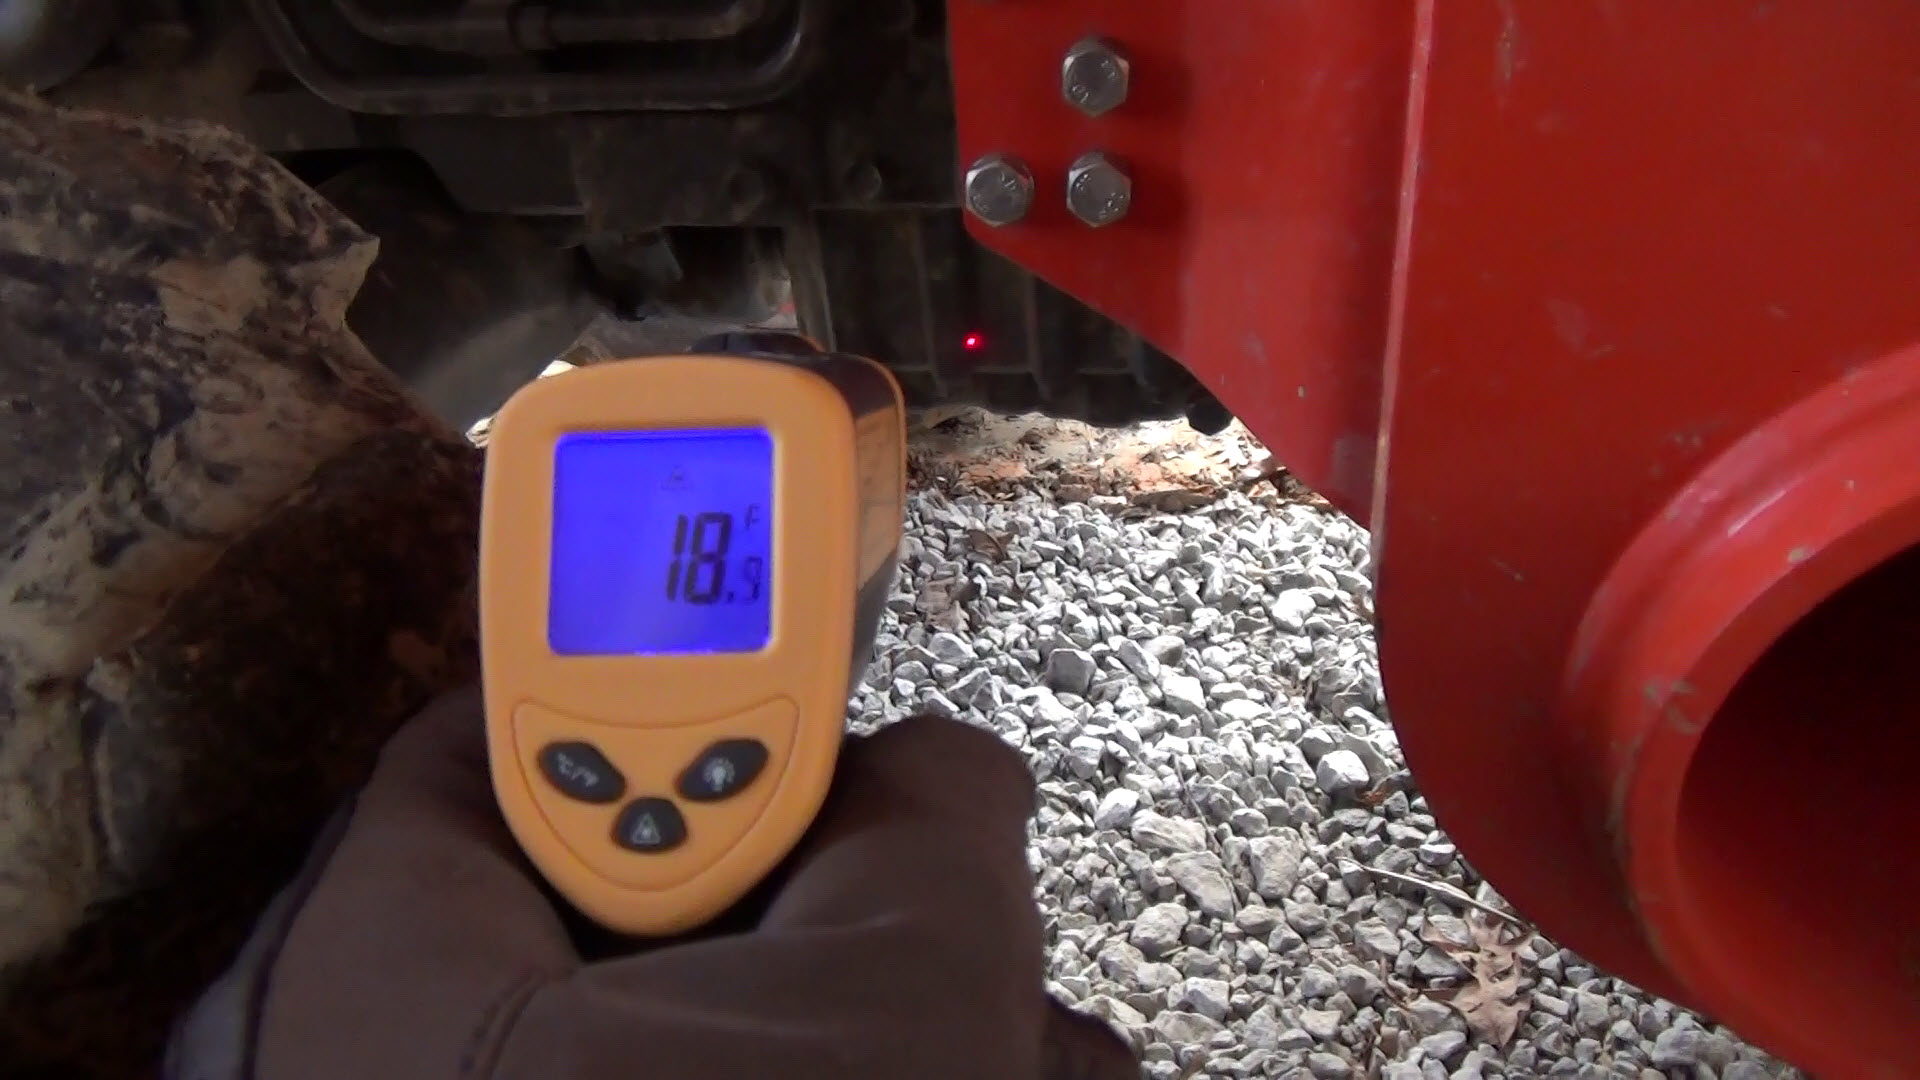
If you need an infrared hand-held thermometer, here is the link to the one I got from Amazon:
Etekcity Infrared Thermometer Temperature Gun
Picture Gallery

Note: Links to Amazon products are Amazon Associate links that won’t cost you any extra, but will help support my efforts with a small commission on qualified products. Thanks for your support!
