
Our driveway culvert pipe had been stopped up for quite a while and it was high time I did something about it. After several failed attempts to clear the pipe, I decided it would be best to replace it. This was a job for Big Orange!

If you are wondering if I’ve ever done this before, this and the next time will make twice!

Since I was replacing the existing culvert pipe, I decided I would widen the entrance to the driveway while I was at it. I bought two 20 foot sections of 12-inch double-walled plastic culvert pipe. These pipes are very strong, a lot lighter that galvanized steel pipes, and are easy to cut. The inside wall is smooth, so water flows easily and silt doesn’t build up inside.

I had already requested to have the utilities marked, but they didn’t mark the phone line at the road. Fortunately I knew that it ran along the edge of the driveway and right over the culvert pipe I was about to remove. With some careful hand digging, I soon found the phone cable and dug back to expose it. By the way, it was only 4″ below the ground.

Also, I managed to dig out the silted-in pipe outlet to be ready for extending the culvert without hitting the water line that fed the water meter box.
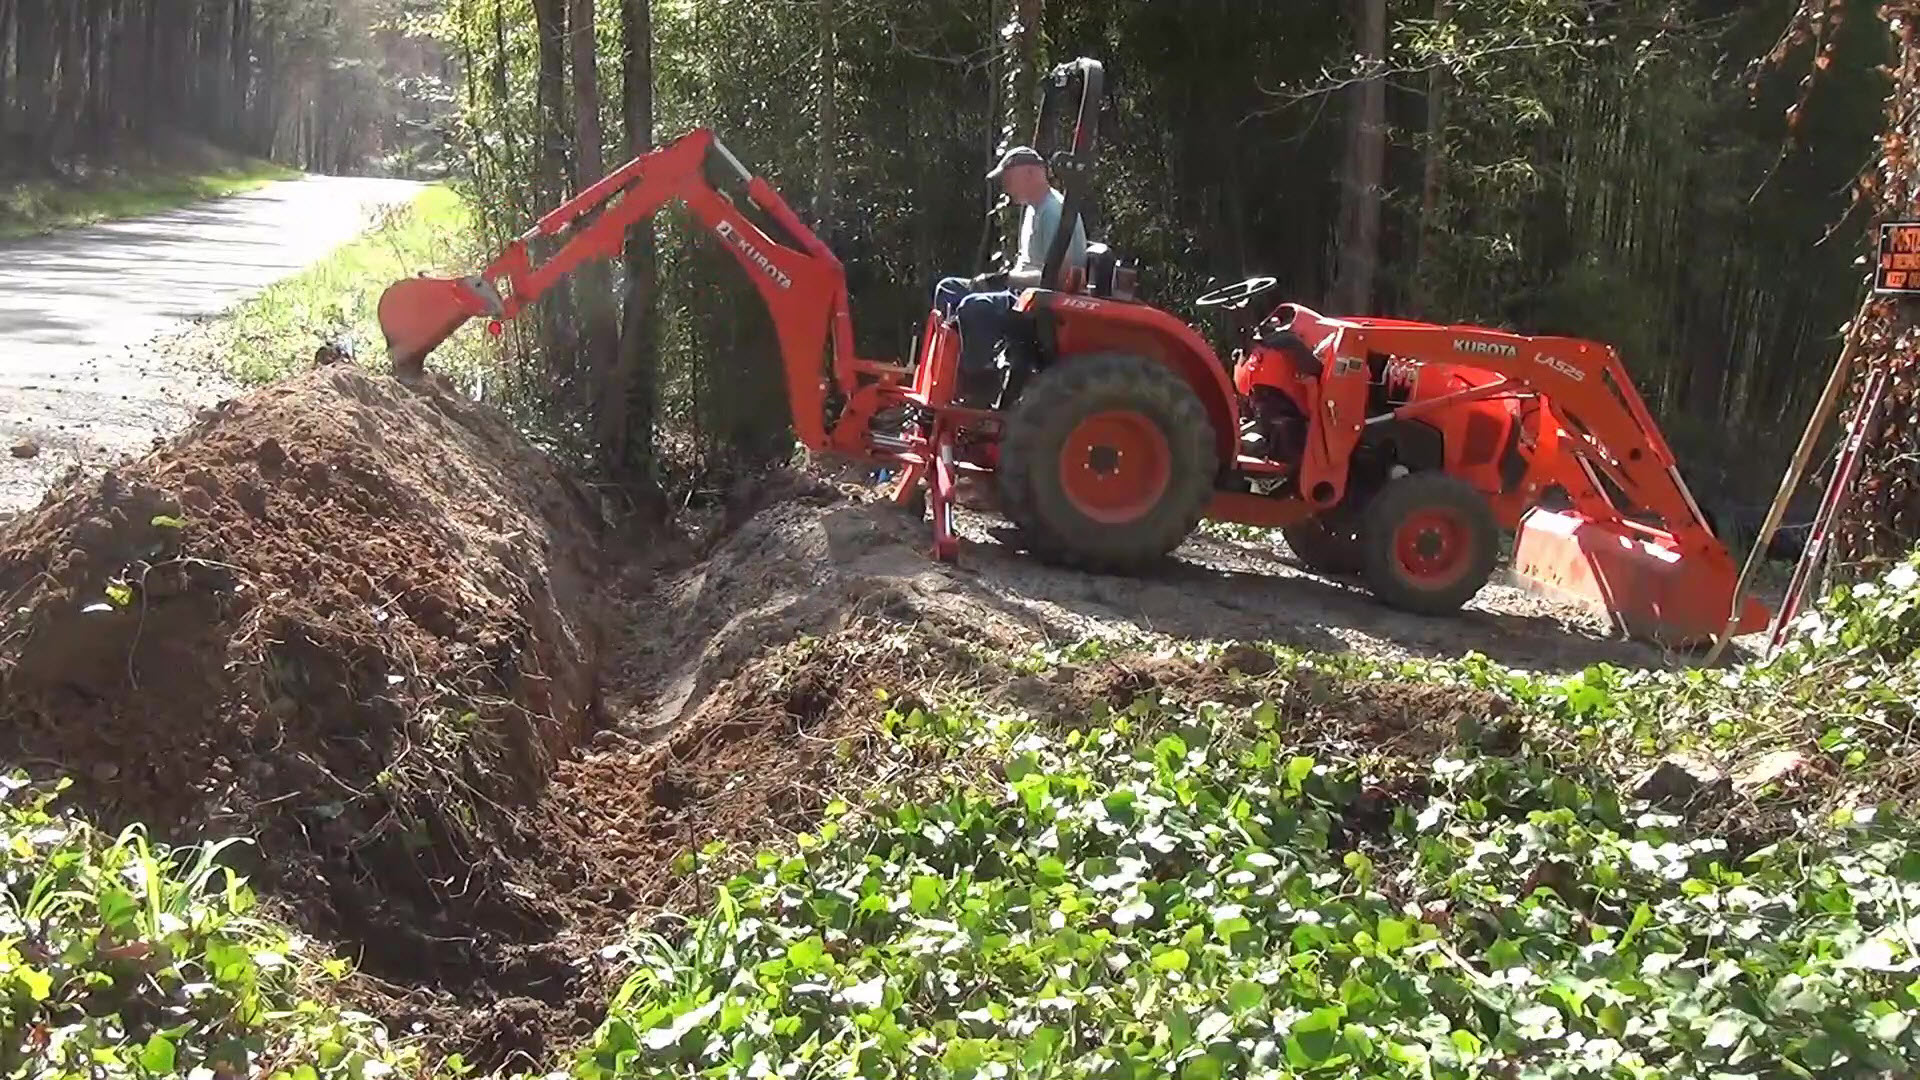
Digging out the old culvert pipe near the phone cable required some very careful backhoe work! After I got past that, the backhoe work went much faster.
Once the old pipe was fully exposed, it was time to see if I could pluck that pipe out of the ground. Using the backhoe, I hooked the inlet side of the pipe with the bucket teeth and pulled up. It came up easier than I thought! I wiggled the end around with the backhoe to break the pipe free of the dirt further down.


I wrapped a logging chain around as far down the old pipe as I could so I could lift and pull the it out from under the phone cable, then drug the pipe off to another part of the property so I could later solve the mystery of what was in that old culvert pipe.
With the old pipe out, I dug out the trench to accommodate the slightly large new culvert pipe sections. The old pipe was about 20 inches deep at the outlet and only about 6 inches deep on the inlet side, which is too shallow in my opinion. My goal was to have the inlet of the new pipe at least 12 inches deep.
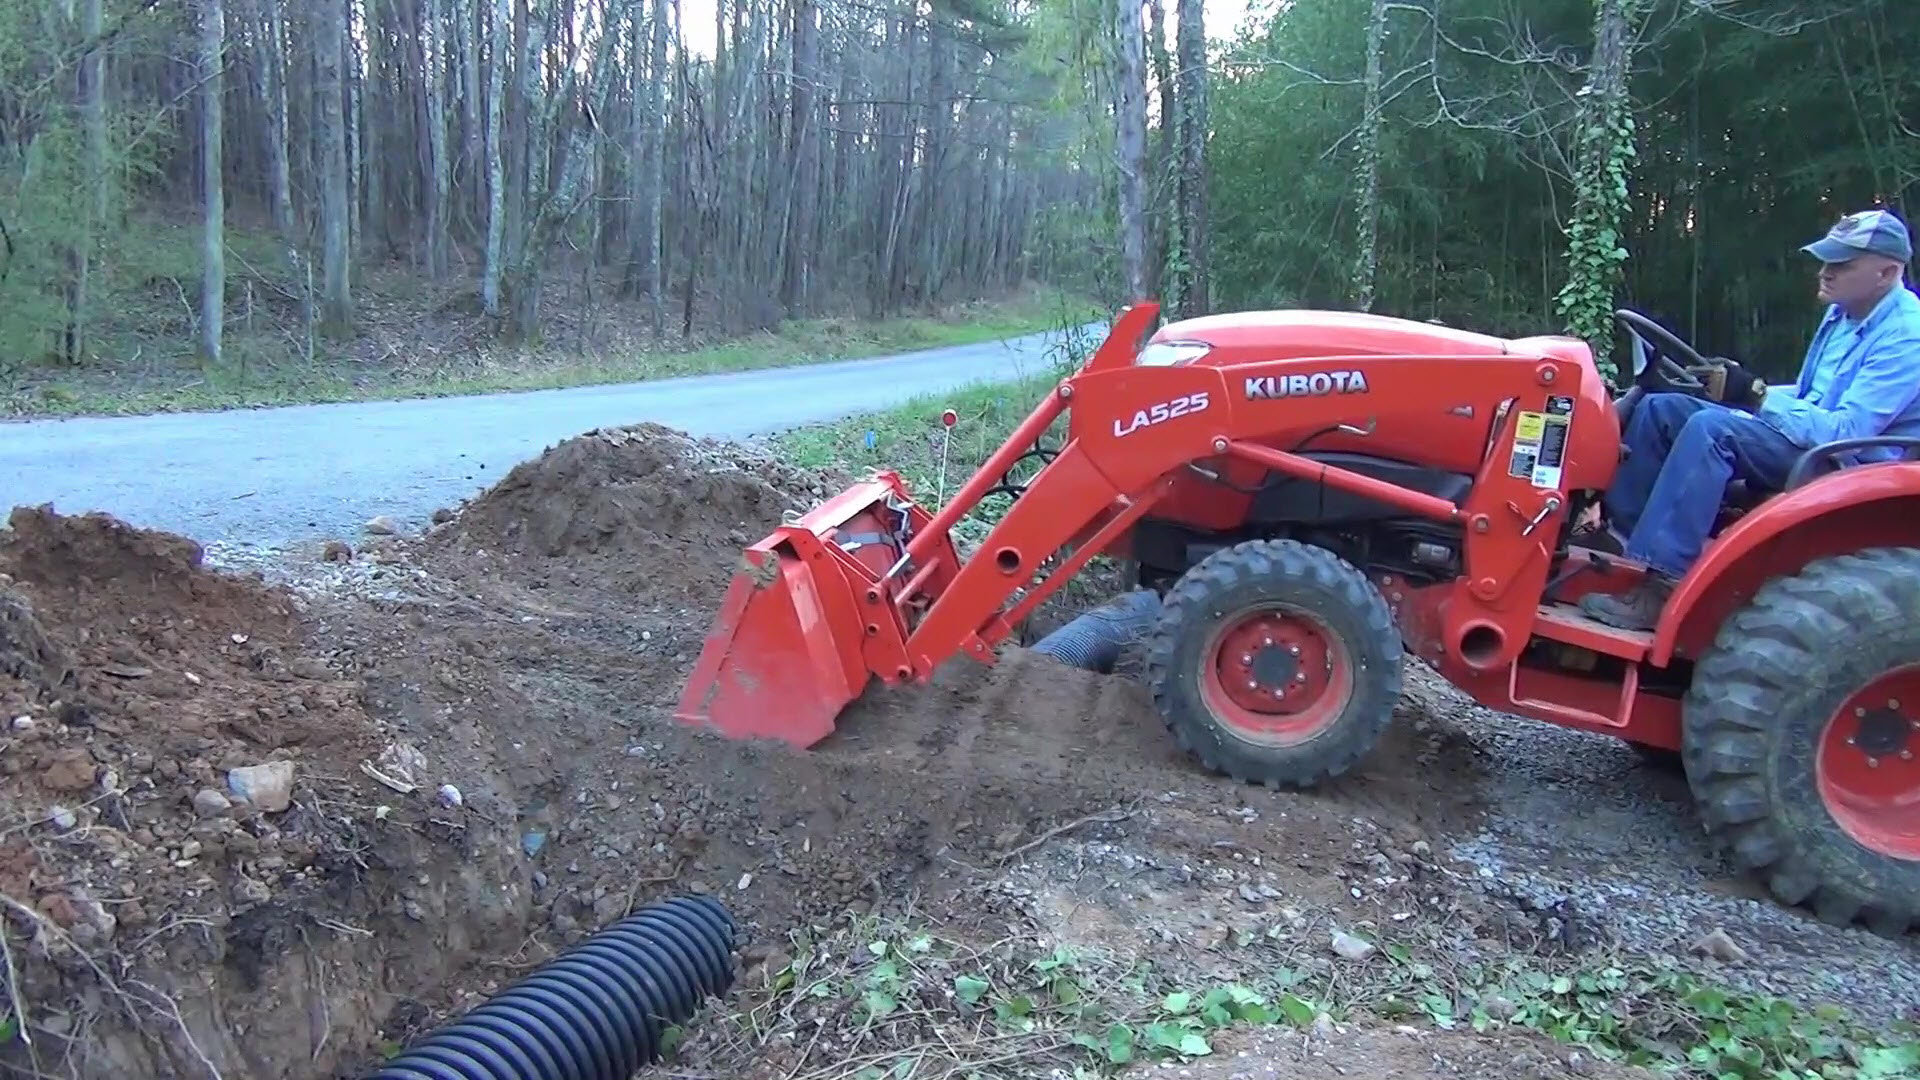
The new plastic culvert pipes are heavy, but not nearly as heavy as the galvanized steel pipes, so I can maneuver them by myself. I place the first section so that the inlet end is about six feet past where the original inlet was. This will allow for a wider driveway entrance.

Next, I used a level to make sure the pipe had a slight fall to it so water would flow through at a leisurely pace but not too fast.

After attaching the other section of pipe and using straps to hold the two sections together, I started putting dirt around them.
Culvert pipes get much of their strength from the dirt on the sides of them, so well-packed dirt is essential. I filled the first 6 inches by hand and packed the dirt firmly with hand tools to make sure the pipe sections would have good support from the start.
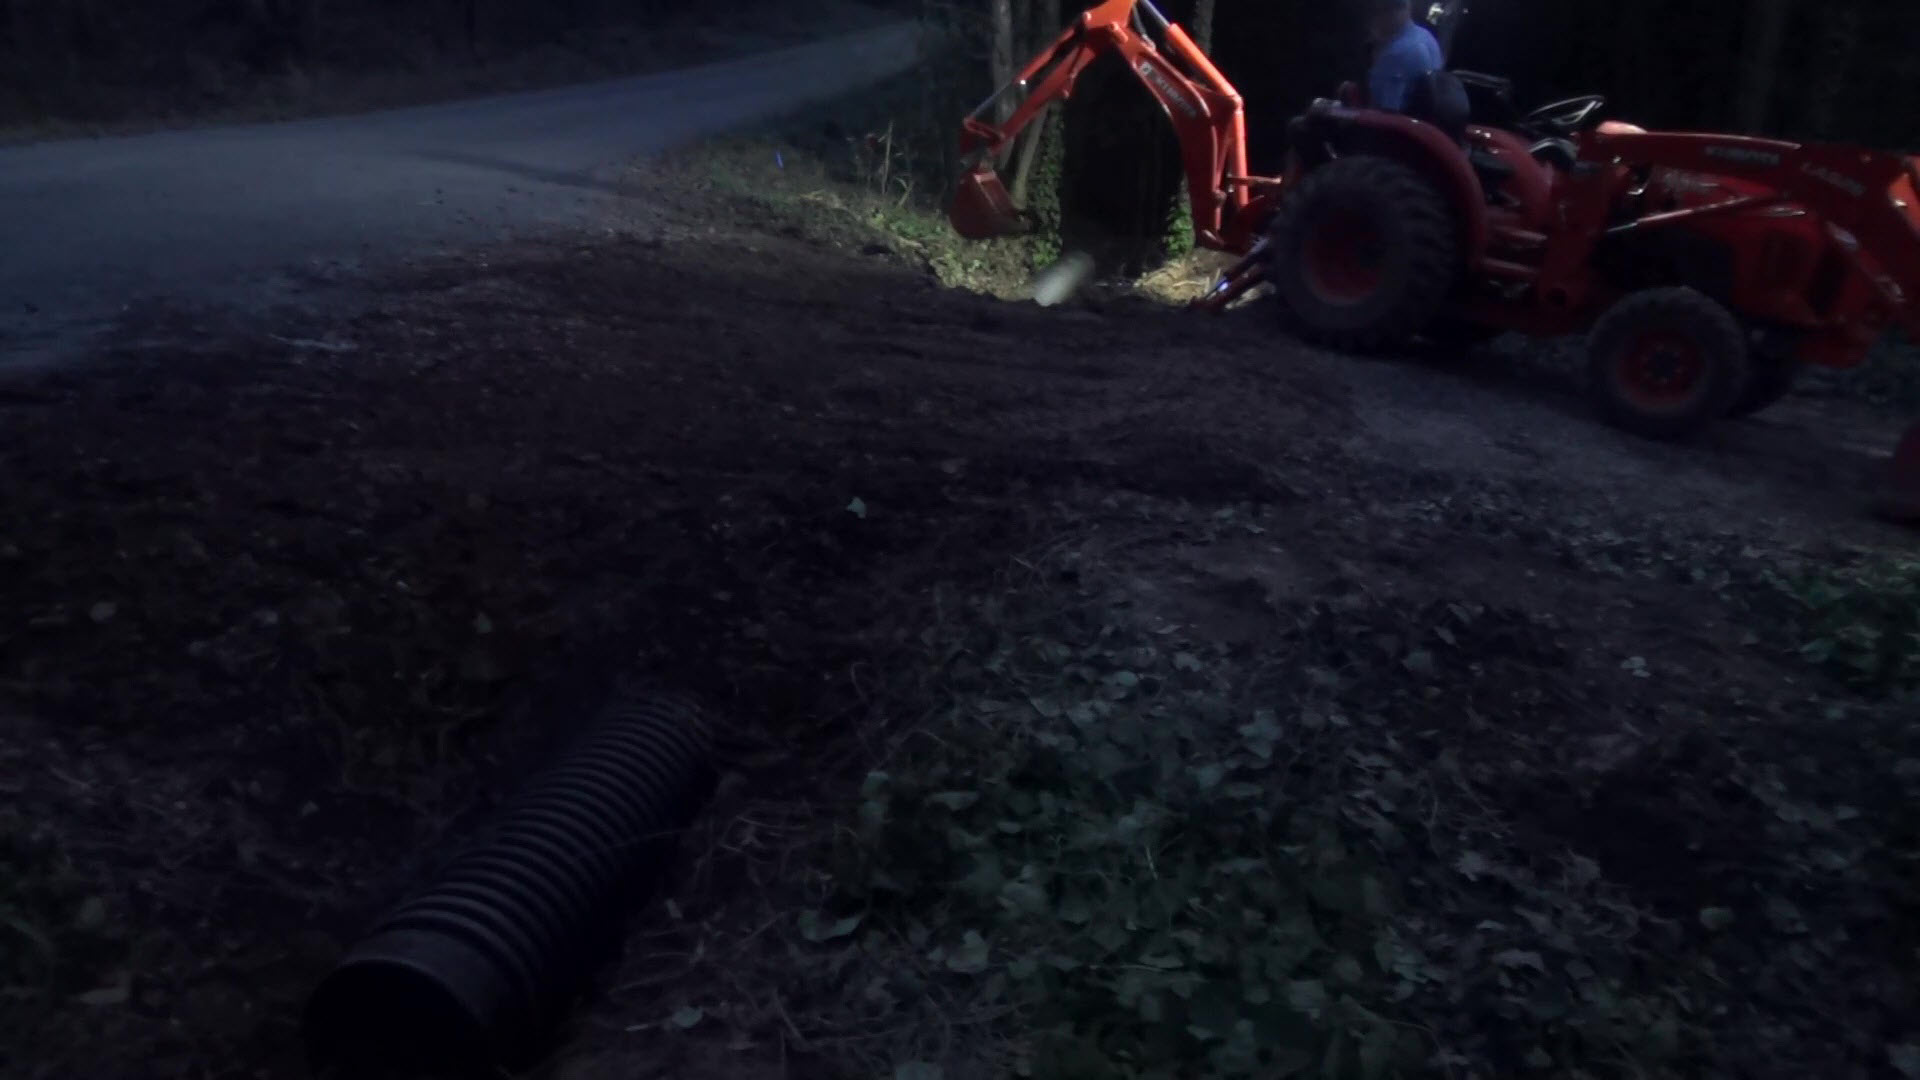
Once I was satisfied with the hand packing, it was time for Big Orange to finish burying the pipe.


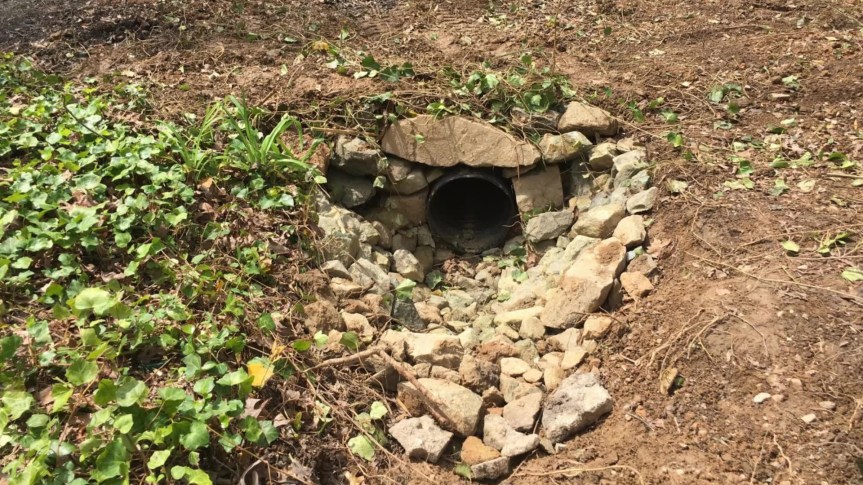
The next day, I wrapped things up by digging out the inlet basin more and lining it with rock. Soon after, I spread gravel over the new culvert project.
Since then, the culvert has seen a lot of traffic, including several concrete trucks rolling over it and it is holding up very well. No signs of deforming or collapsing.
Picture Gallery
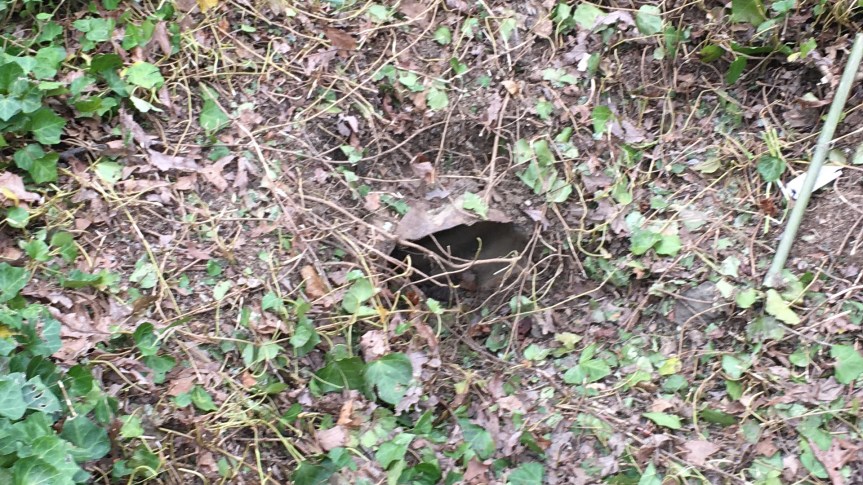
The inlet of the old culvert pipe
Two 20-foot sections of new culvert pipe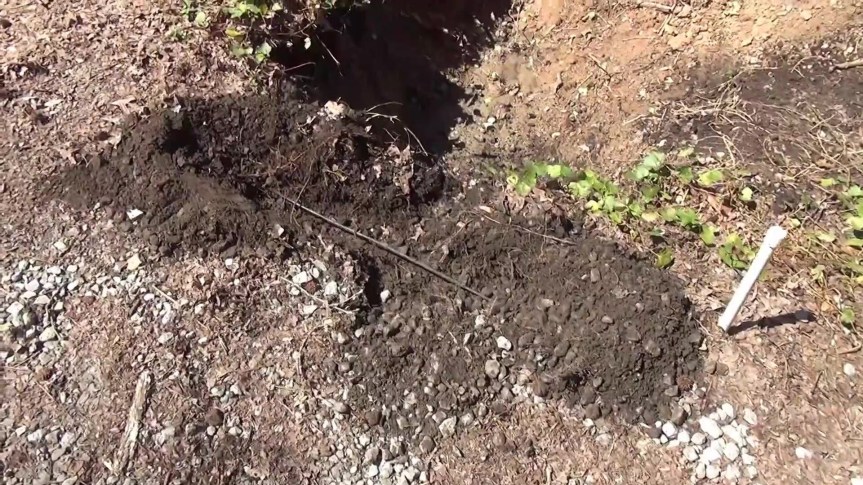
The phone cable was only 4 inches below ground!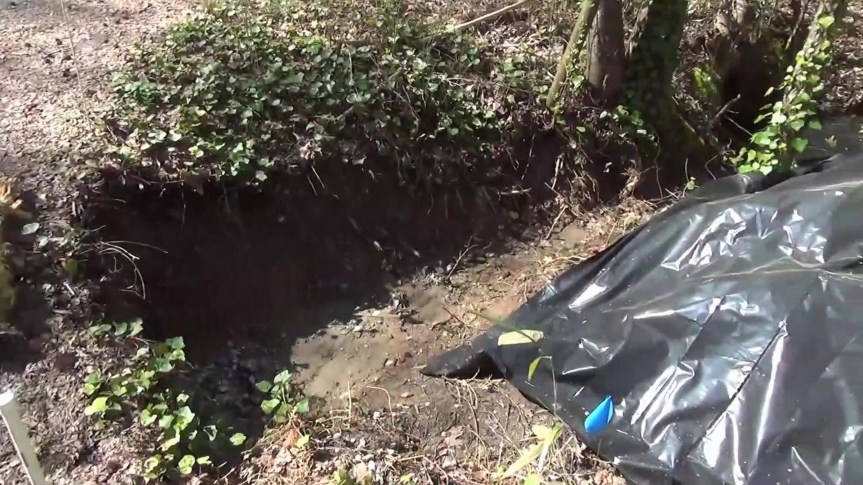
Didn’t hit the water line!
Success! The old pipe is loose.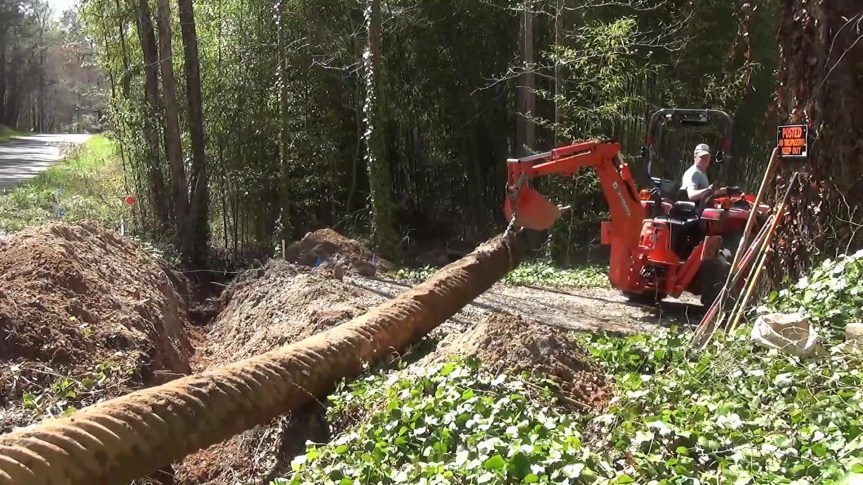
Hauling the old culvert pipe off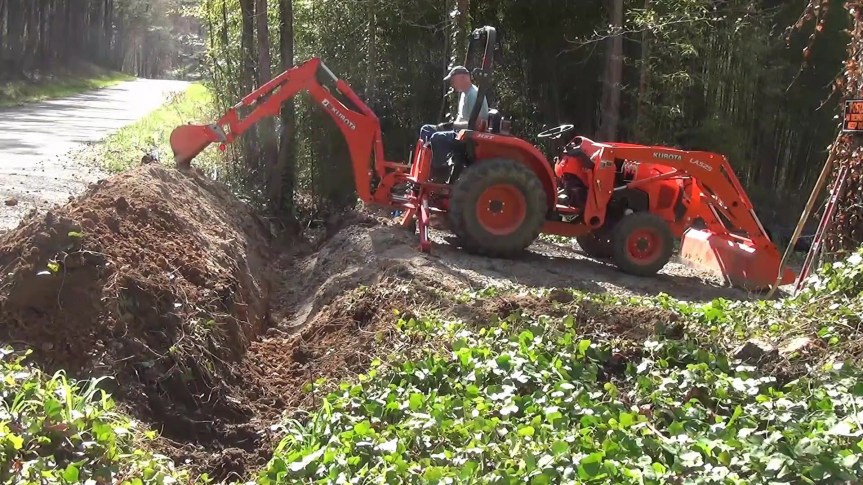
Widening and straightening the trench for the new culvert pipe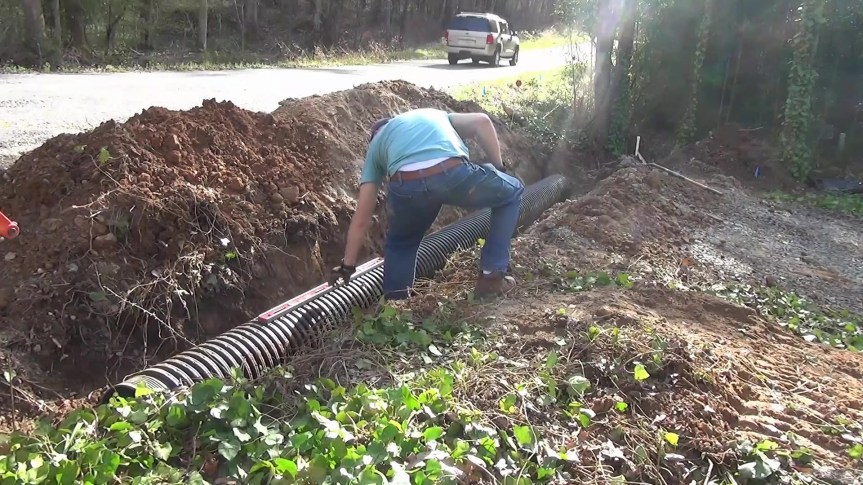
Checking for proper fall on the pipe with a level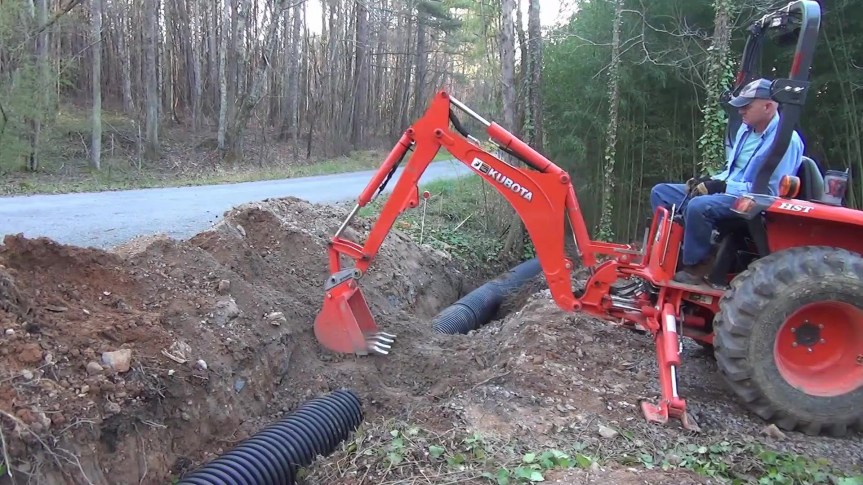
Burying and packing with the backhoe
Back-dragging with the loader bucket to smooth things over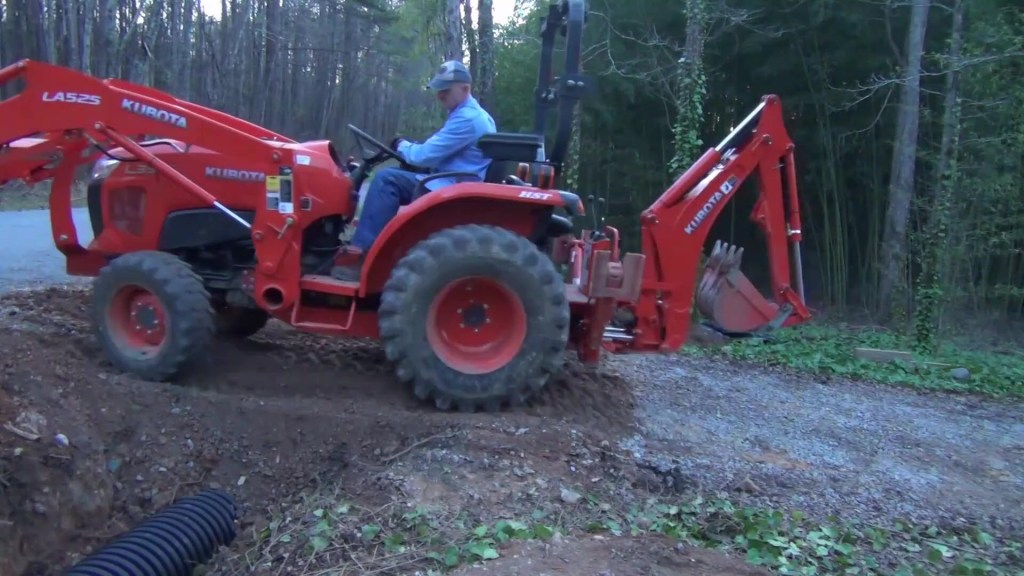
Driving over it to pack the dirt
Working into the evening, courtesy of my tractor’s LED lights
The new, much improved culvert inlet

One thought on “Replacing the Driveway Culvert Pipe”